Chapter 1: Oodles and Noodles
Instant ramen was probably the number one thing I had for lunch growing up in a low-income, home-school family.
Although growing up we never really called it ramen, we called it “oodles and noodles”. I still call it that in my head, even when I go to fancy ramen shops:
Me accidentally thinking aloud: “These some good oodles and noodles”
Friend: “What was that?”
Me: “Oh, ramen, eh, yeah, this ramen is slammin”
Friend: “ . . . .”
Oodles and noodles were quick, cheap (a 12 pack of Maruchan or Top Ramen was usually $5 or something), and salty. Thus meeting the needs of everyone involved (my mom, my dad, and my siblings). If my mom was busy on one of her home-school forums, me or one of my sisters could throw a pot of water on the stove, grab the number of packs that matched the number of siblings, and make lunch for everyone. Sometimes if we had leftover fried pork chops or roasted broccoli we’d reheat that and add it in too, making it more closely resemble the images we saw in manga novels and anime.
I remember being really particular about how to make the oodles and noodles because I liked them soft but with some bite. The broth needed to have the right ratio of water to seasoning packet, and I liked them piping hot. So being the control freak that I was (am? Been working hard to grow out that area of my personality), I typically made lunch if it involved oodles and noodles.
Fond, but increasingly blurry, lunchtime memories surround oodles and noodles. Intense sibling debates about pop culture brewed, secrets were shared, loose pacts were made, sibling produced tv shows were performed table-side, and sometimes it was just nice to have food in the house and we were too busy eating to talk.
After a quick lunch like ramen we might have resumed our school work, or everyone would take a nap before we headed to the library to close out the day. The Highlandtown branch of the Enoch Pratt Free Library network was my favorite place to go after lunch or studies during my elementary and middle school years. It’s where I’d obsess over the Alice series, as well as several cookbooks about cuisines from around the world. It’s also where I got to be around the infamous public-schoolers during the art classes I’d take in the spring and summer.
Towards my teens that branch closed when a larger one, The Southeast Anchor Library, opened several more blocks down the street. I was sad about it at first, but when I realized there were way more computers to use and books about different cultures and foods, I was stoked. I’d eventually join a writing club and photography class that I deeply wish I had records of to share.
Despite all of the cookbooks I read as a kid, I didn’t experience anything close to real ramen until I moved to NYC and started going to ramen spots around SoHo. These were the first times I’d have noodles that didn’t come wrapped in plastic, and I repeatedly fell in love with the tender noodles, the home-made broth, the fresh vegetables, and terrifically flavorful meats.
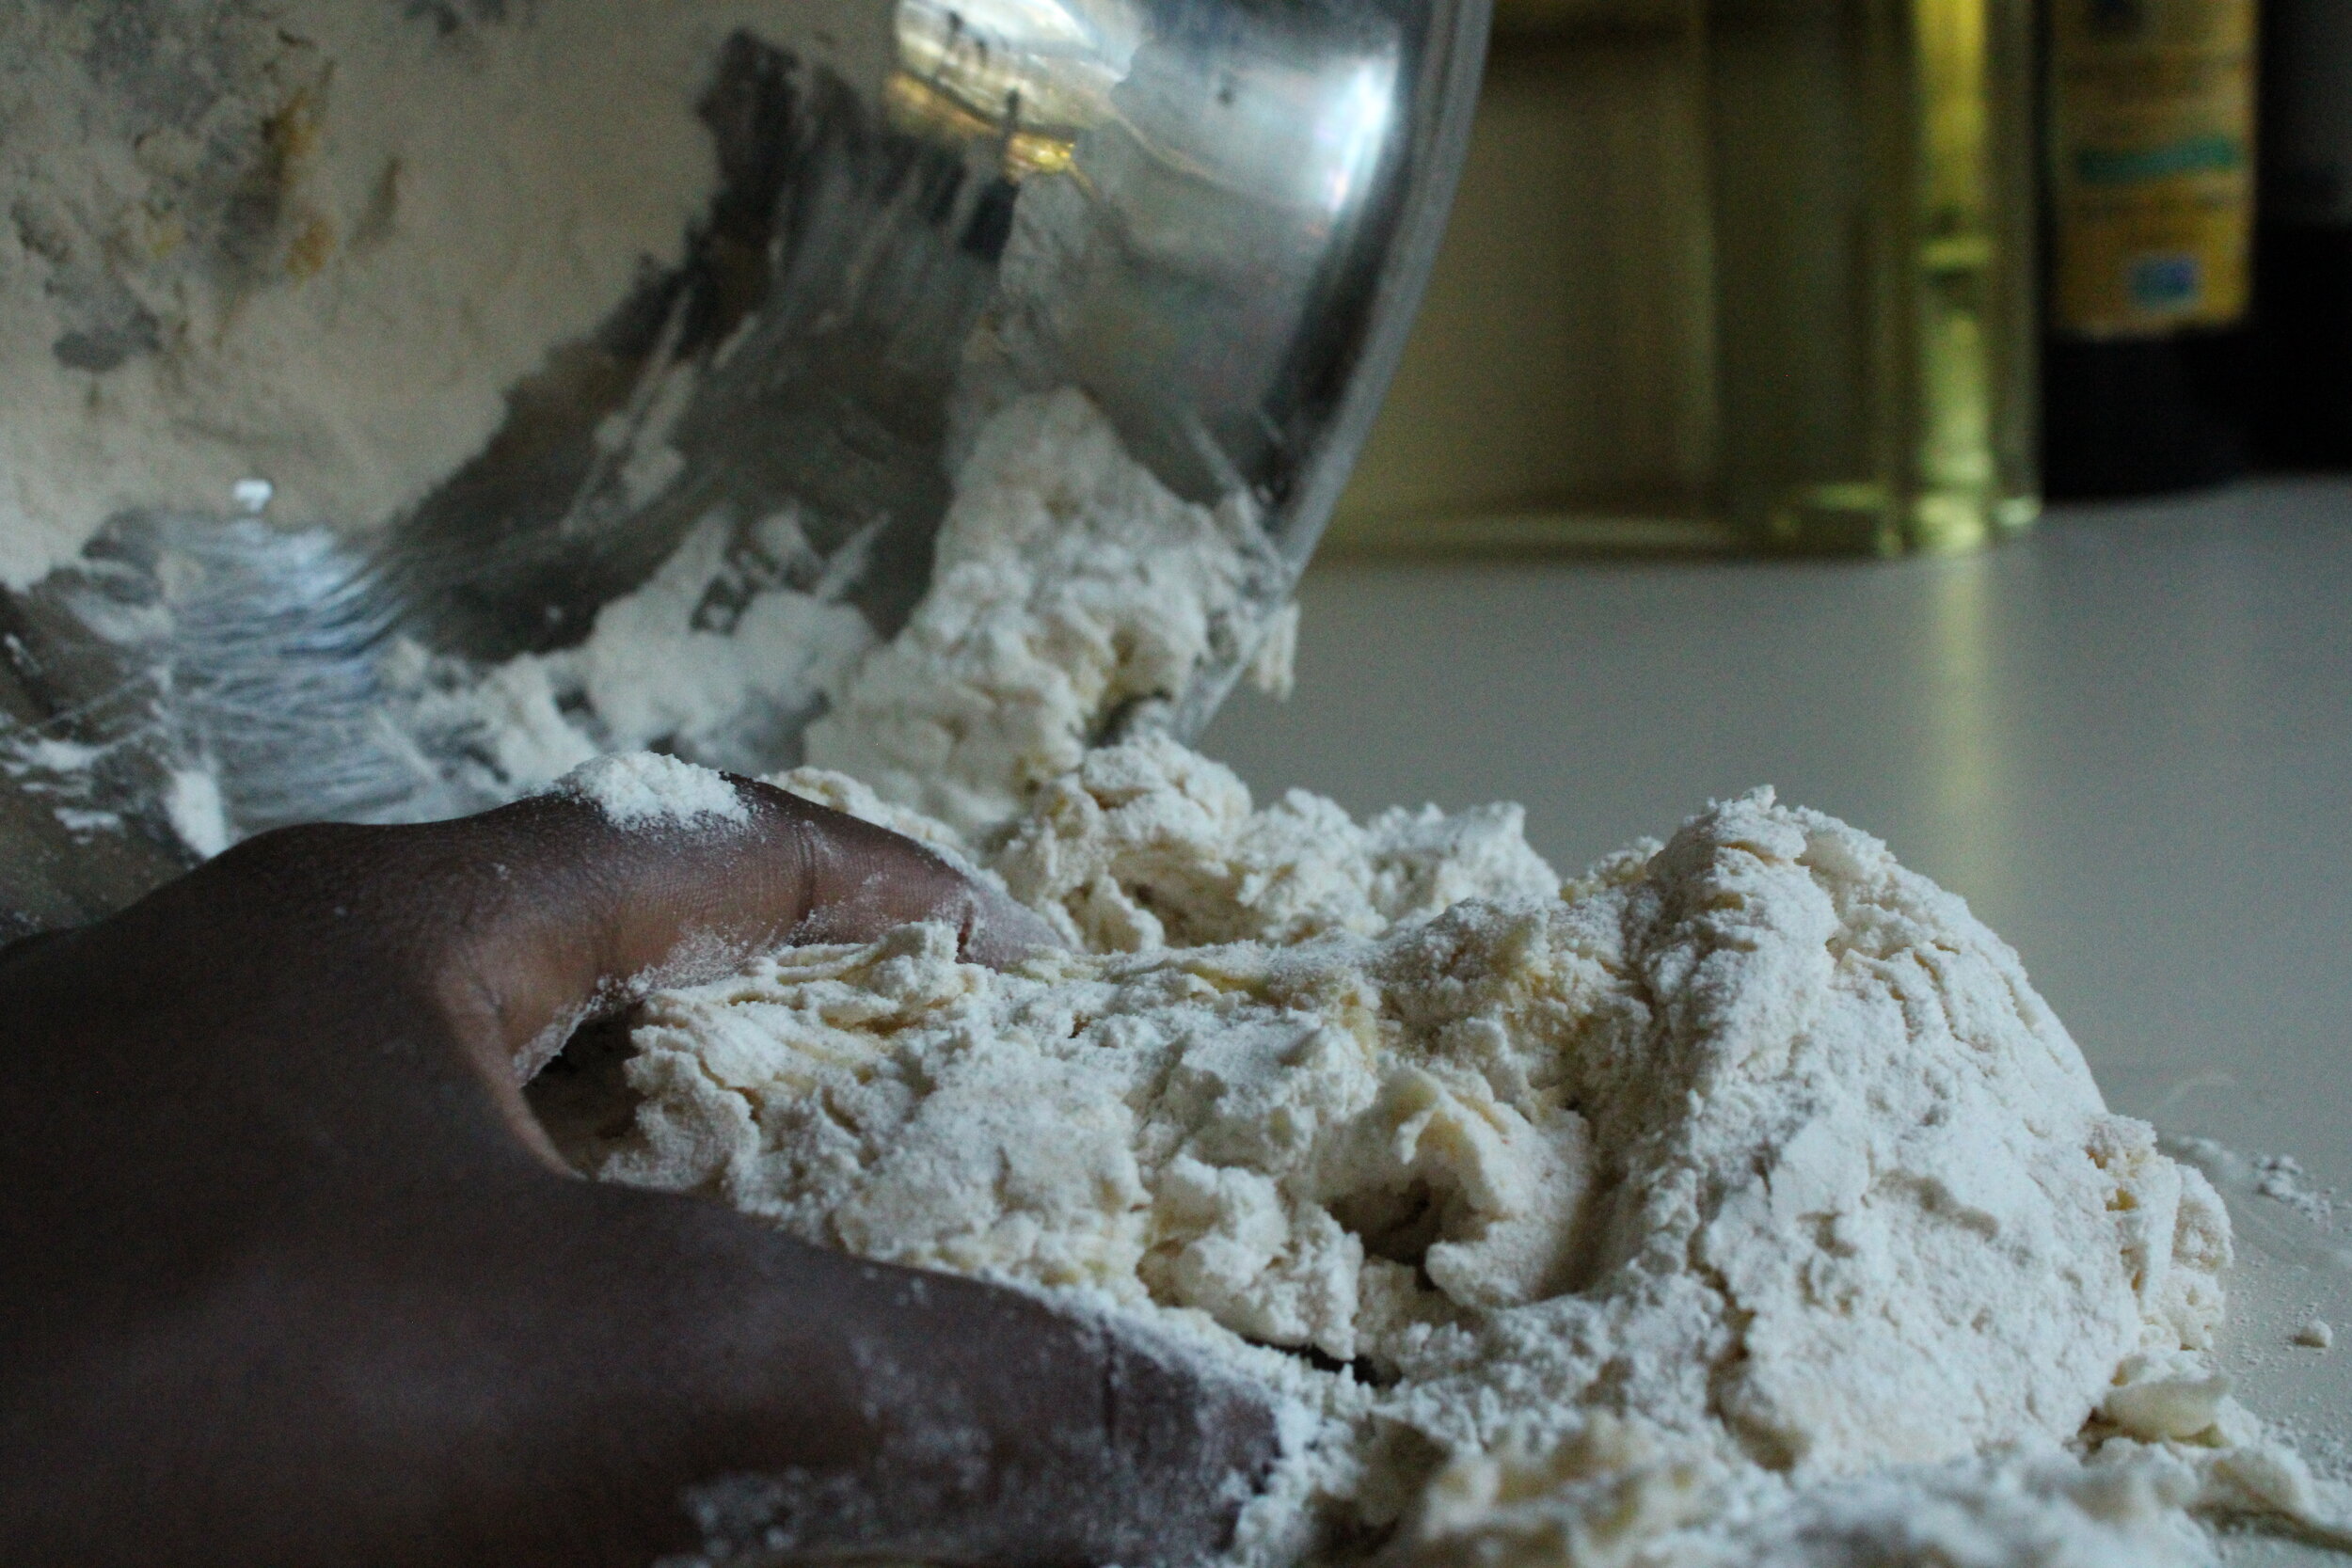
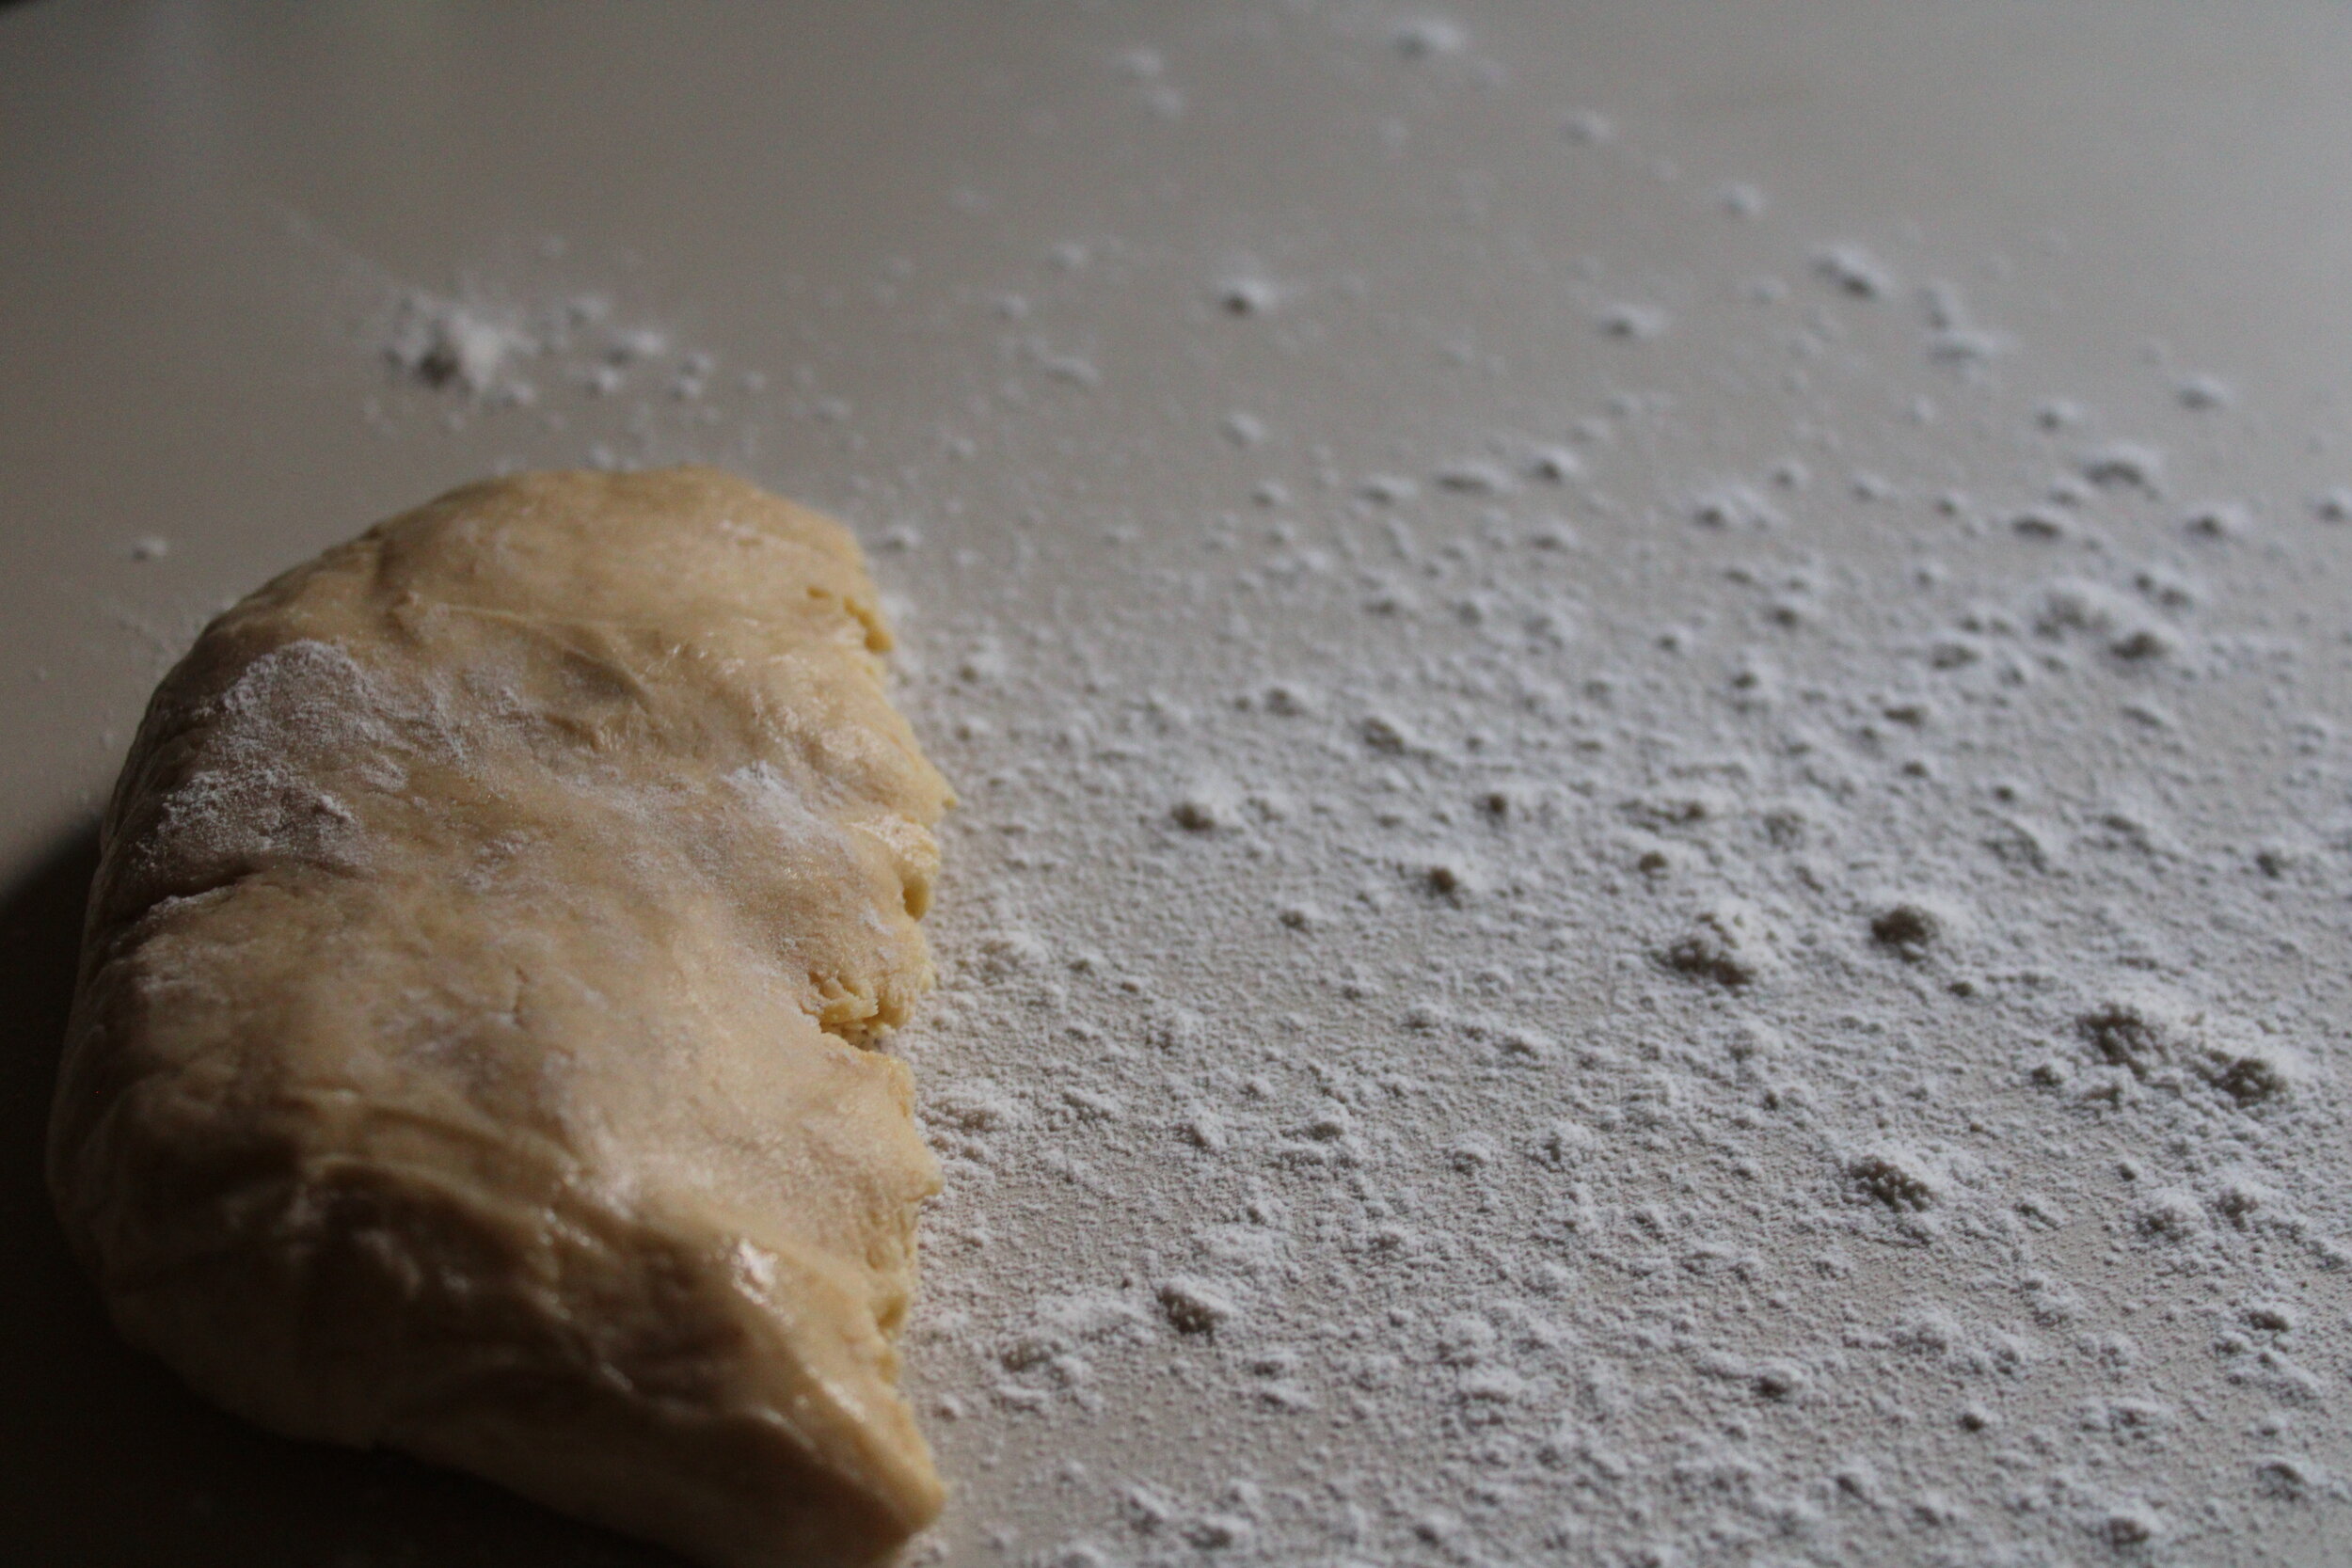
Fast forward to a few years and I decided to try my hands at making some ramen from scratch when I saw Audrie Storme’s video. After three failed attempts at trying to make the noodles the way she showed in the video I was this close to just buying a pack of Top Ramen for this gallery. However, on the fourth attempt I put on my noodle training wheels and it worked. Sooo, the glorious photos of me mixing ramen dough on my counter-top will remain on my SD card, because they are a lie. Making these noodles was a struggle and I needed a bowl to do it successfully. Anyways.
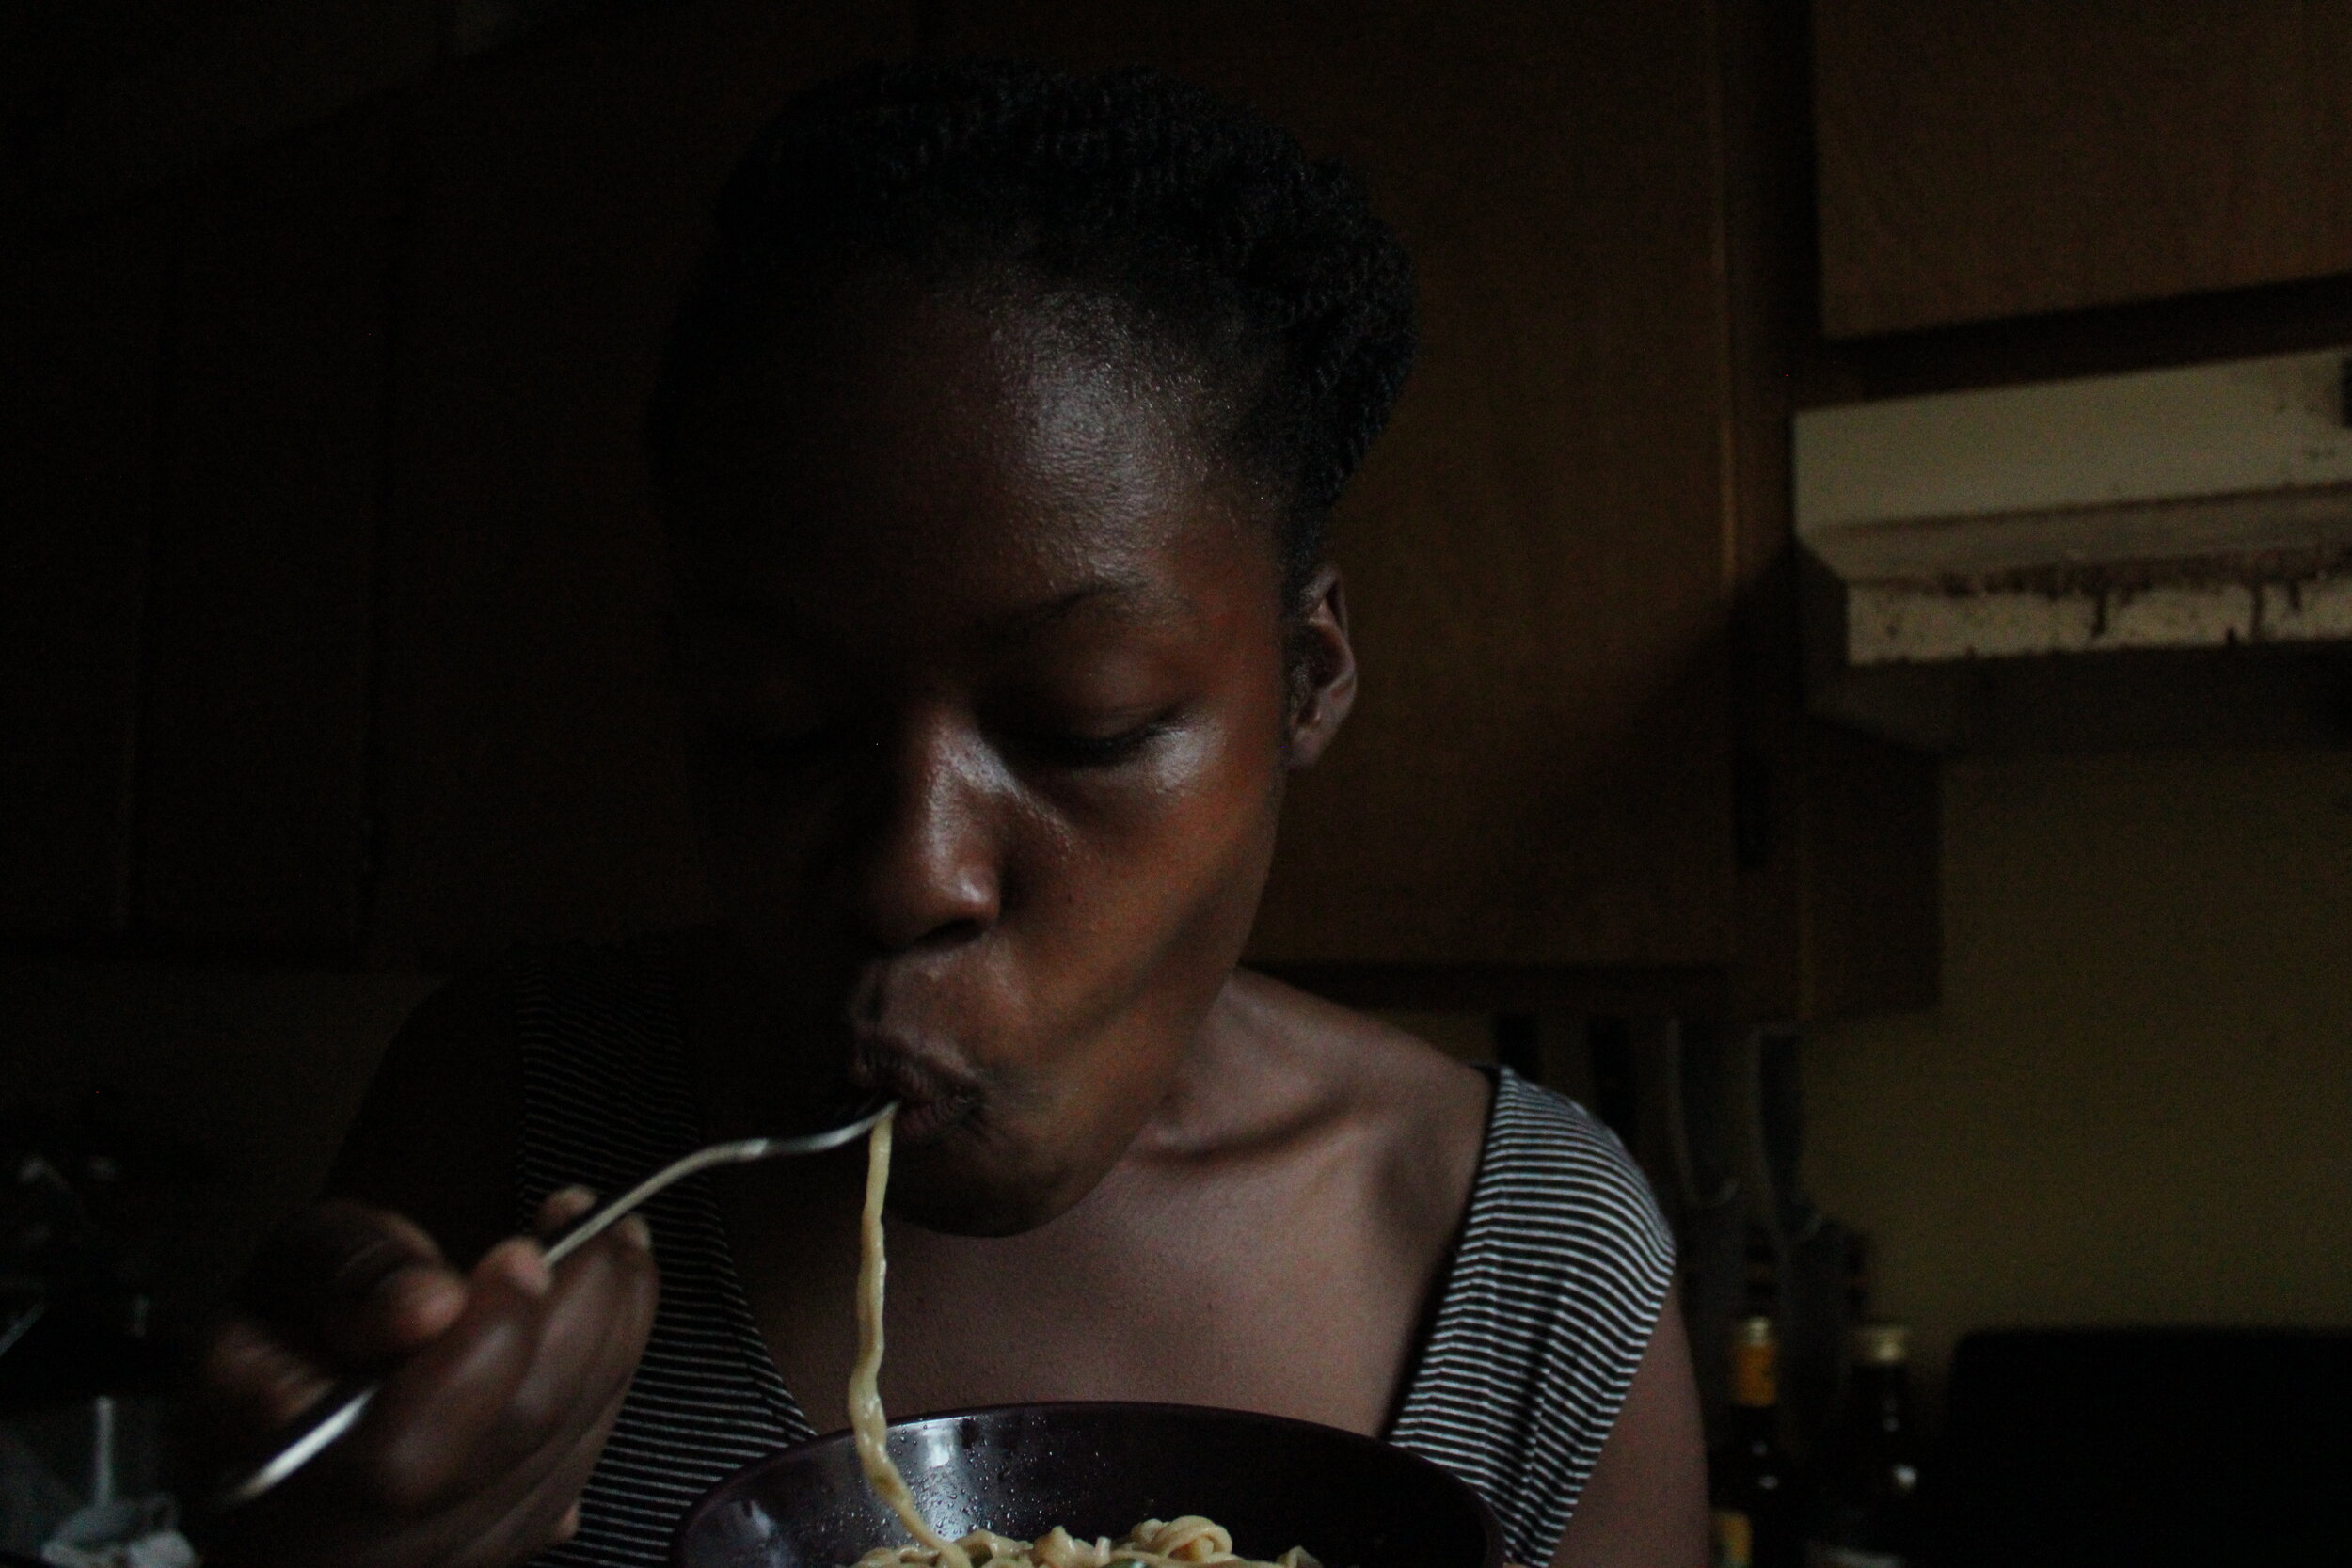
As with many of the meals in this gallery, I eat ramen pretty regularly. Not from scratch, but definitely from a package of some sorts. Sometimes it’s organic sometimes it’s a mystery, in either instance I am comforted.


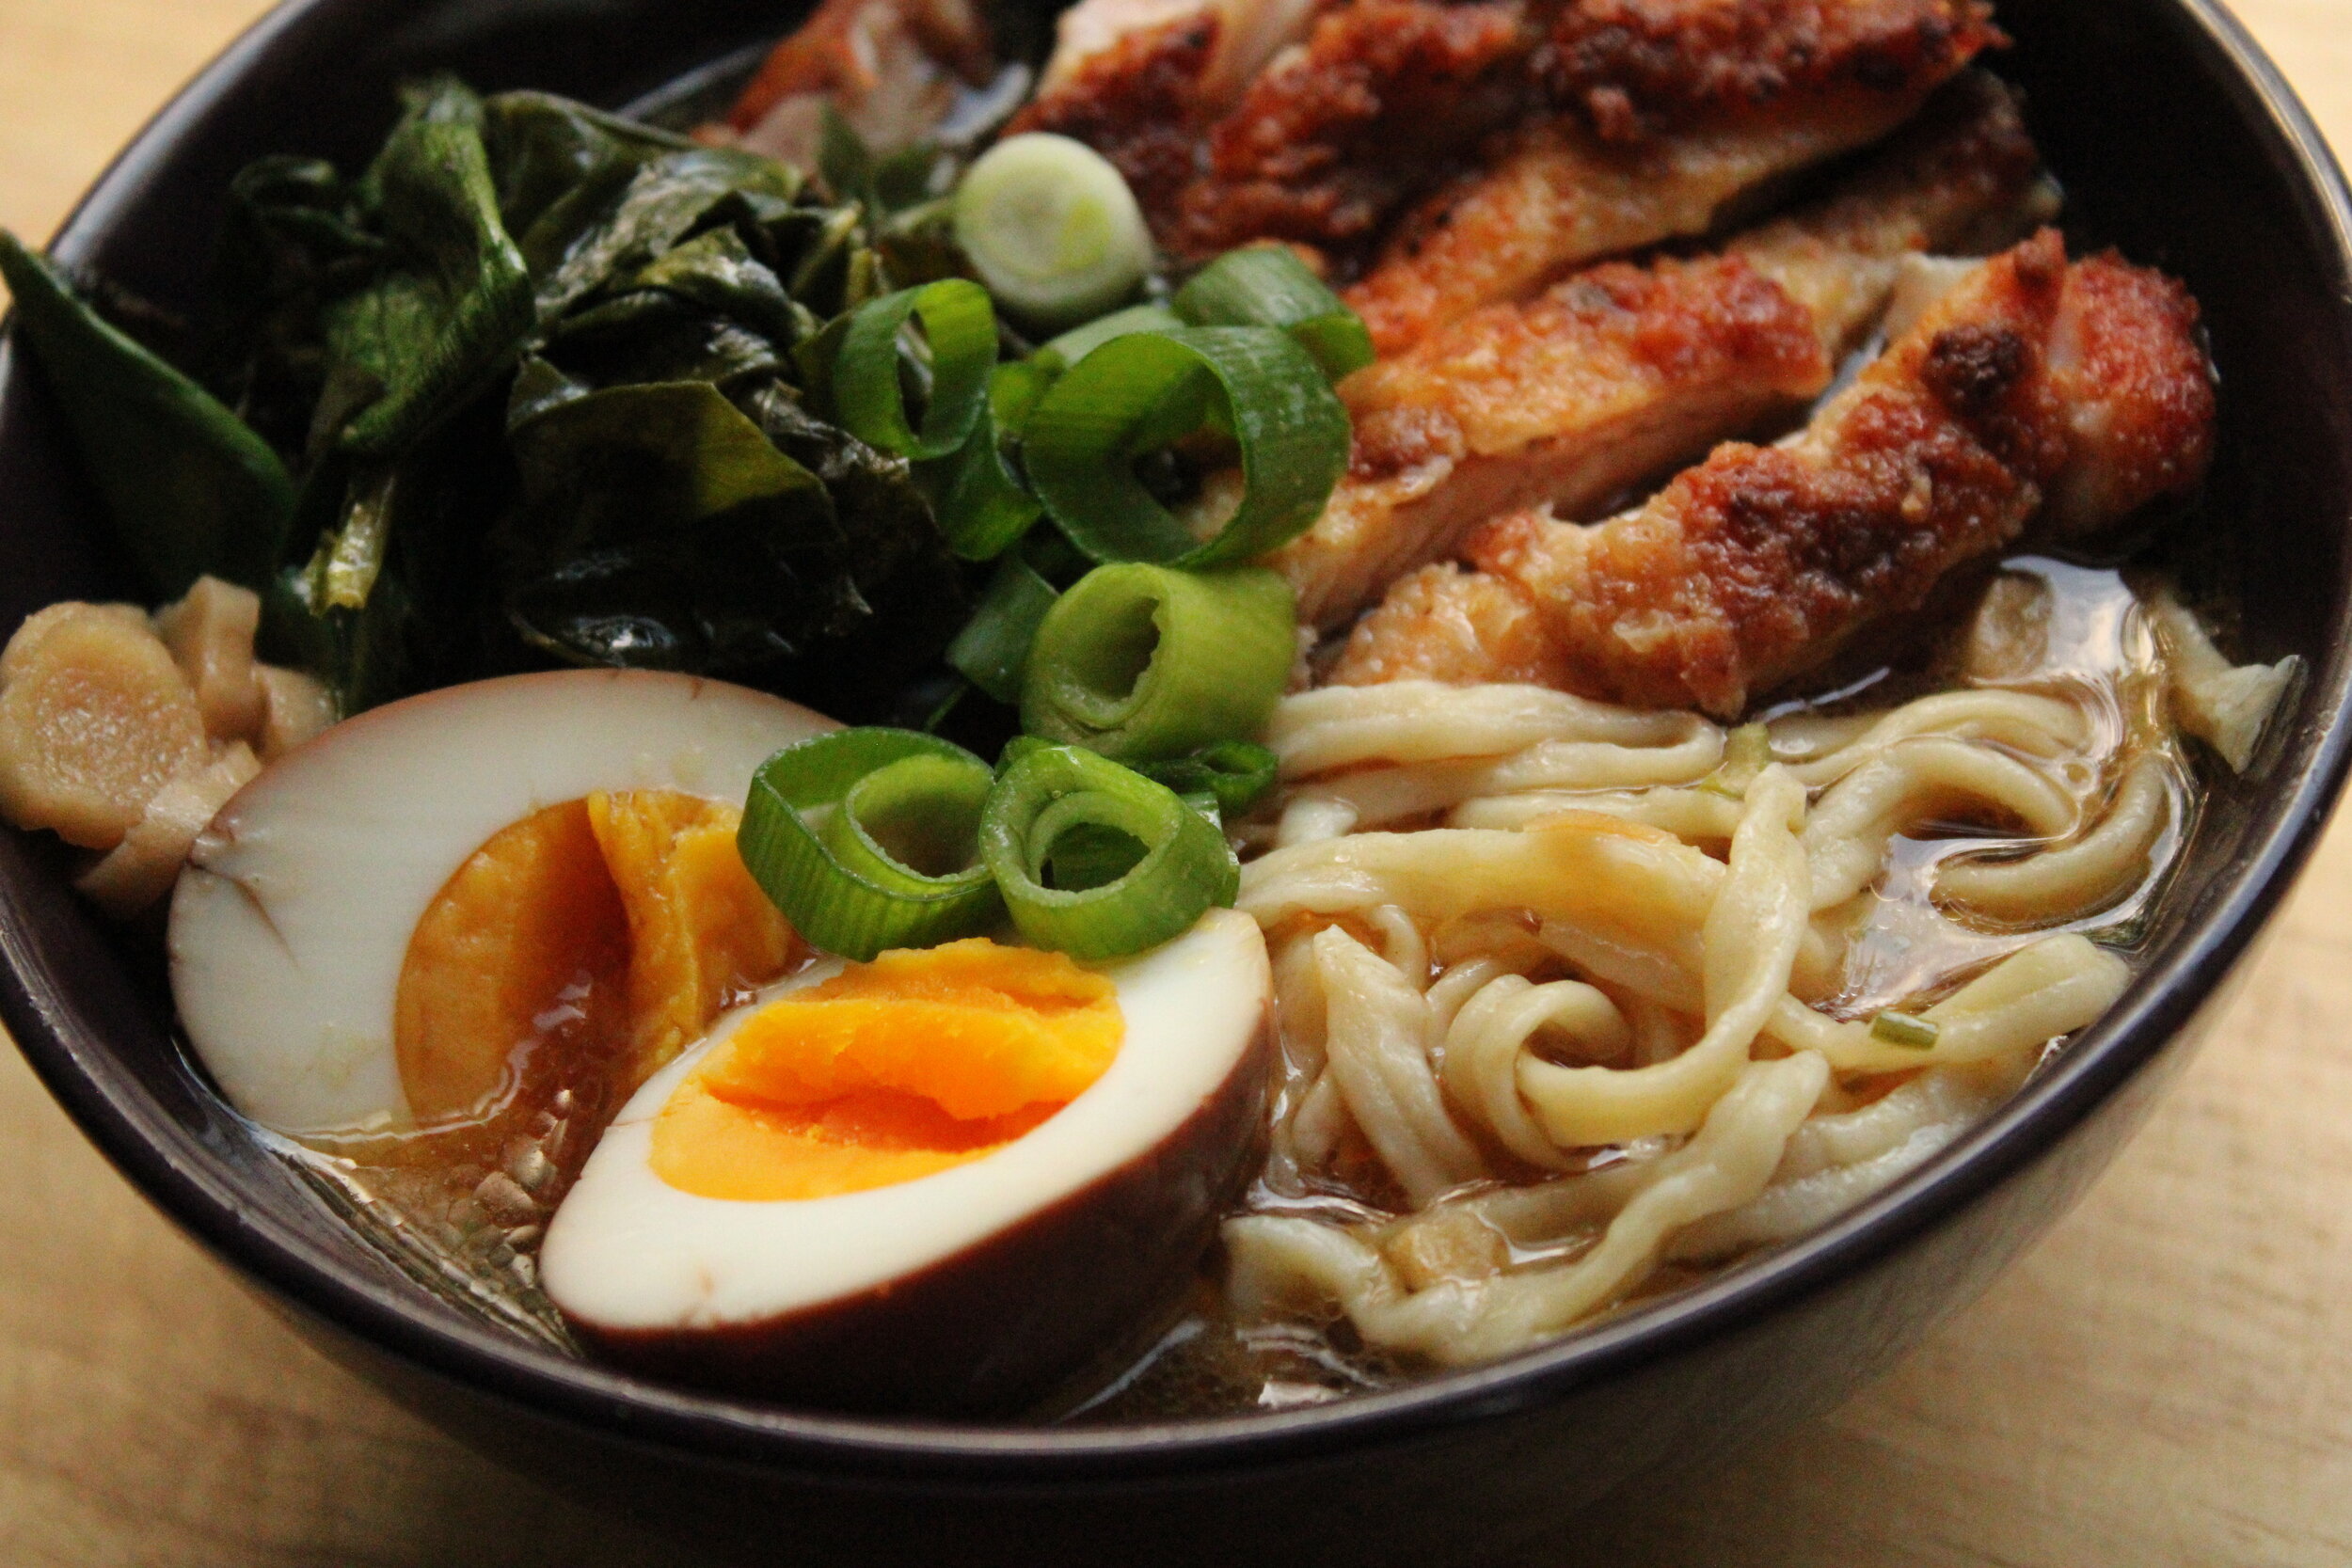
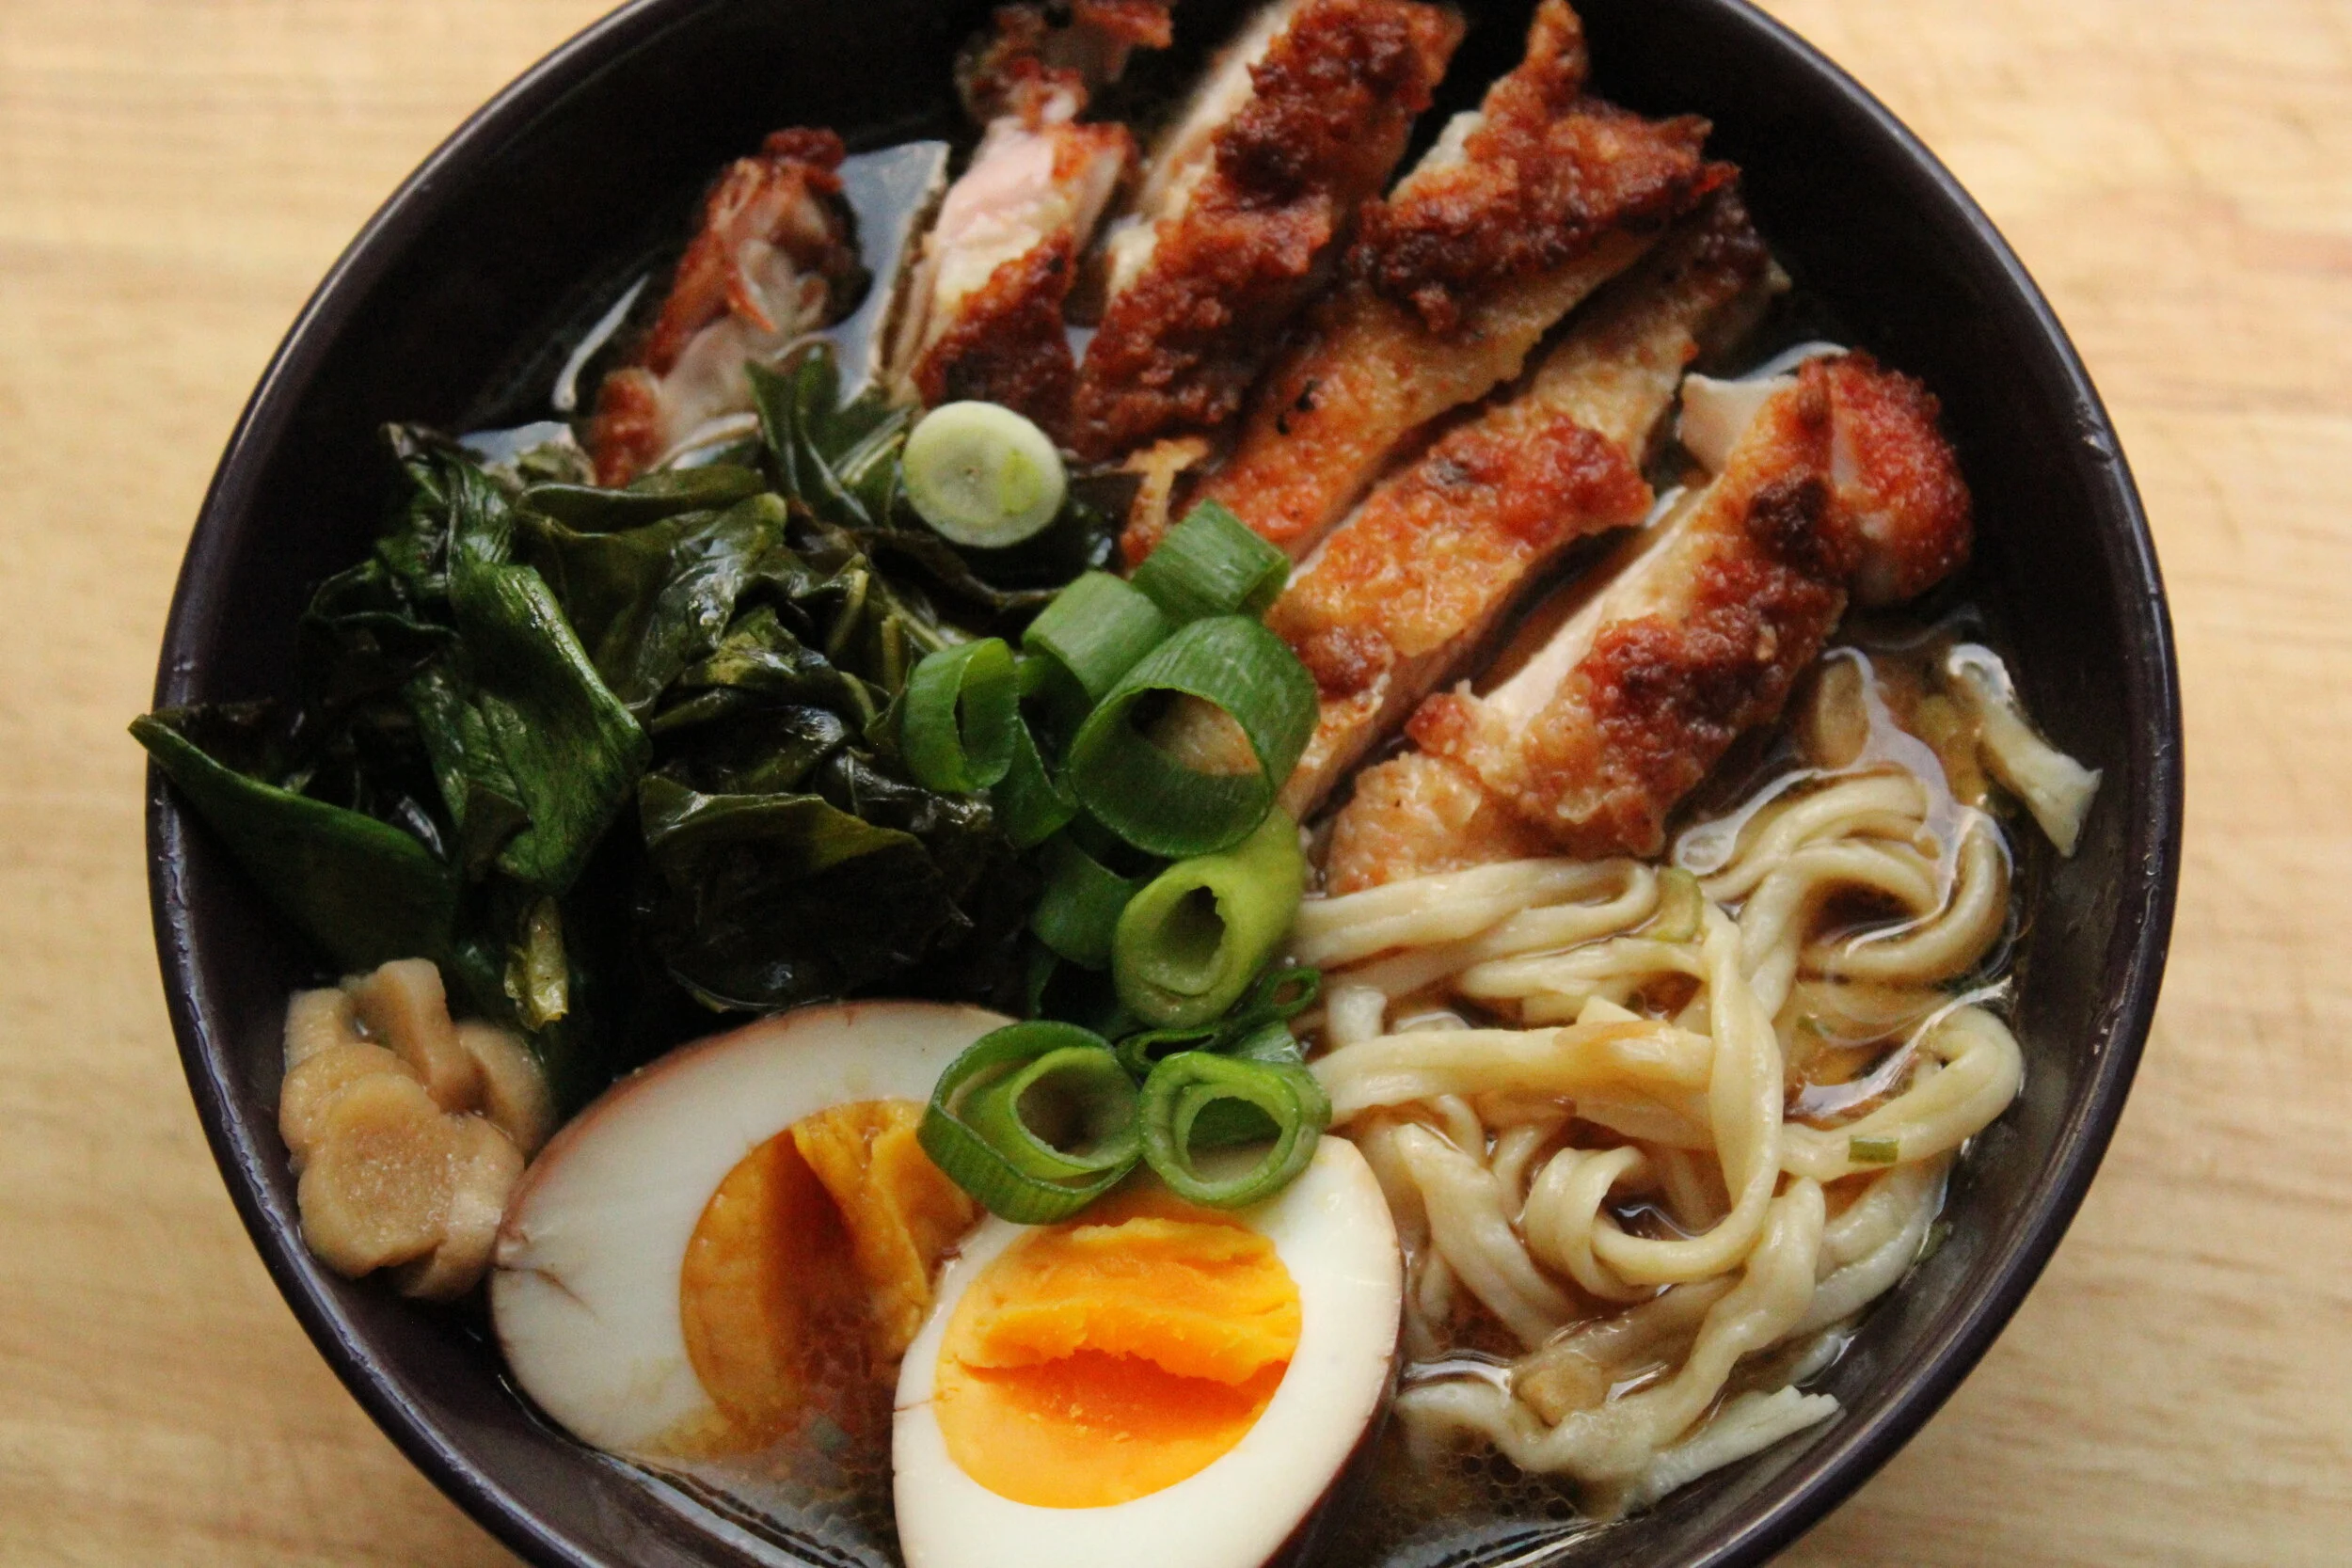
The Receipt - Homemade Ramen Noodles with Soy-Garlic Broth, Pickled Egg and Fried Chicken Cutlet with Scallions
(Noodle/Broth Recipe Adapted from Audrie Storme's gorgeous ramen video.)
Dough
2 ½ cups flours
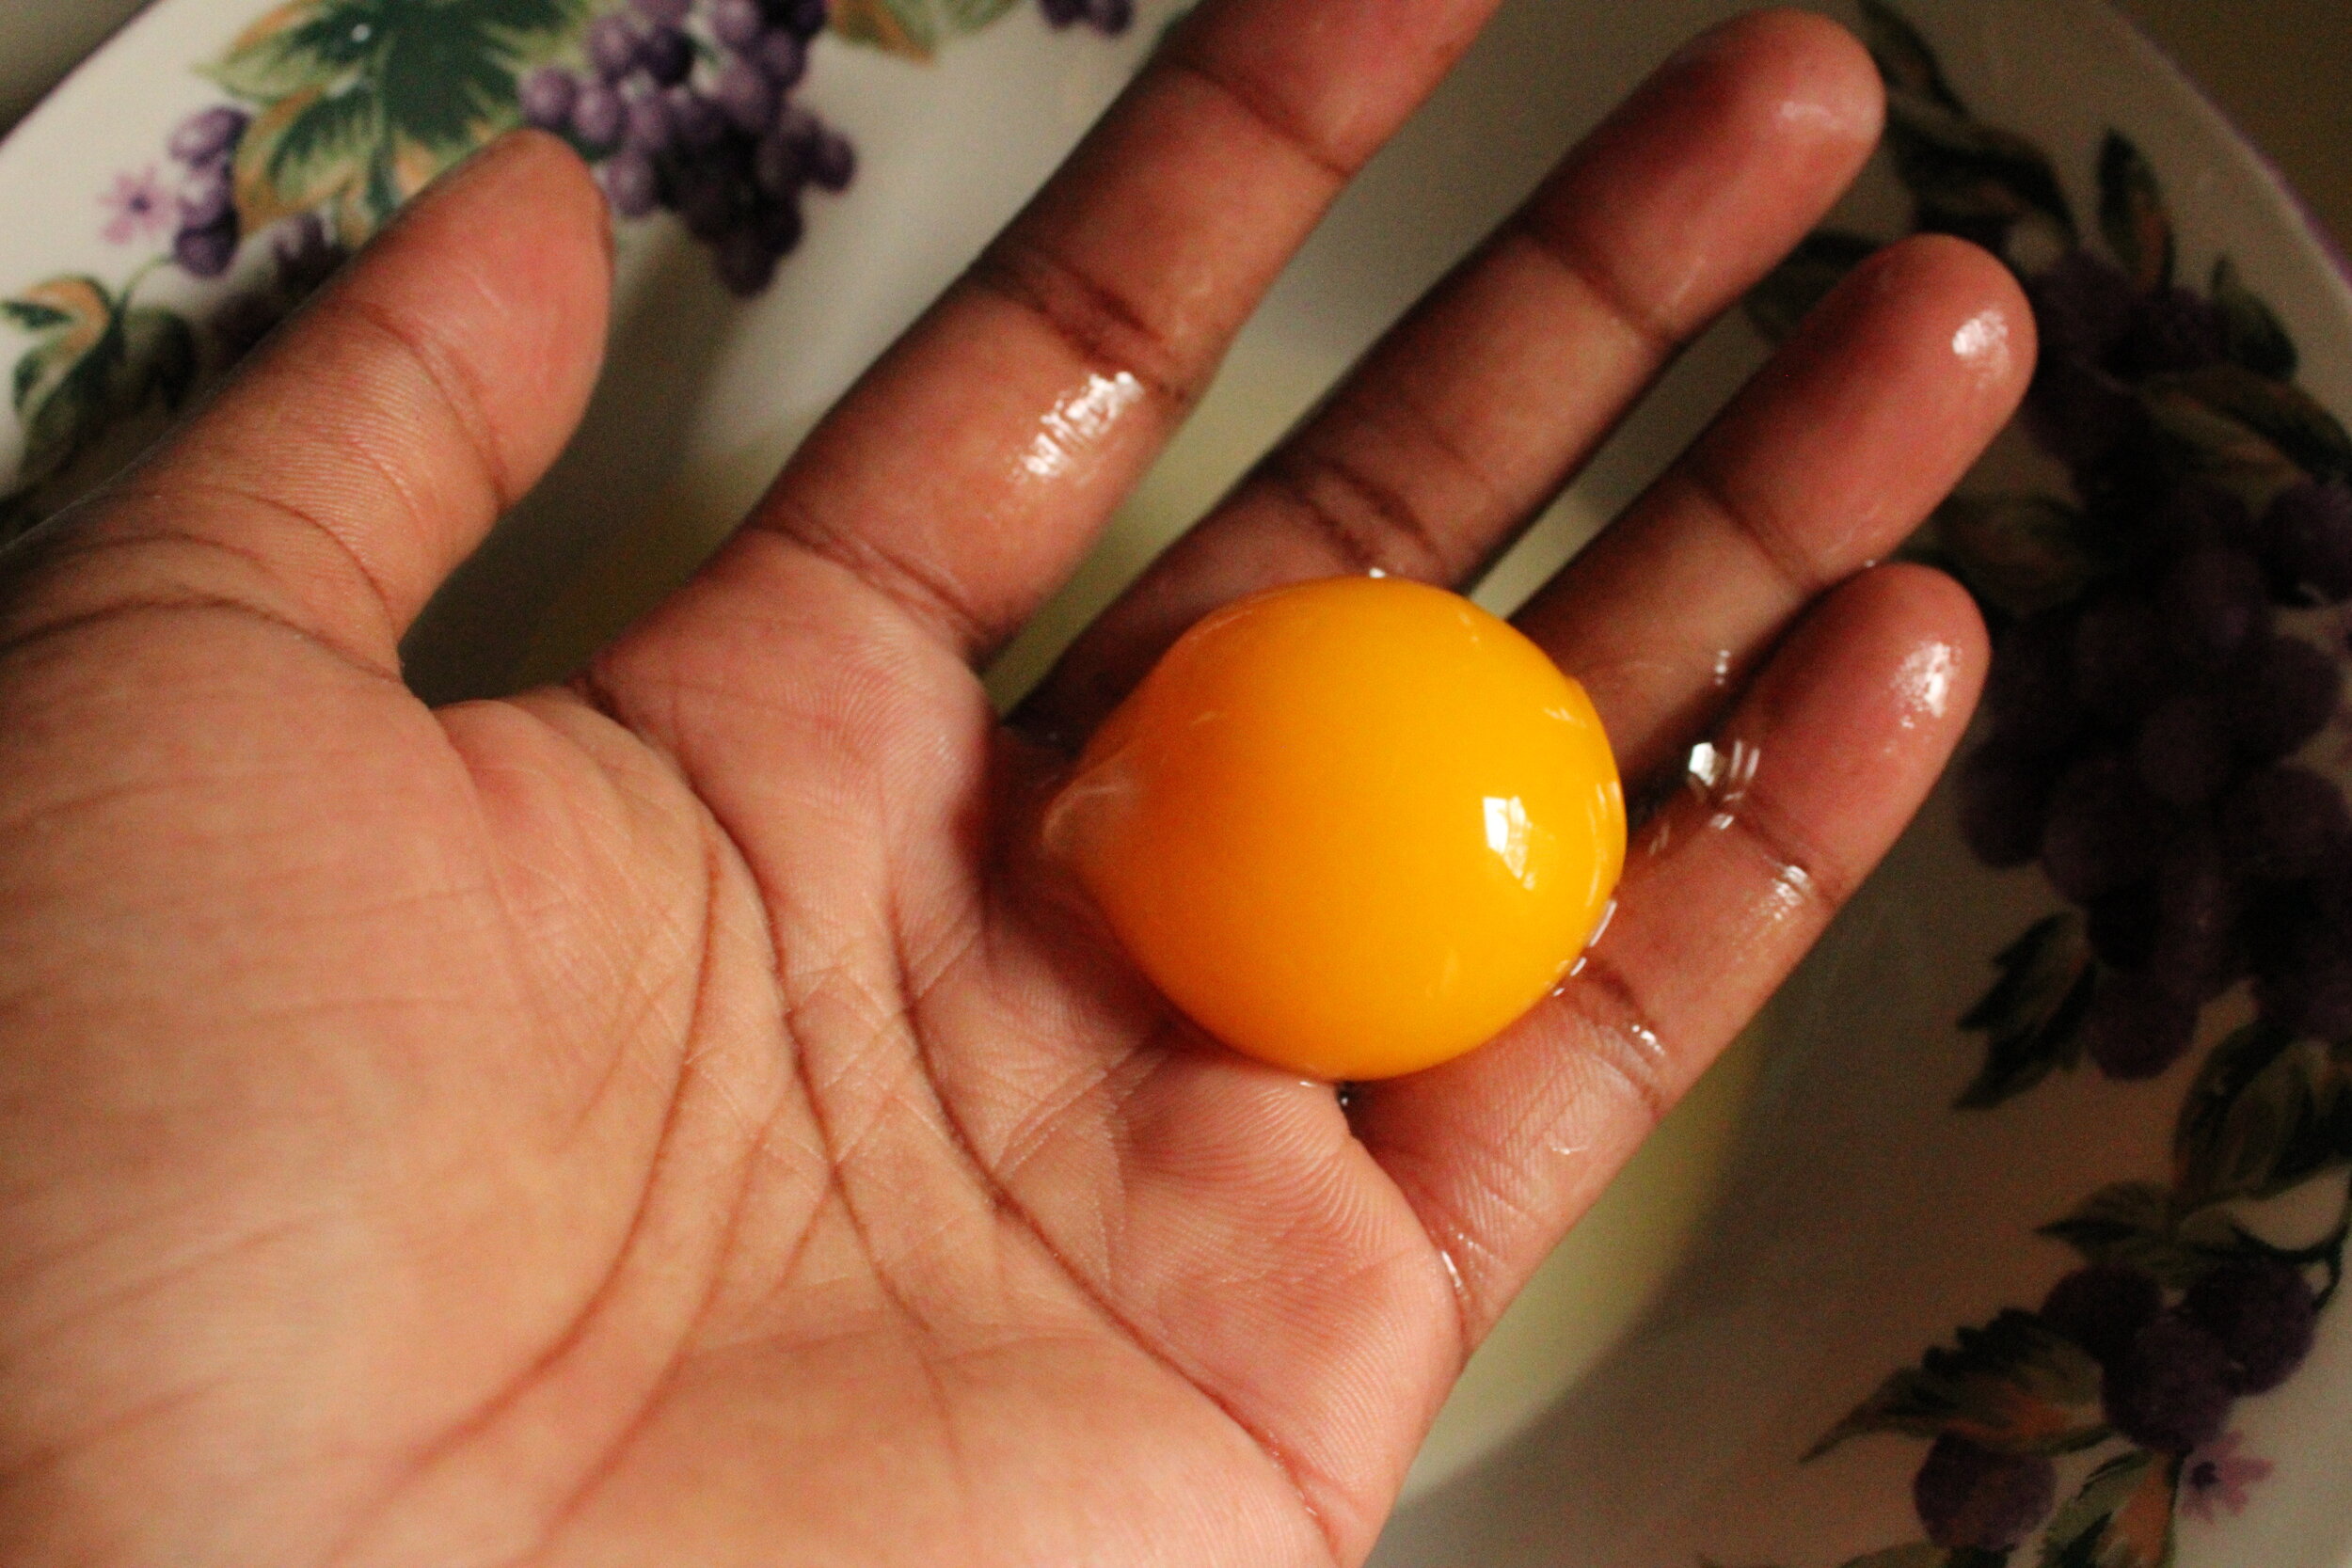
1 egg
1 egg yolk
Sprinkle of Salt
½ cup water
Broth
3 tbsp sesame oil
3 garlic cloves, crushed
¼ cup soy sauce
4 cups water
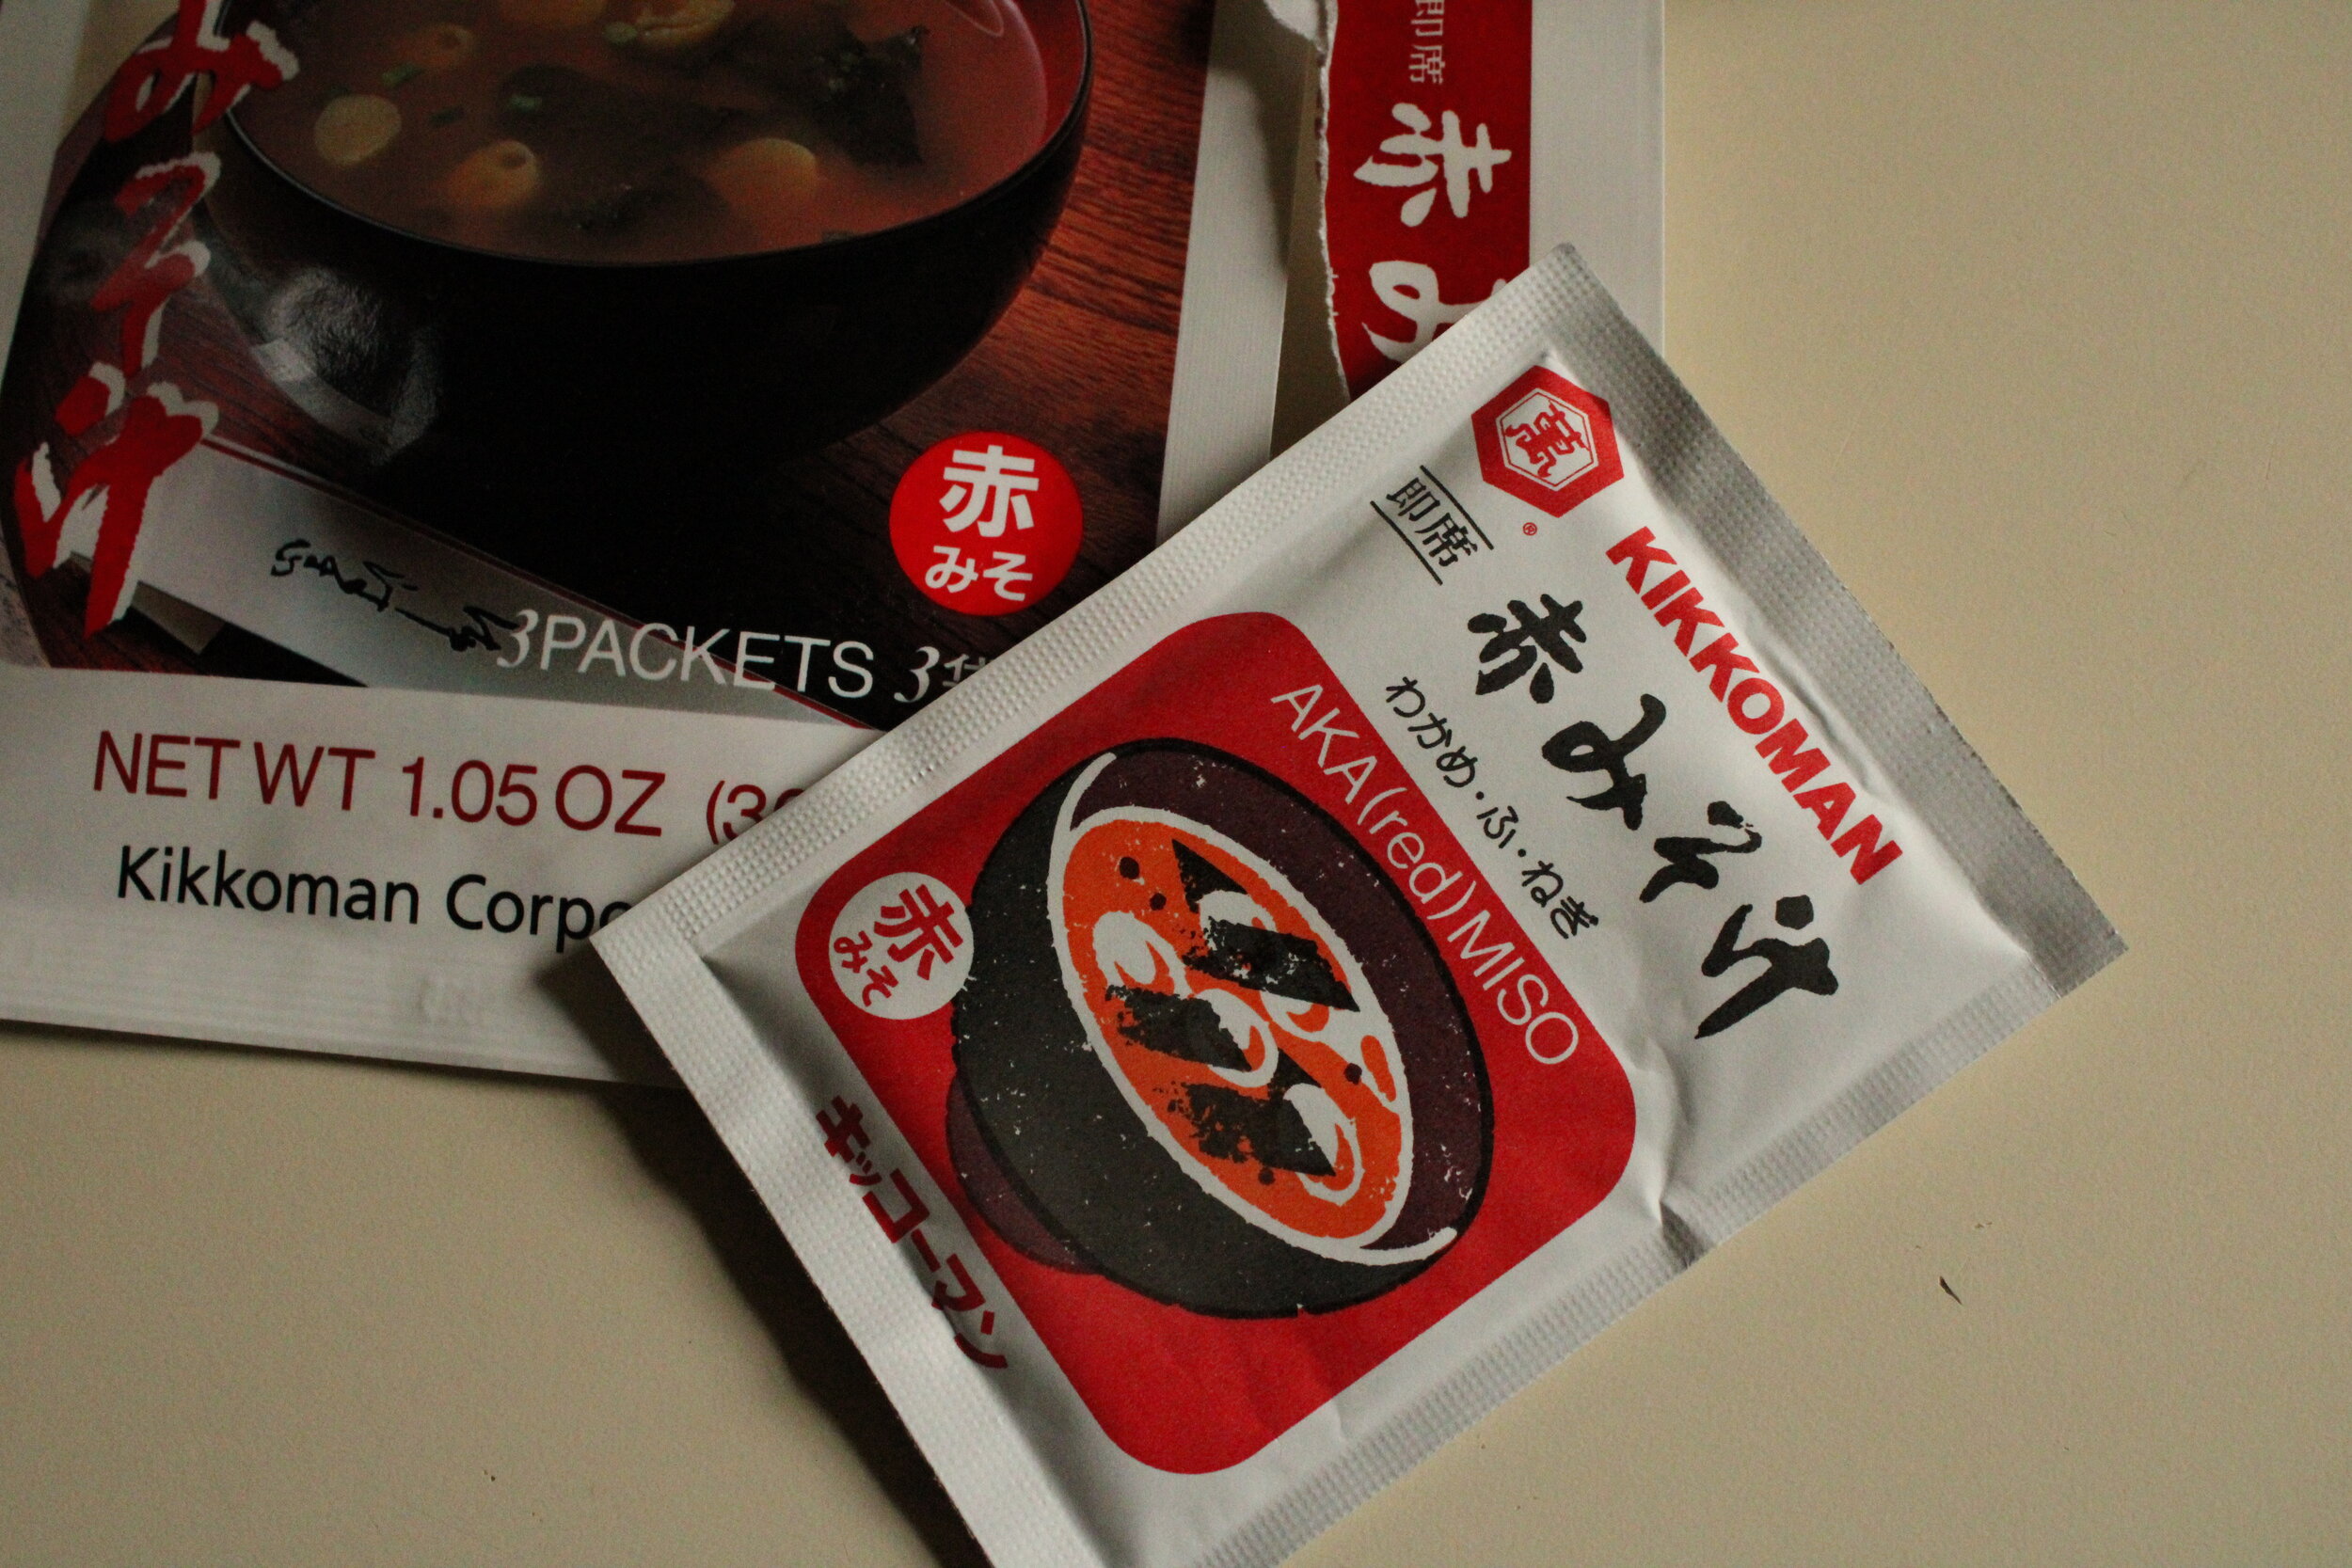
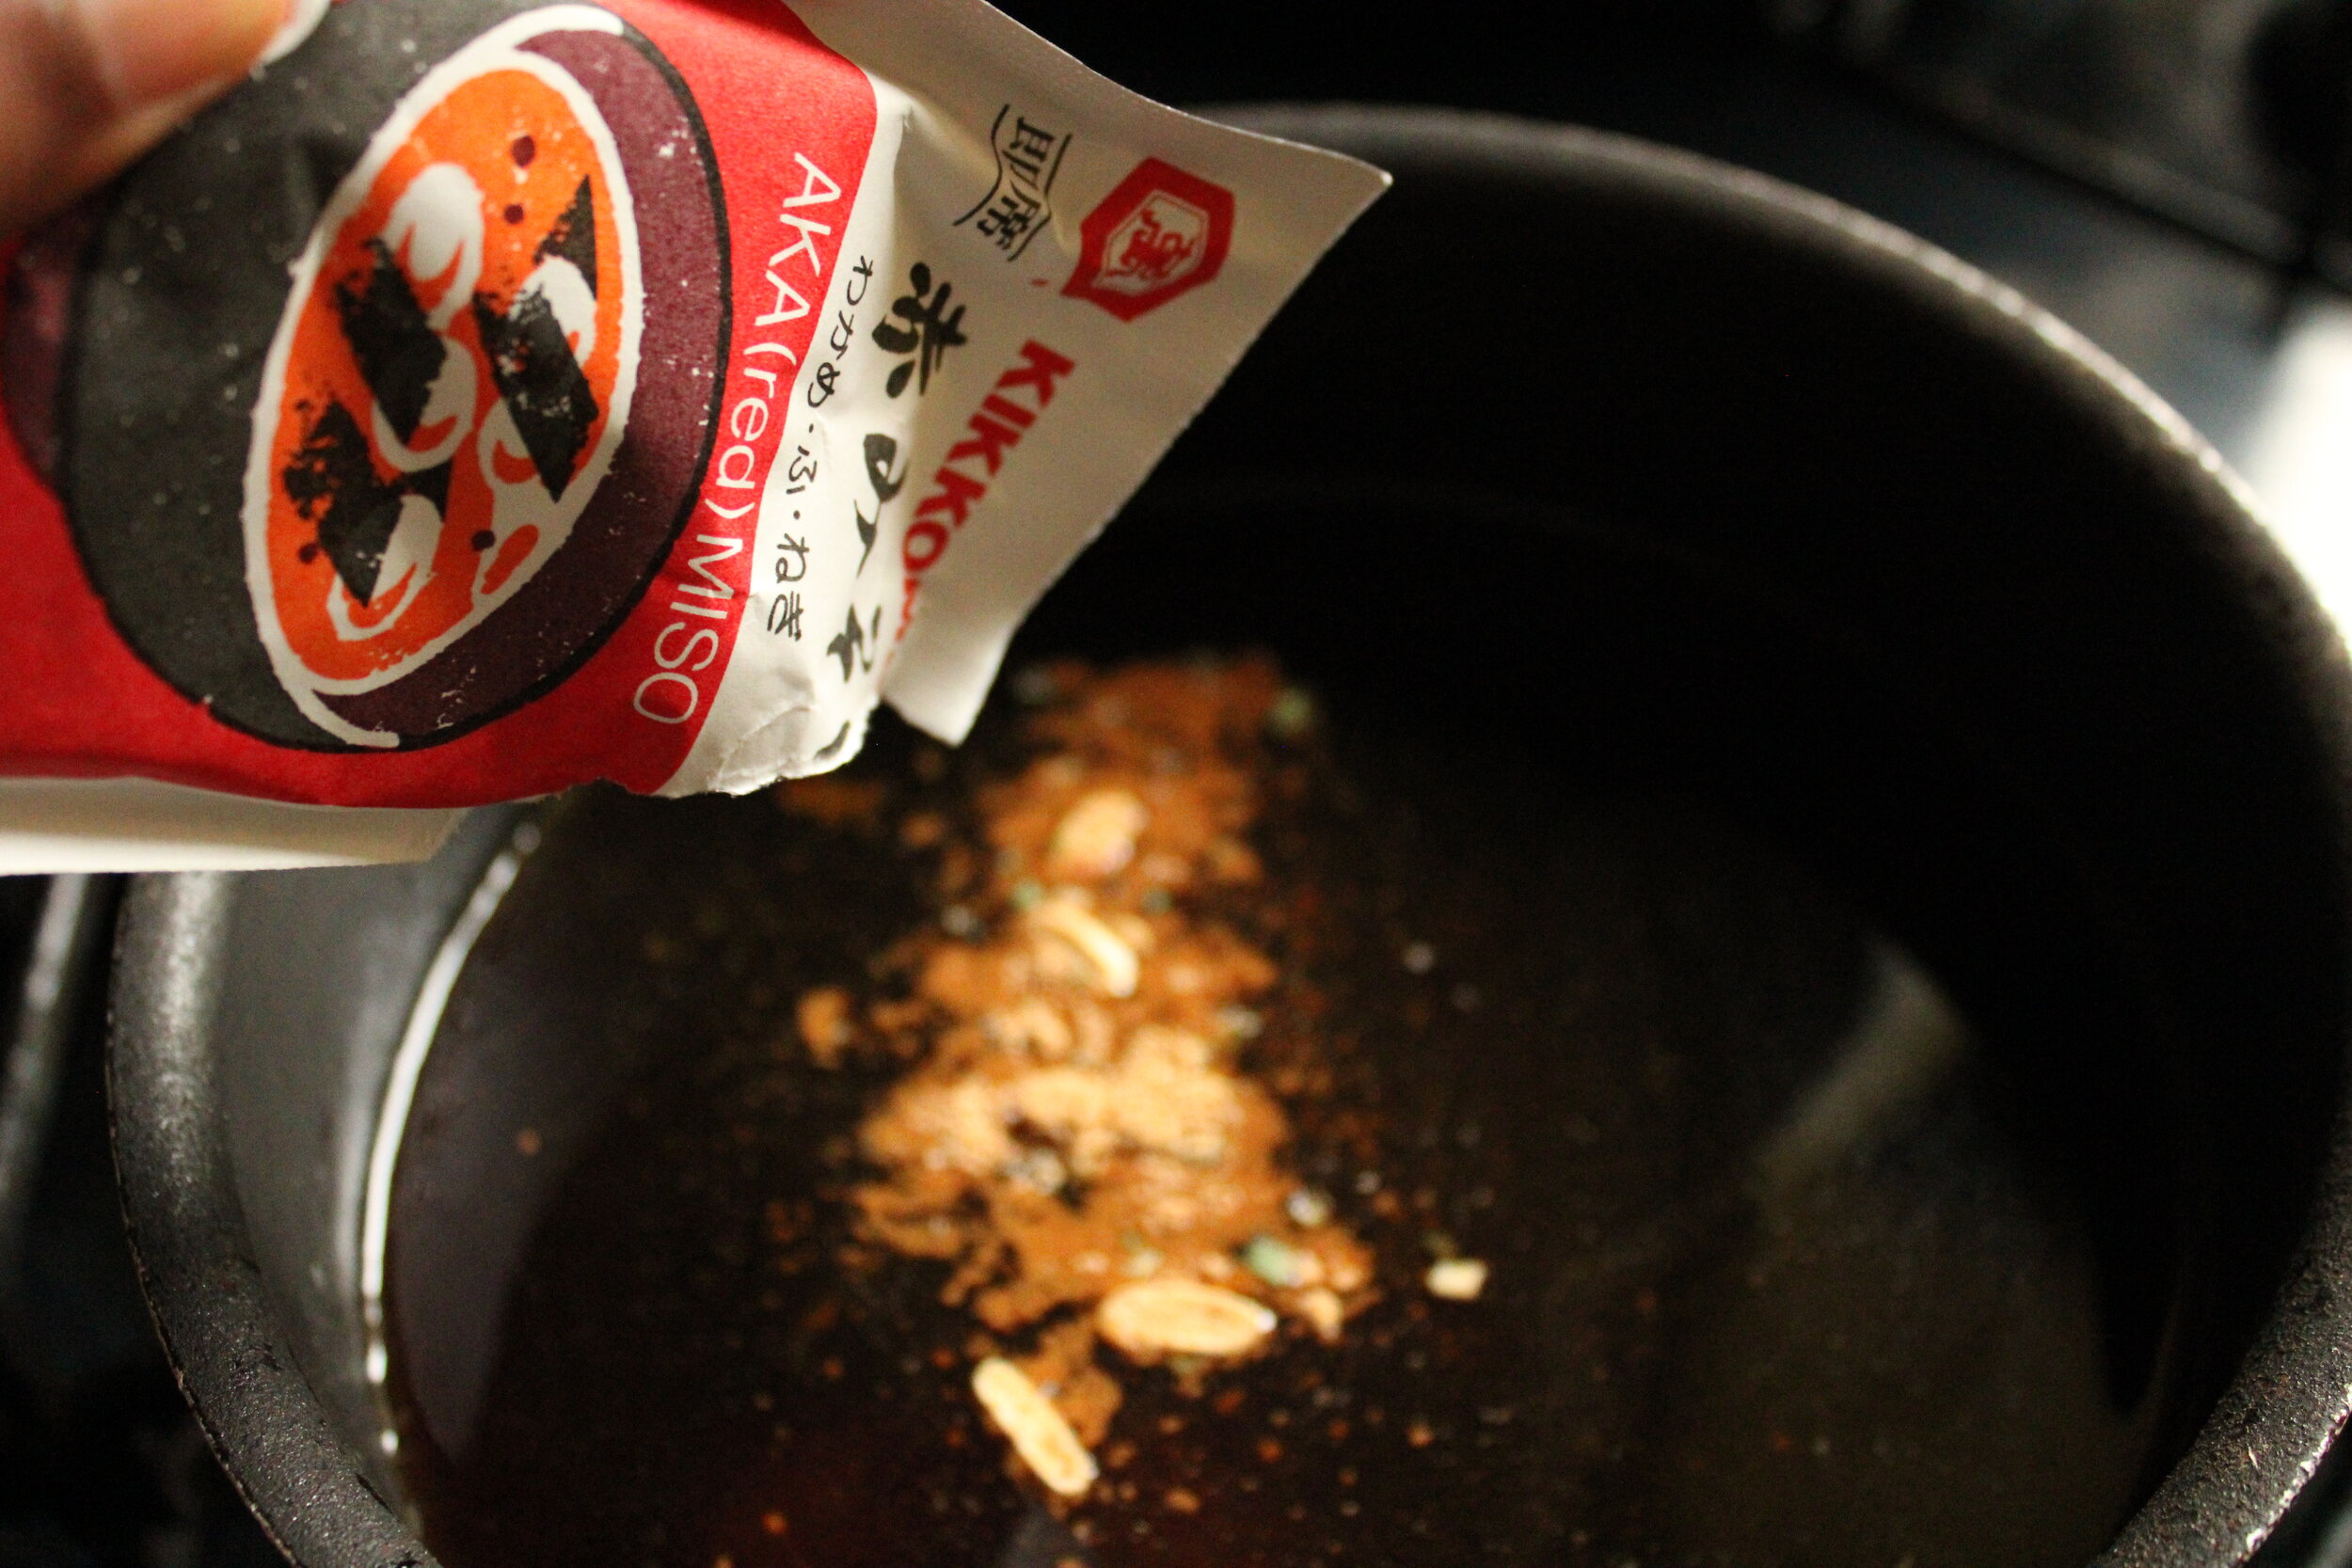
1 packet Red Miso powder (I found this when I was looking for miso paste, and of course Key Foods doesn’t have that and I’d already made my Whole Foods trip for the month, so this is to say use what’s available at your local grocery shop. If I lived in a neighborhood with a Chinese, Korean, or Japanese market I’d probably have found the paste)
Pickled Egg
¼ cup rice vinegar
2 tbsp. Soy sauce
1 tbsp. Hot sauce
1-2 boiled eggs
Fried Chicken cutlets
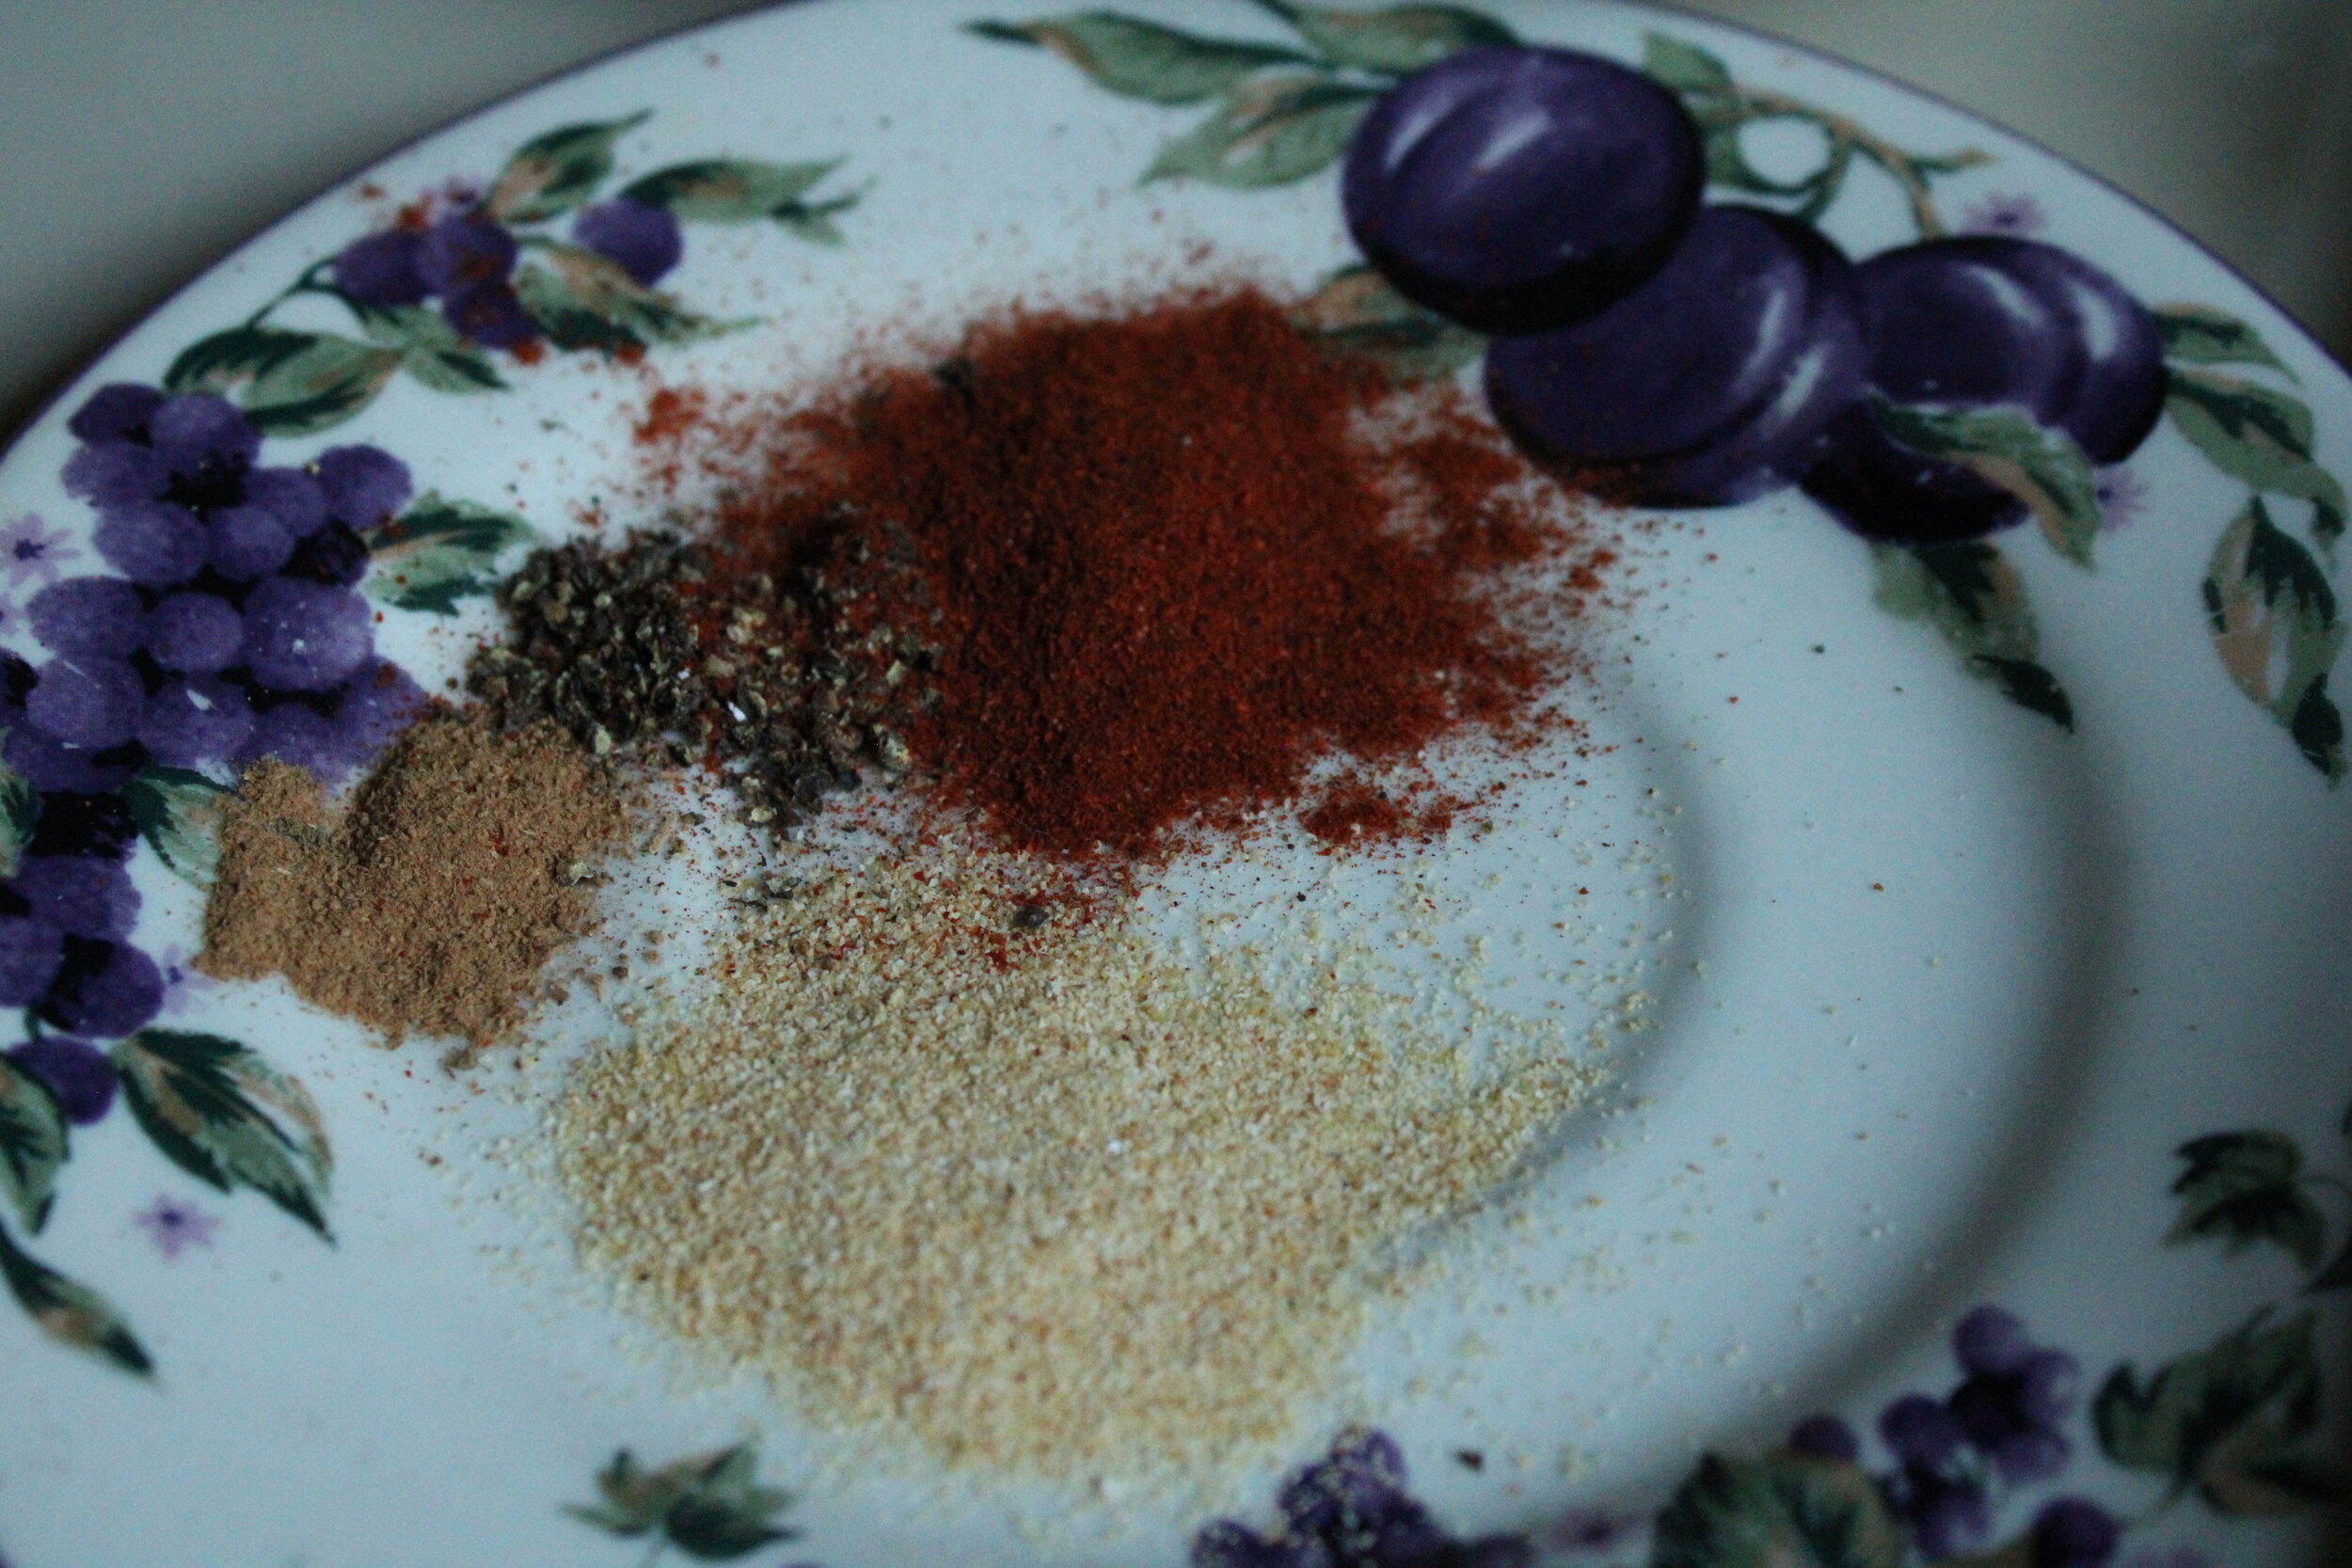
Chicken Seasoning
Salt
Pepper
Garlic Granules
Paprika
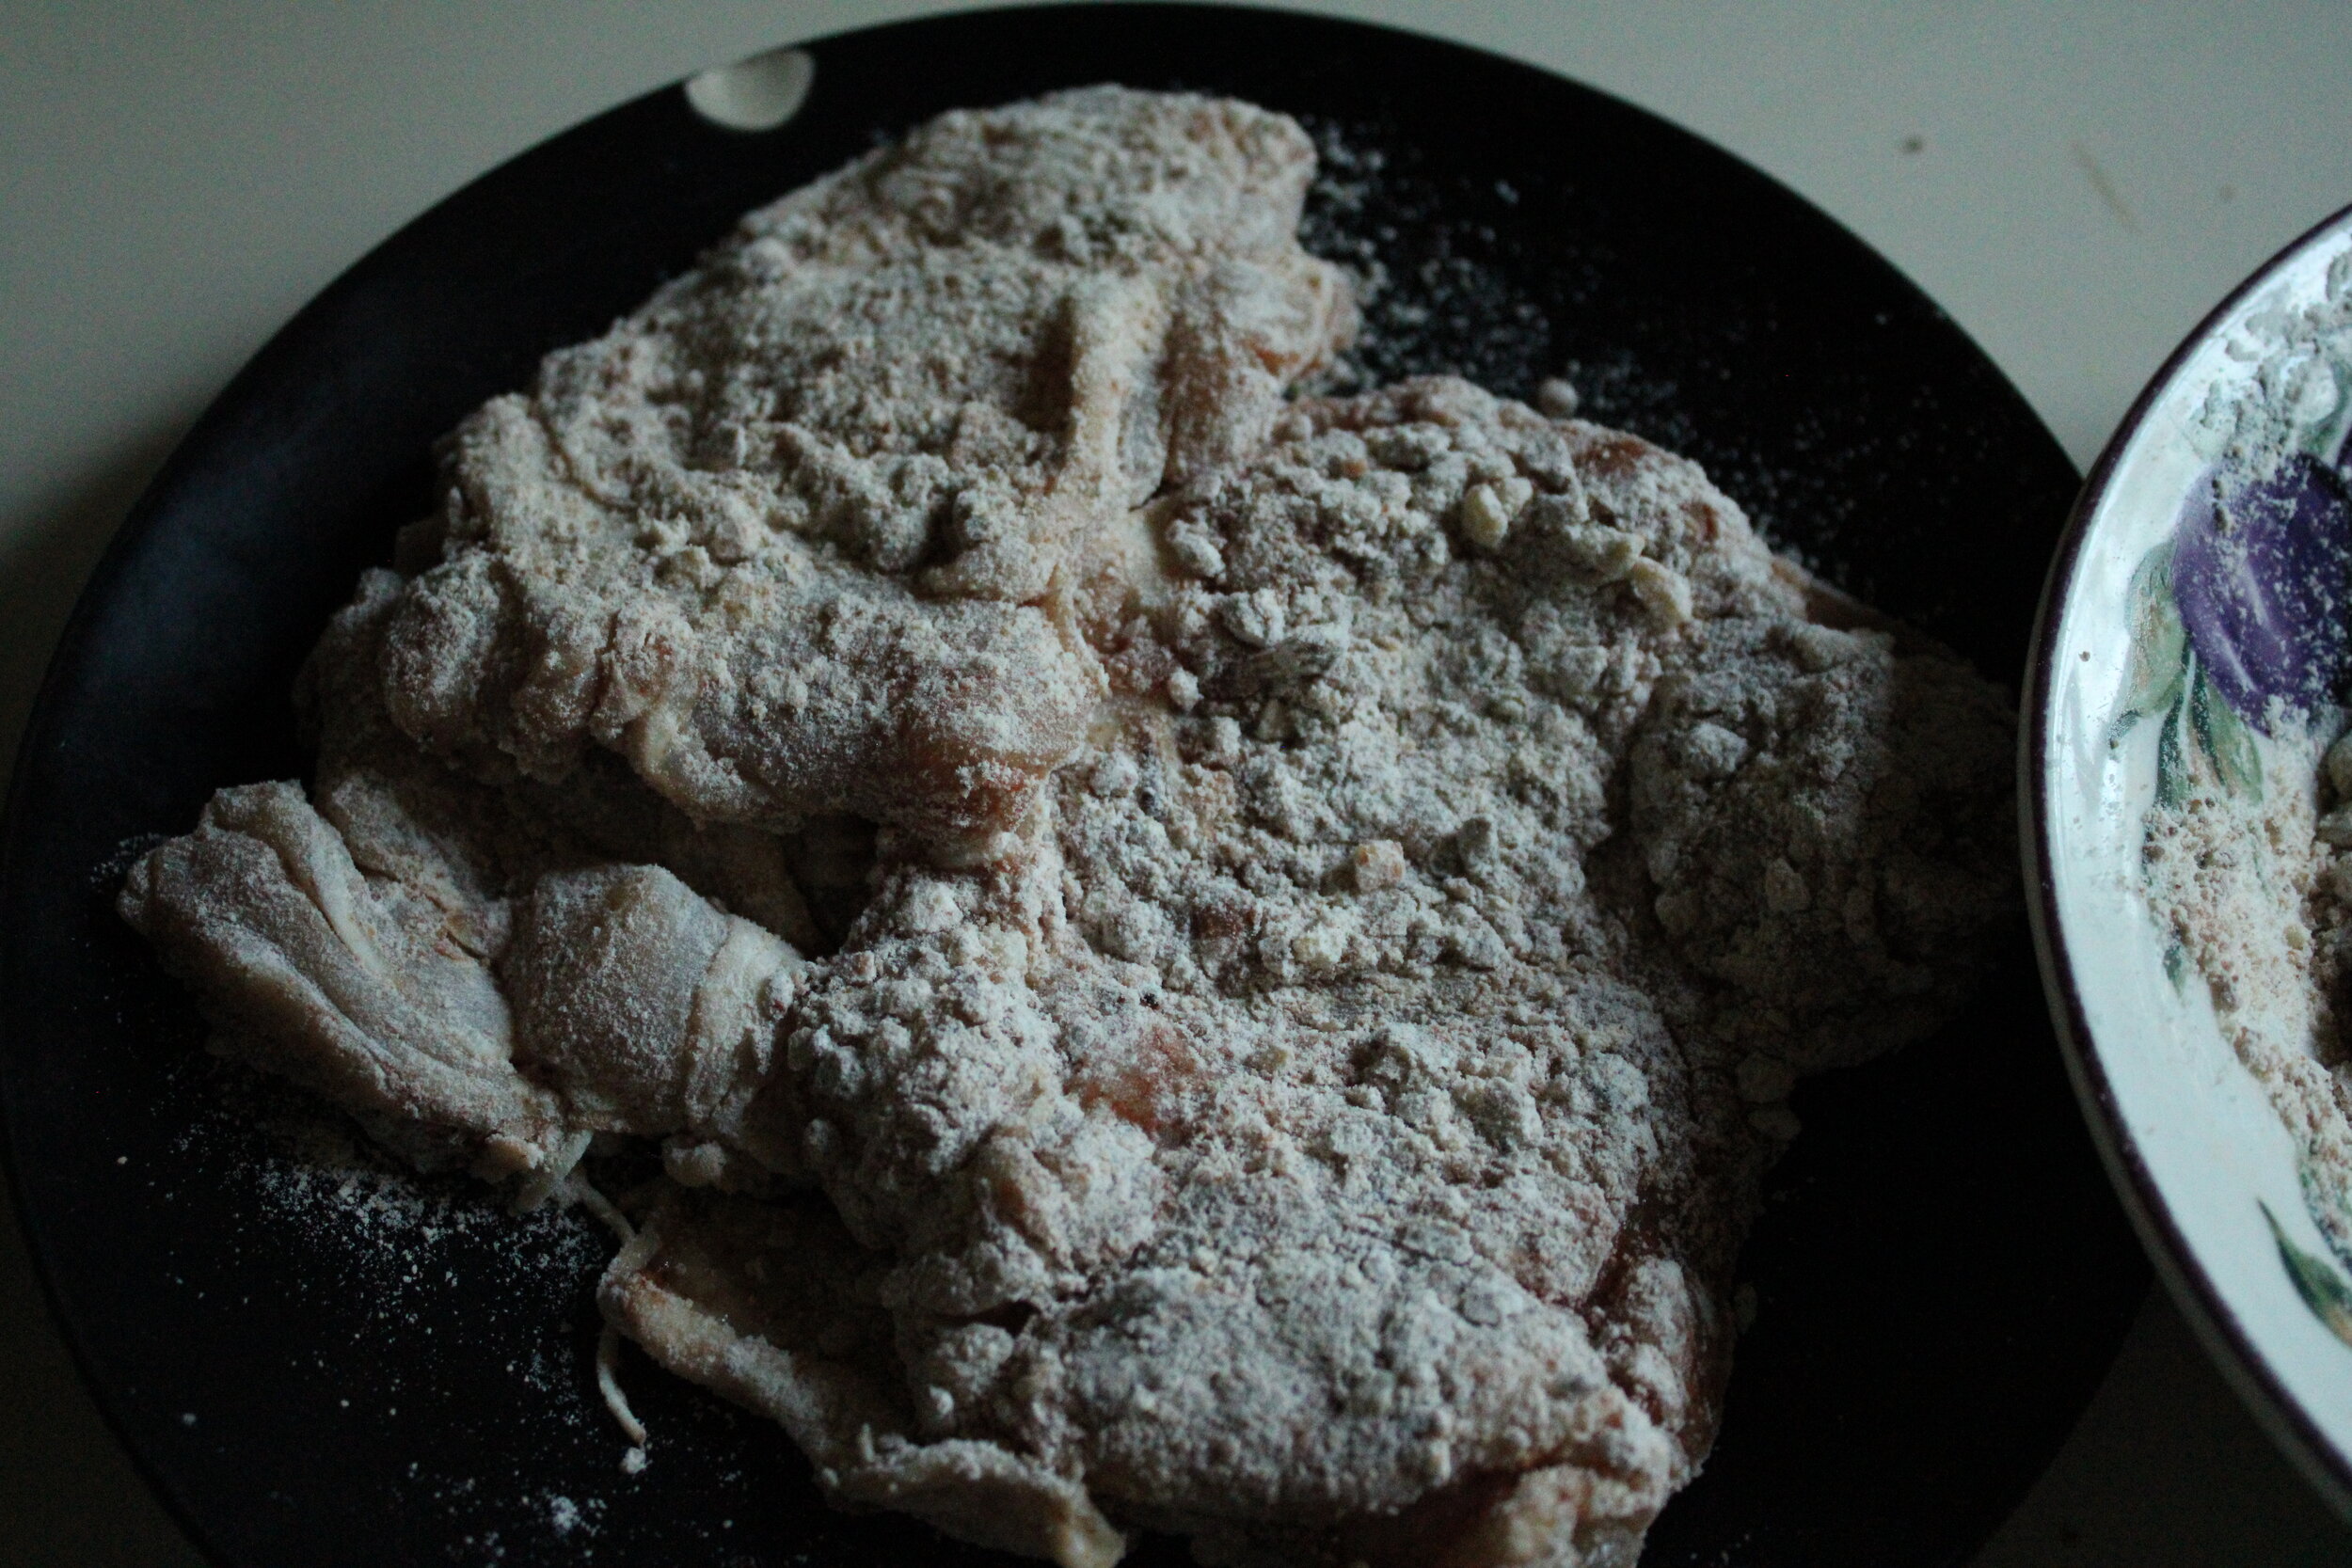
Flour mix
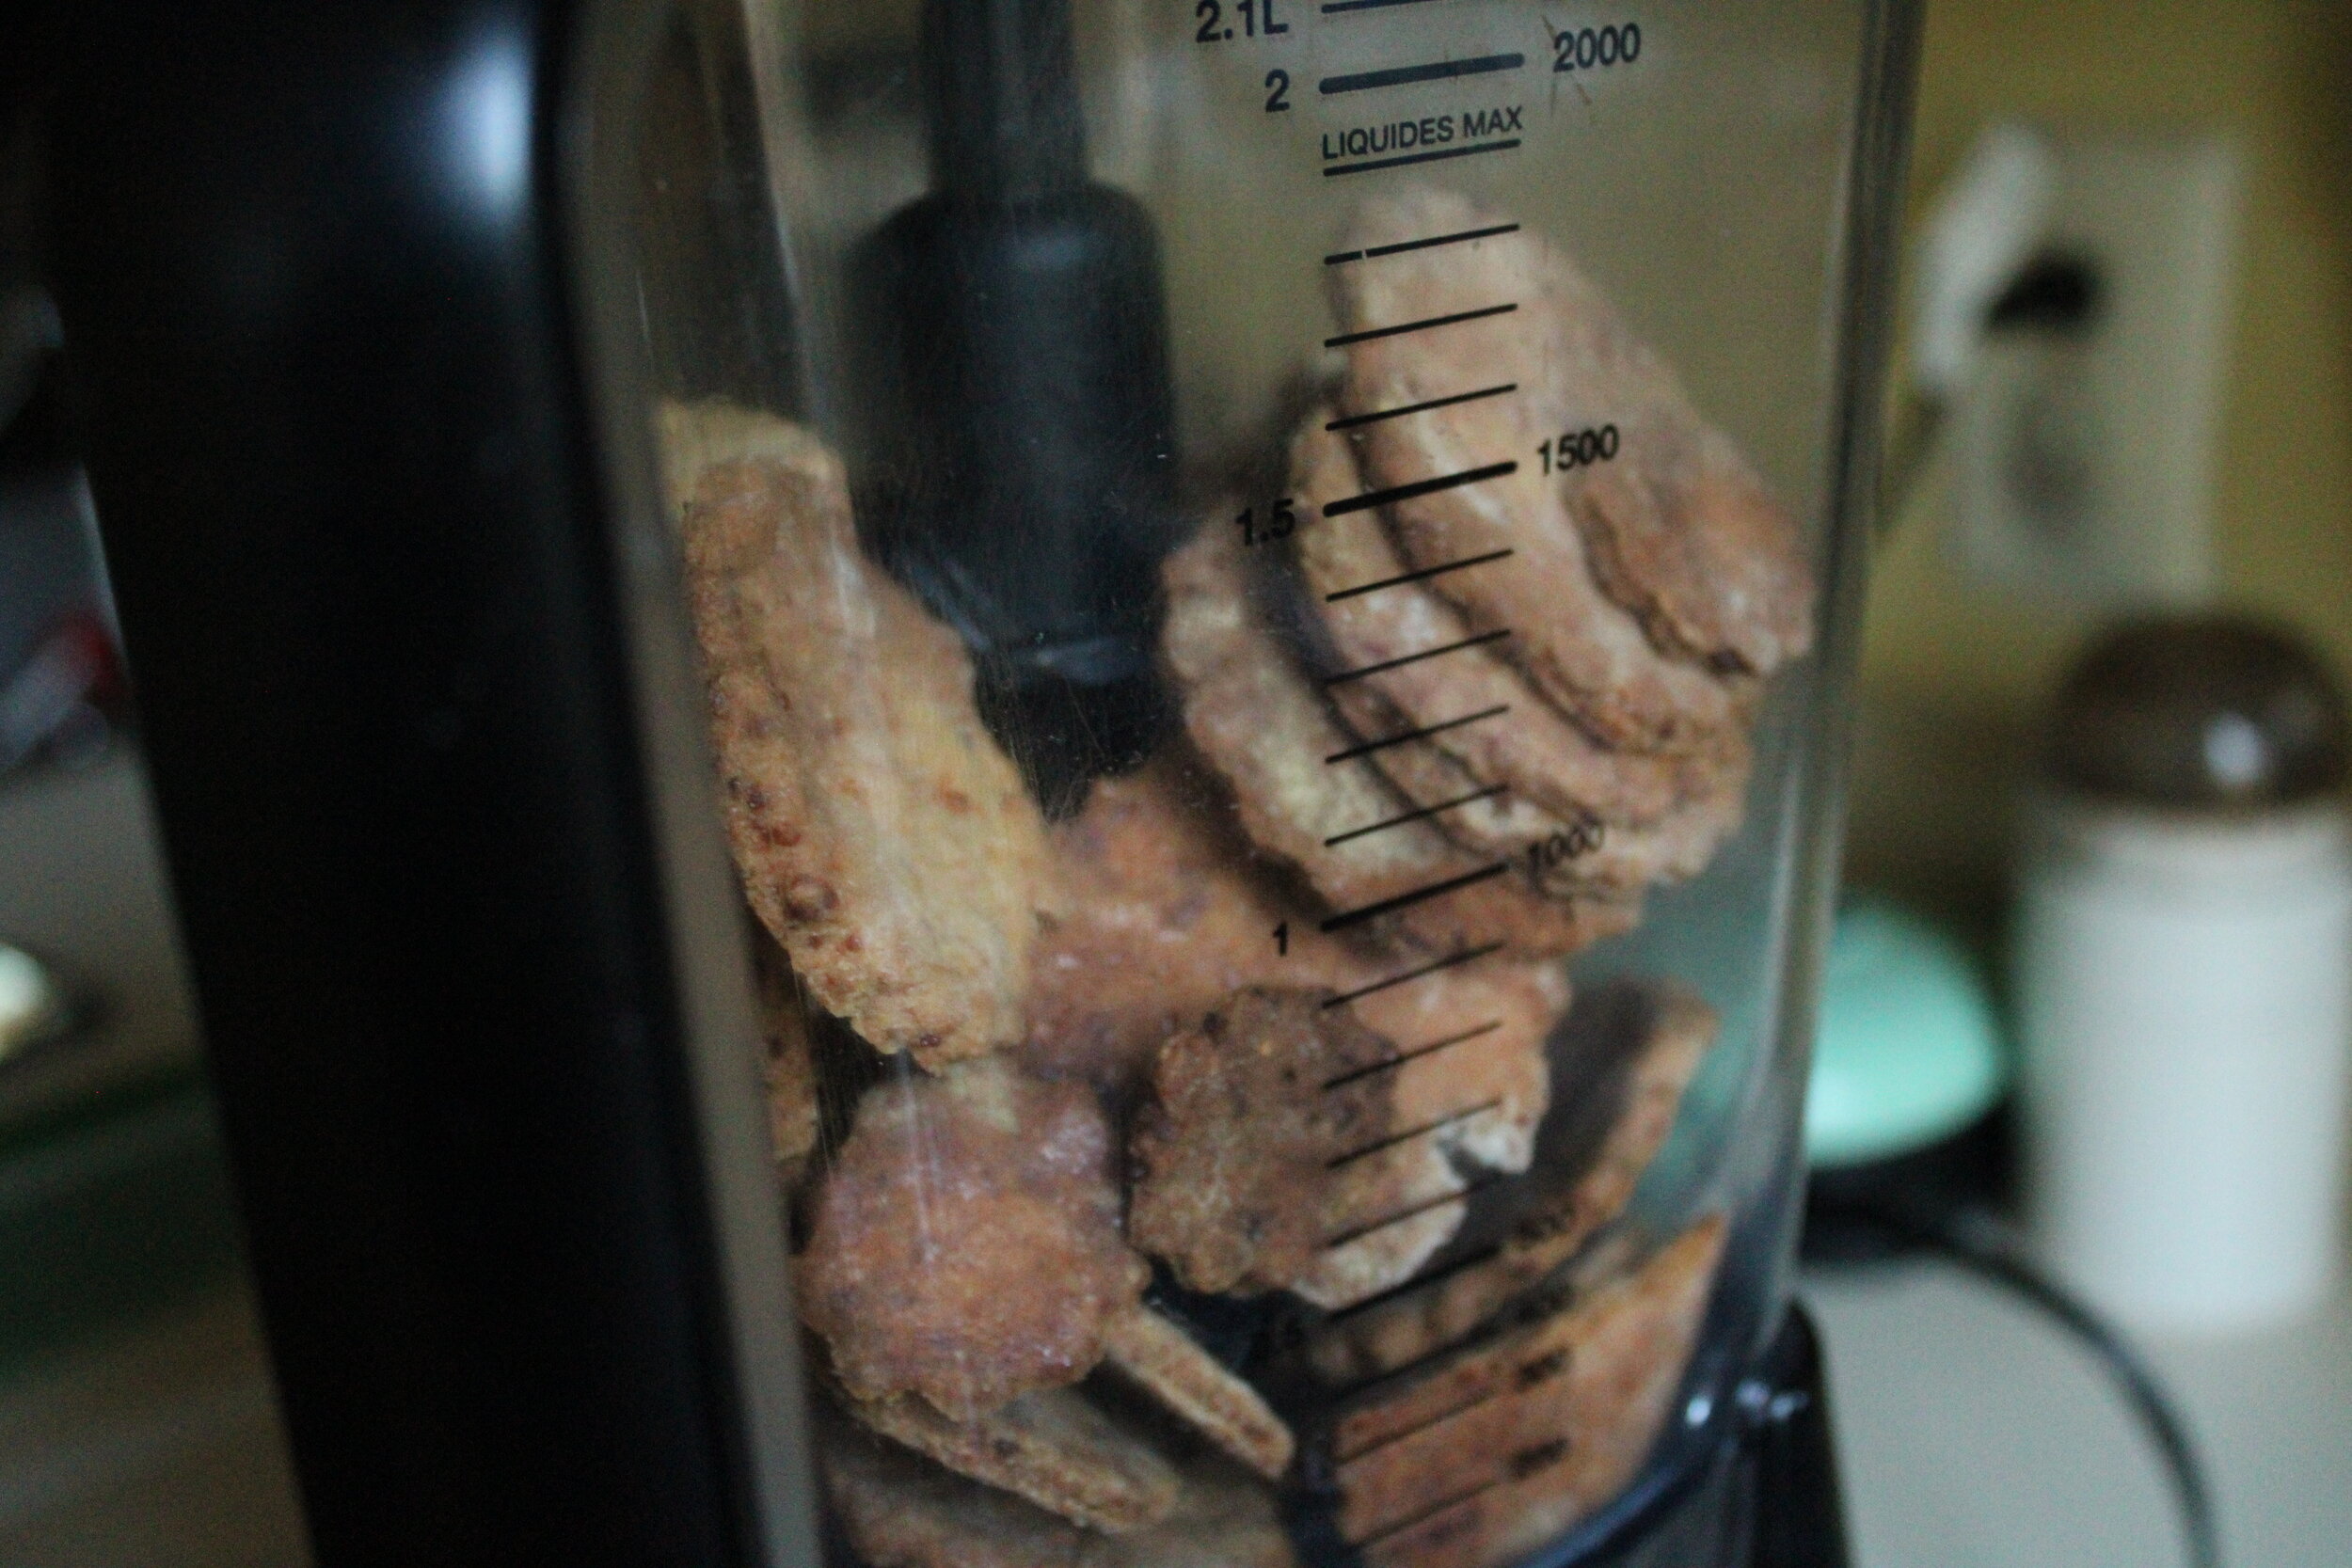
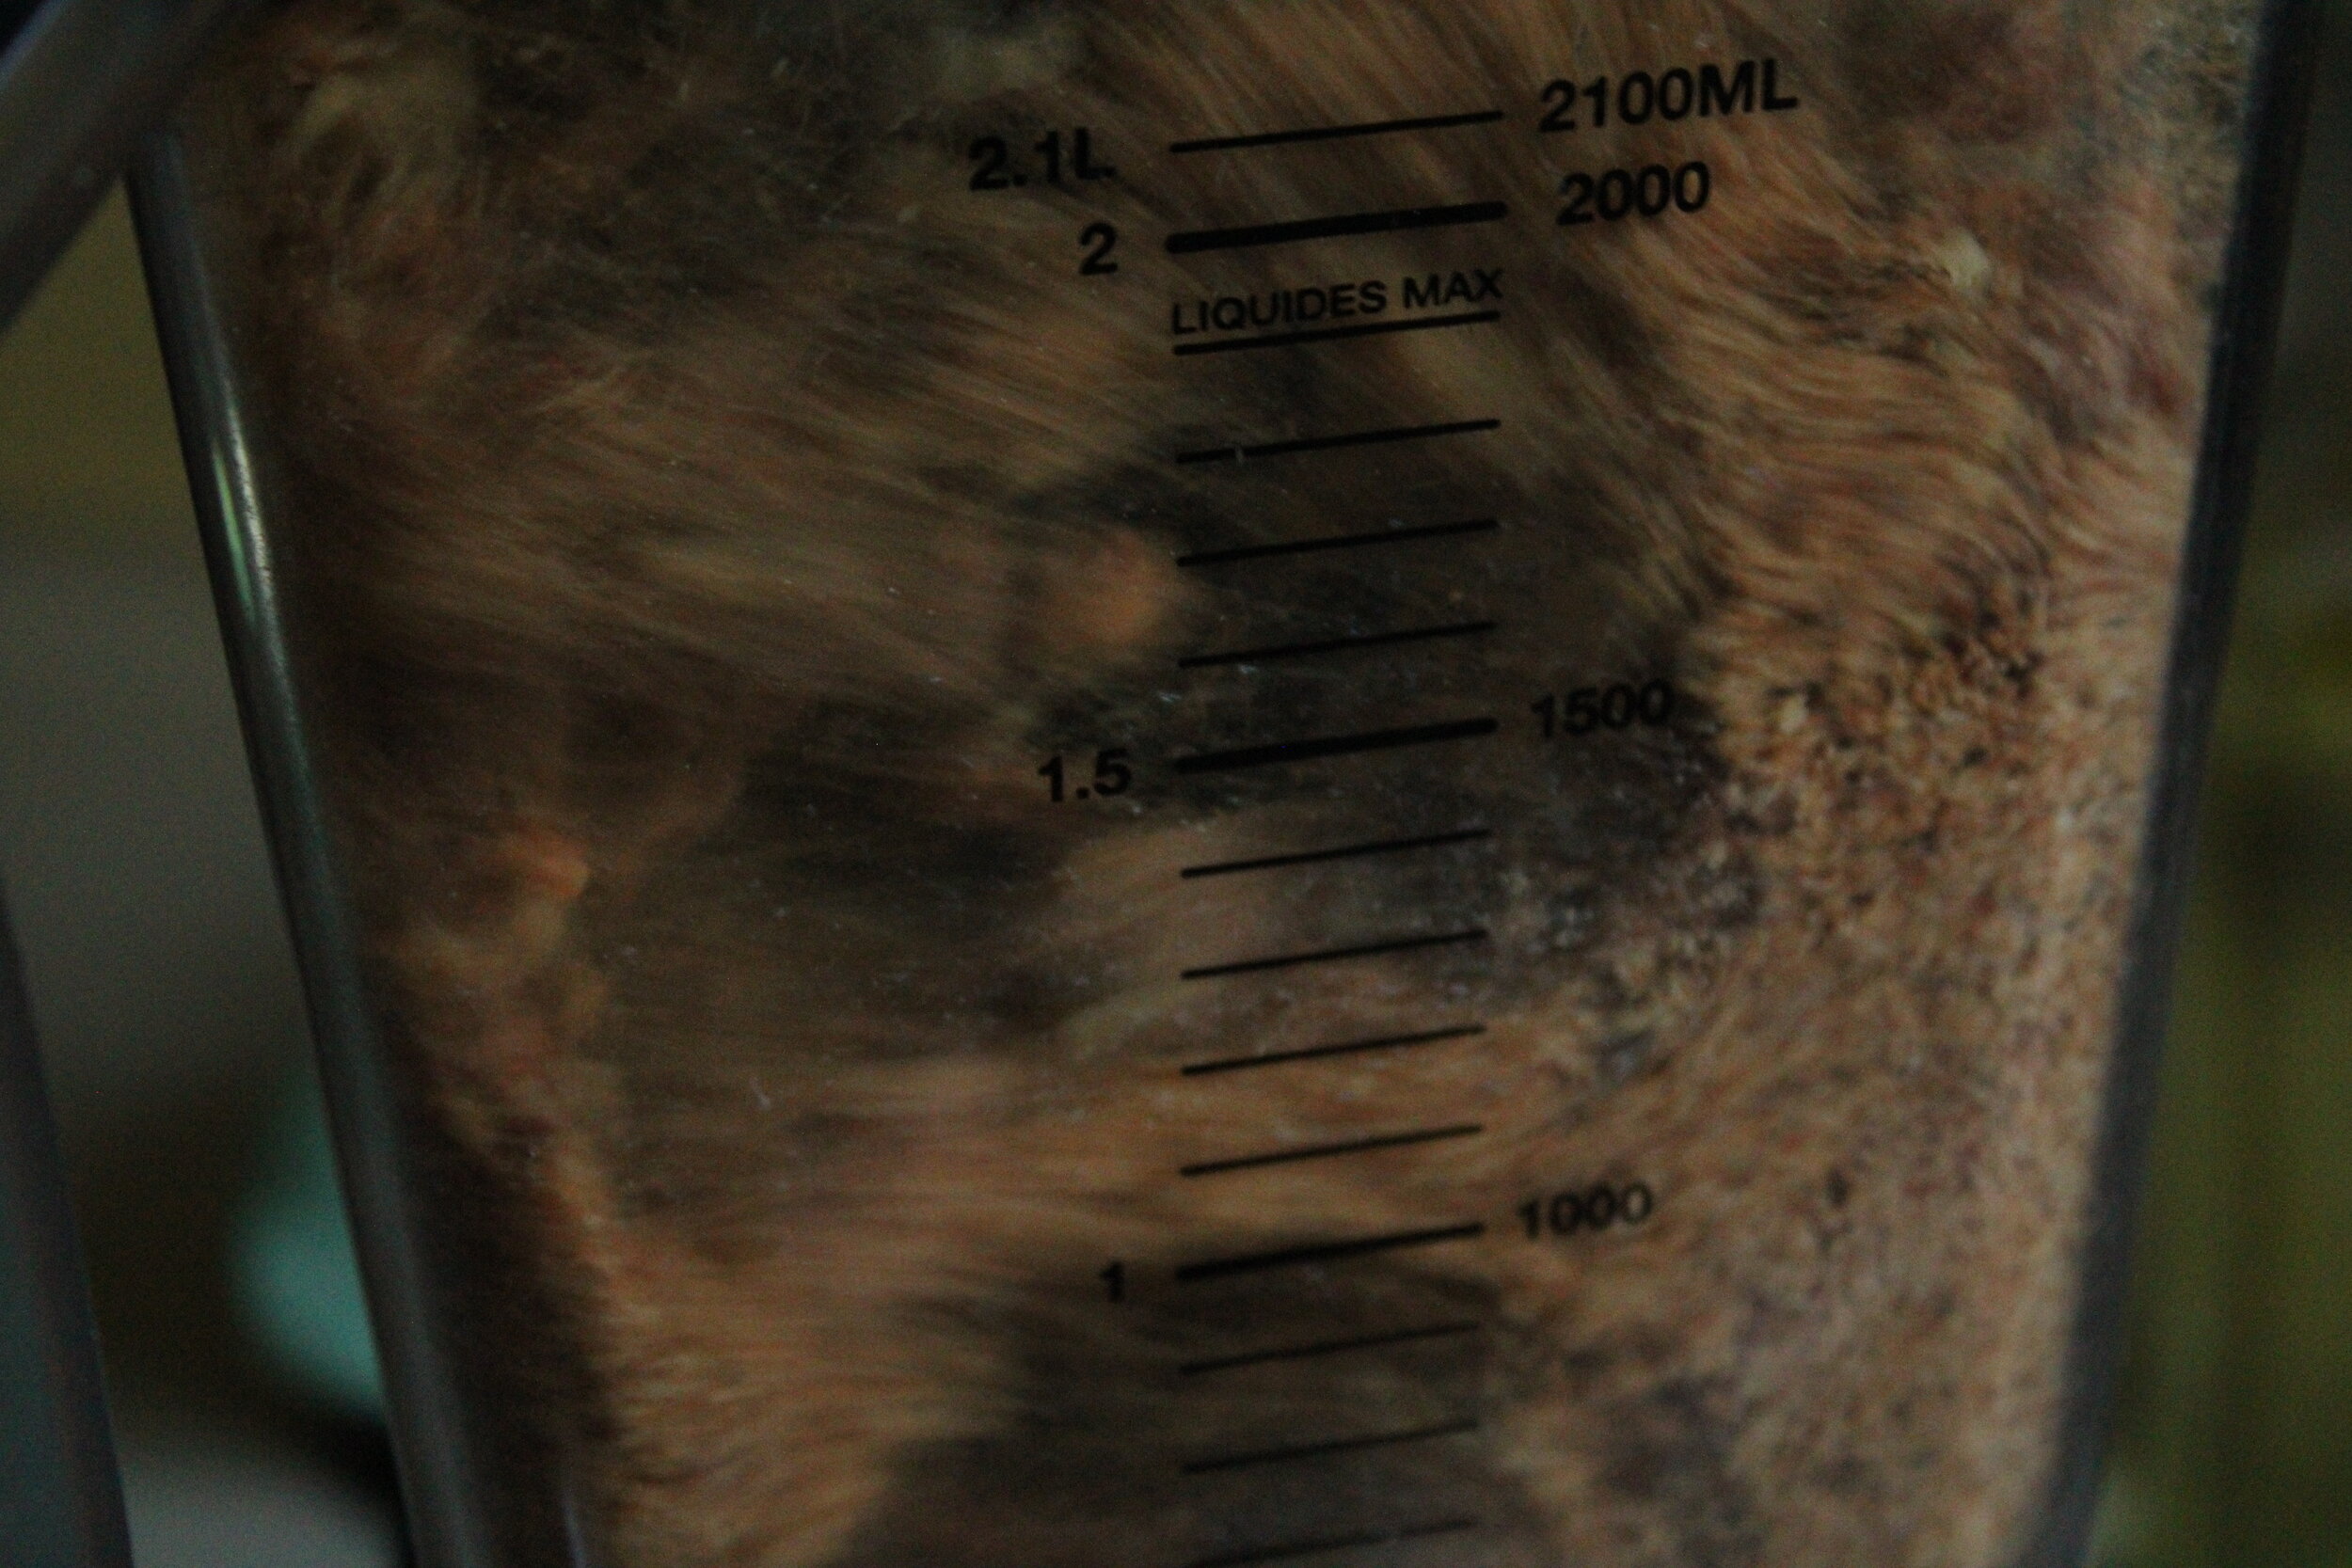
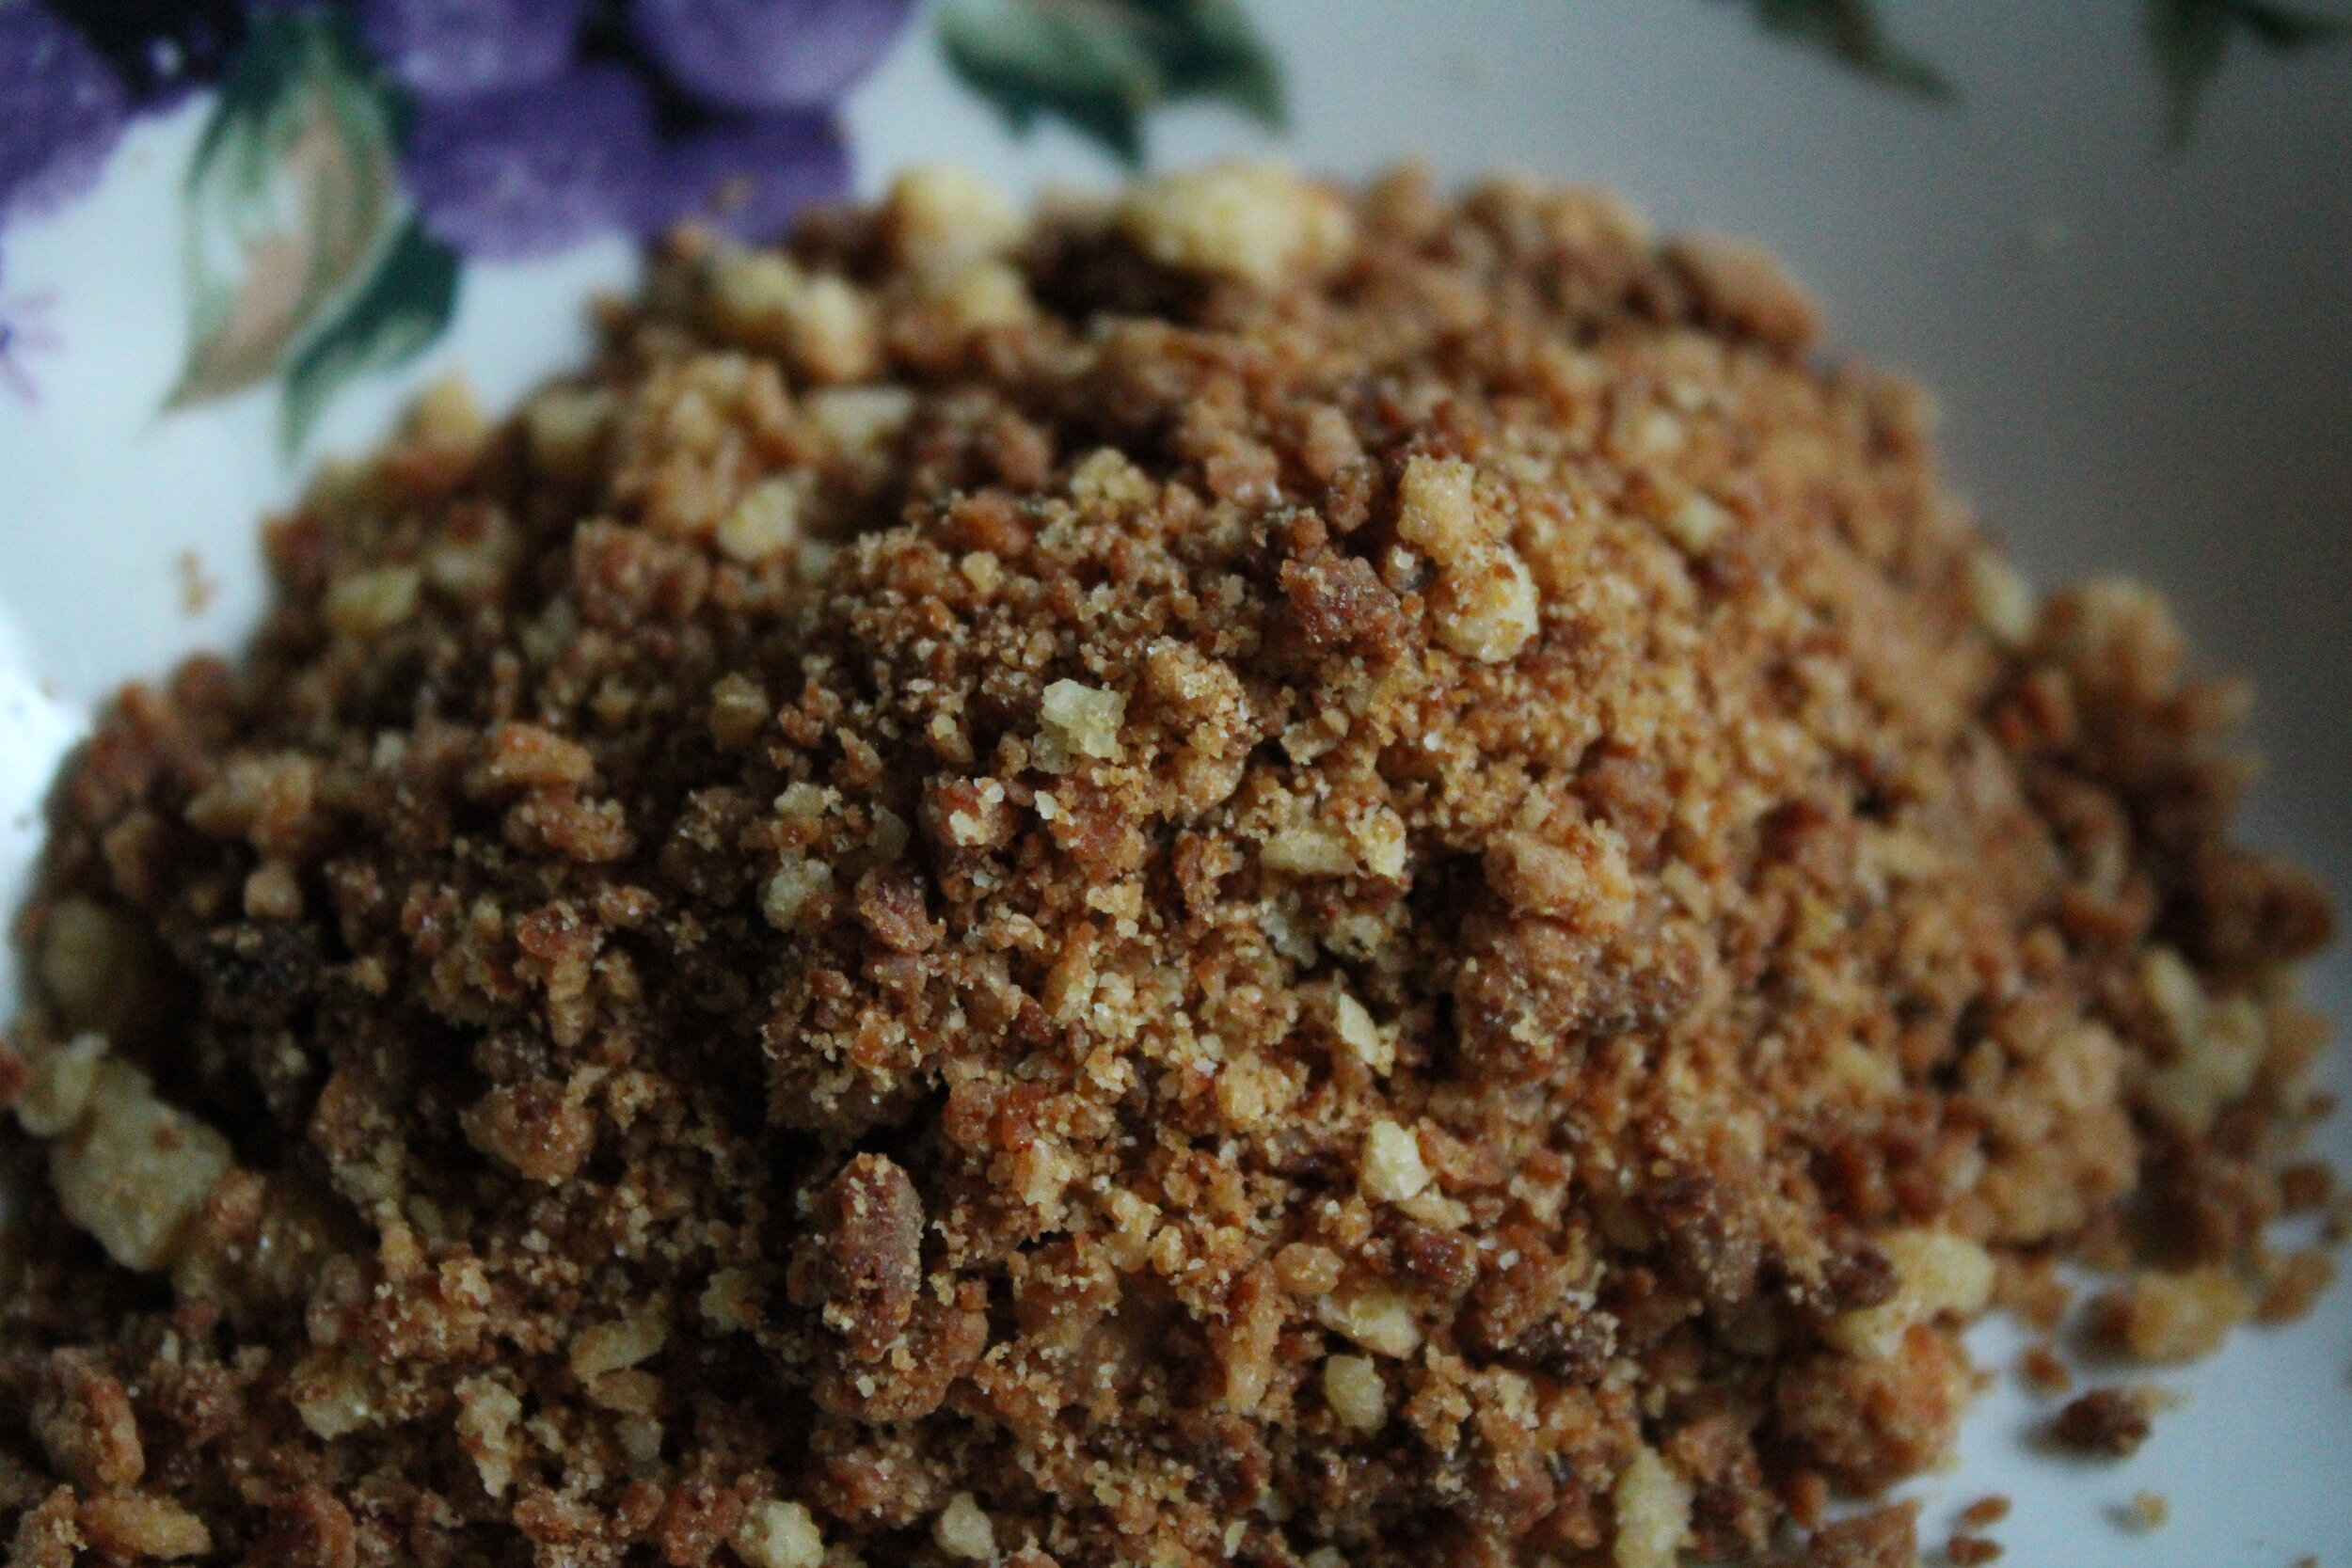
¼ cup Breadcrumbs (I used the failed ritz crackers here by blending them in a mixer)
½ cup Flour
½ tsp Salt
1 tsp. Thyme (I used this hyssop thyme which is sooo floral in fragrance, but any fresh or dry thyme is great too #notspon, I just love Burlap & Barrel)
½ tsp Garlic Granules
Collard greens
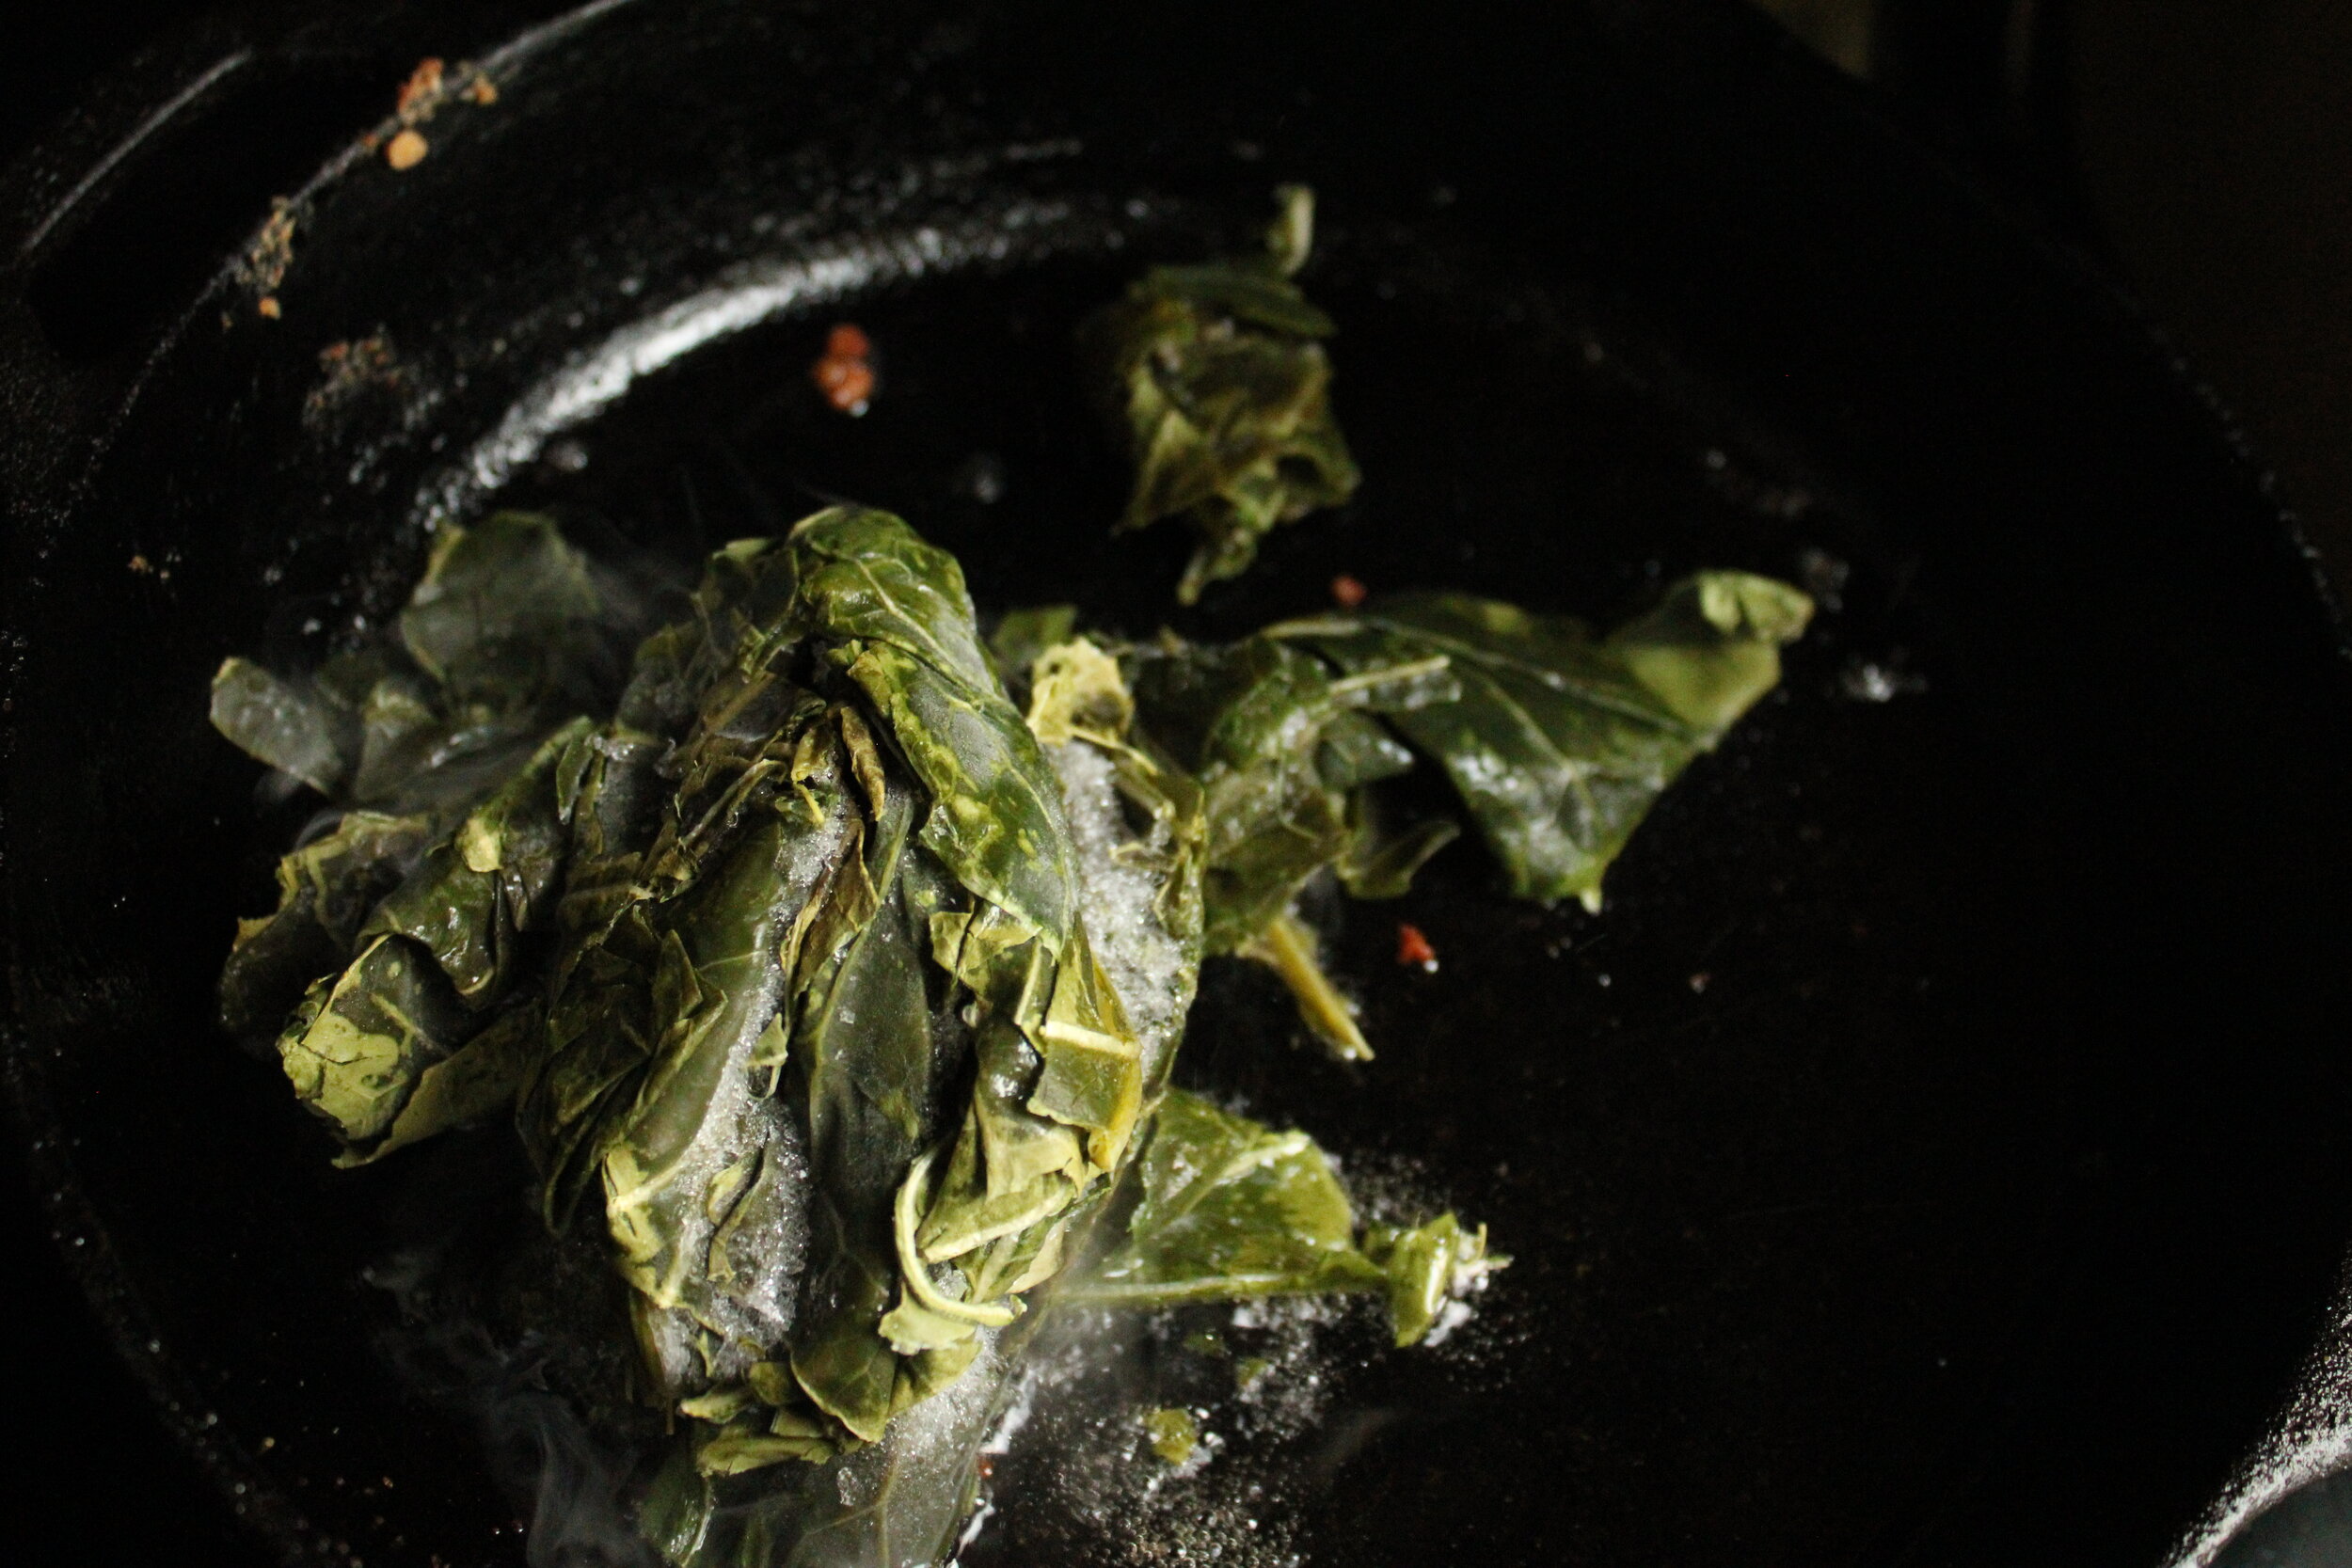
One 1/2# bunch Collards (I used collards I froze last year, cause I’m making room for this year’s frozen collards)
1-2 tbsp. oil
1 tsp. Garlic Powder
1/2 - 1 tsp. salt (watch the salt on the greens or skip, there’s so much flavor/salt in the other components, you really won’t need it here)
1/4 cup Water or Broth
Toppings
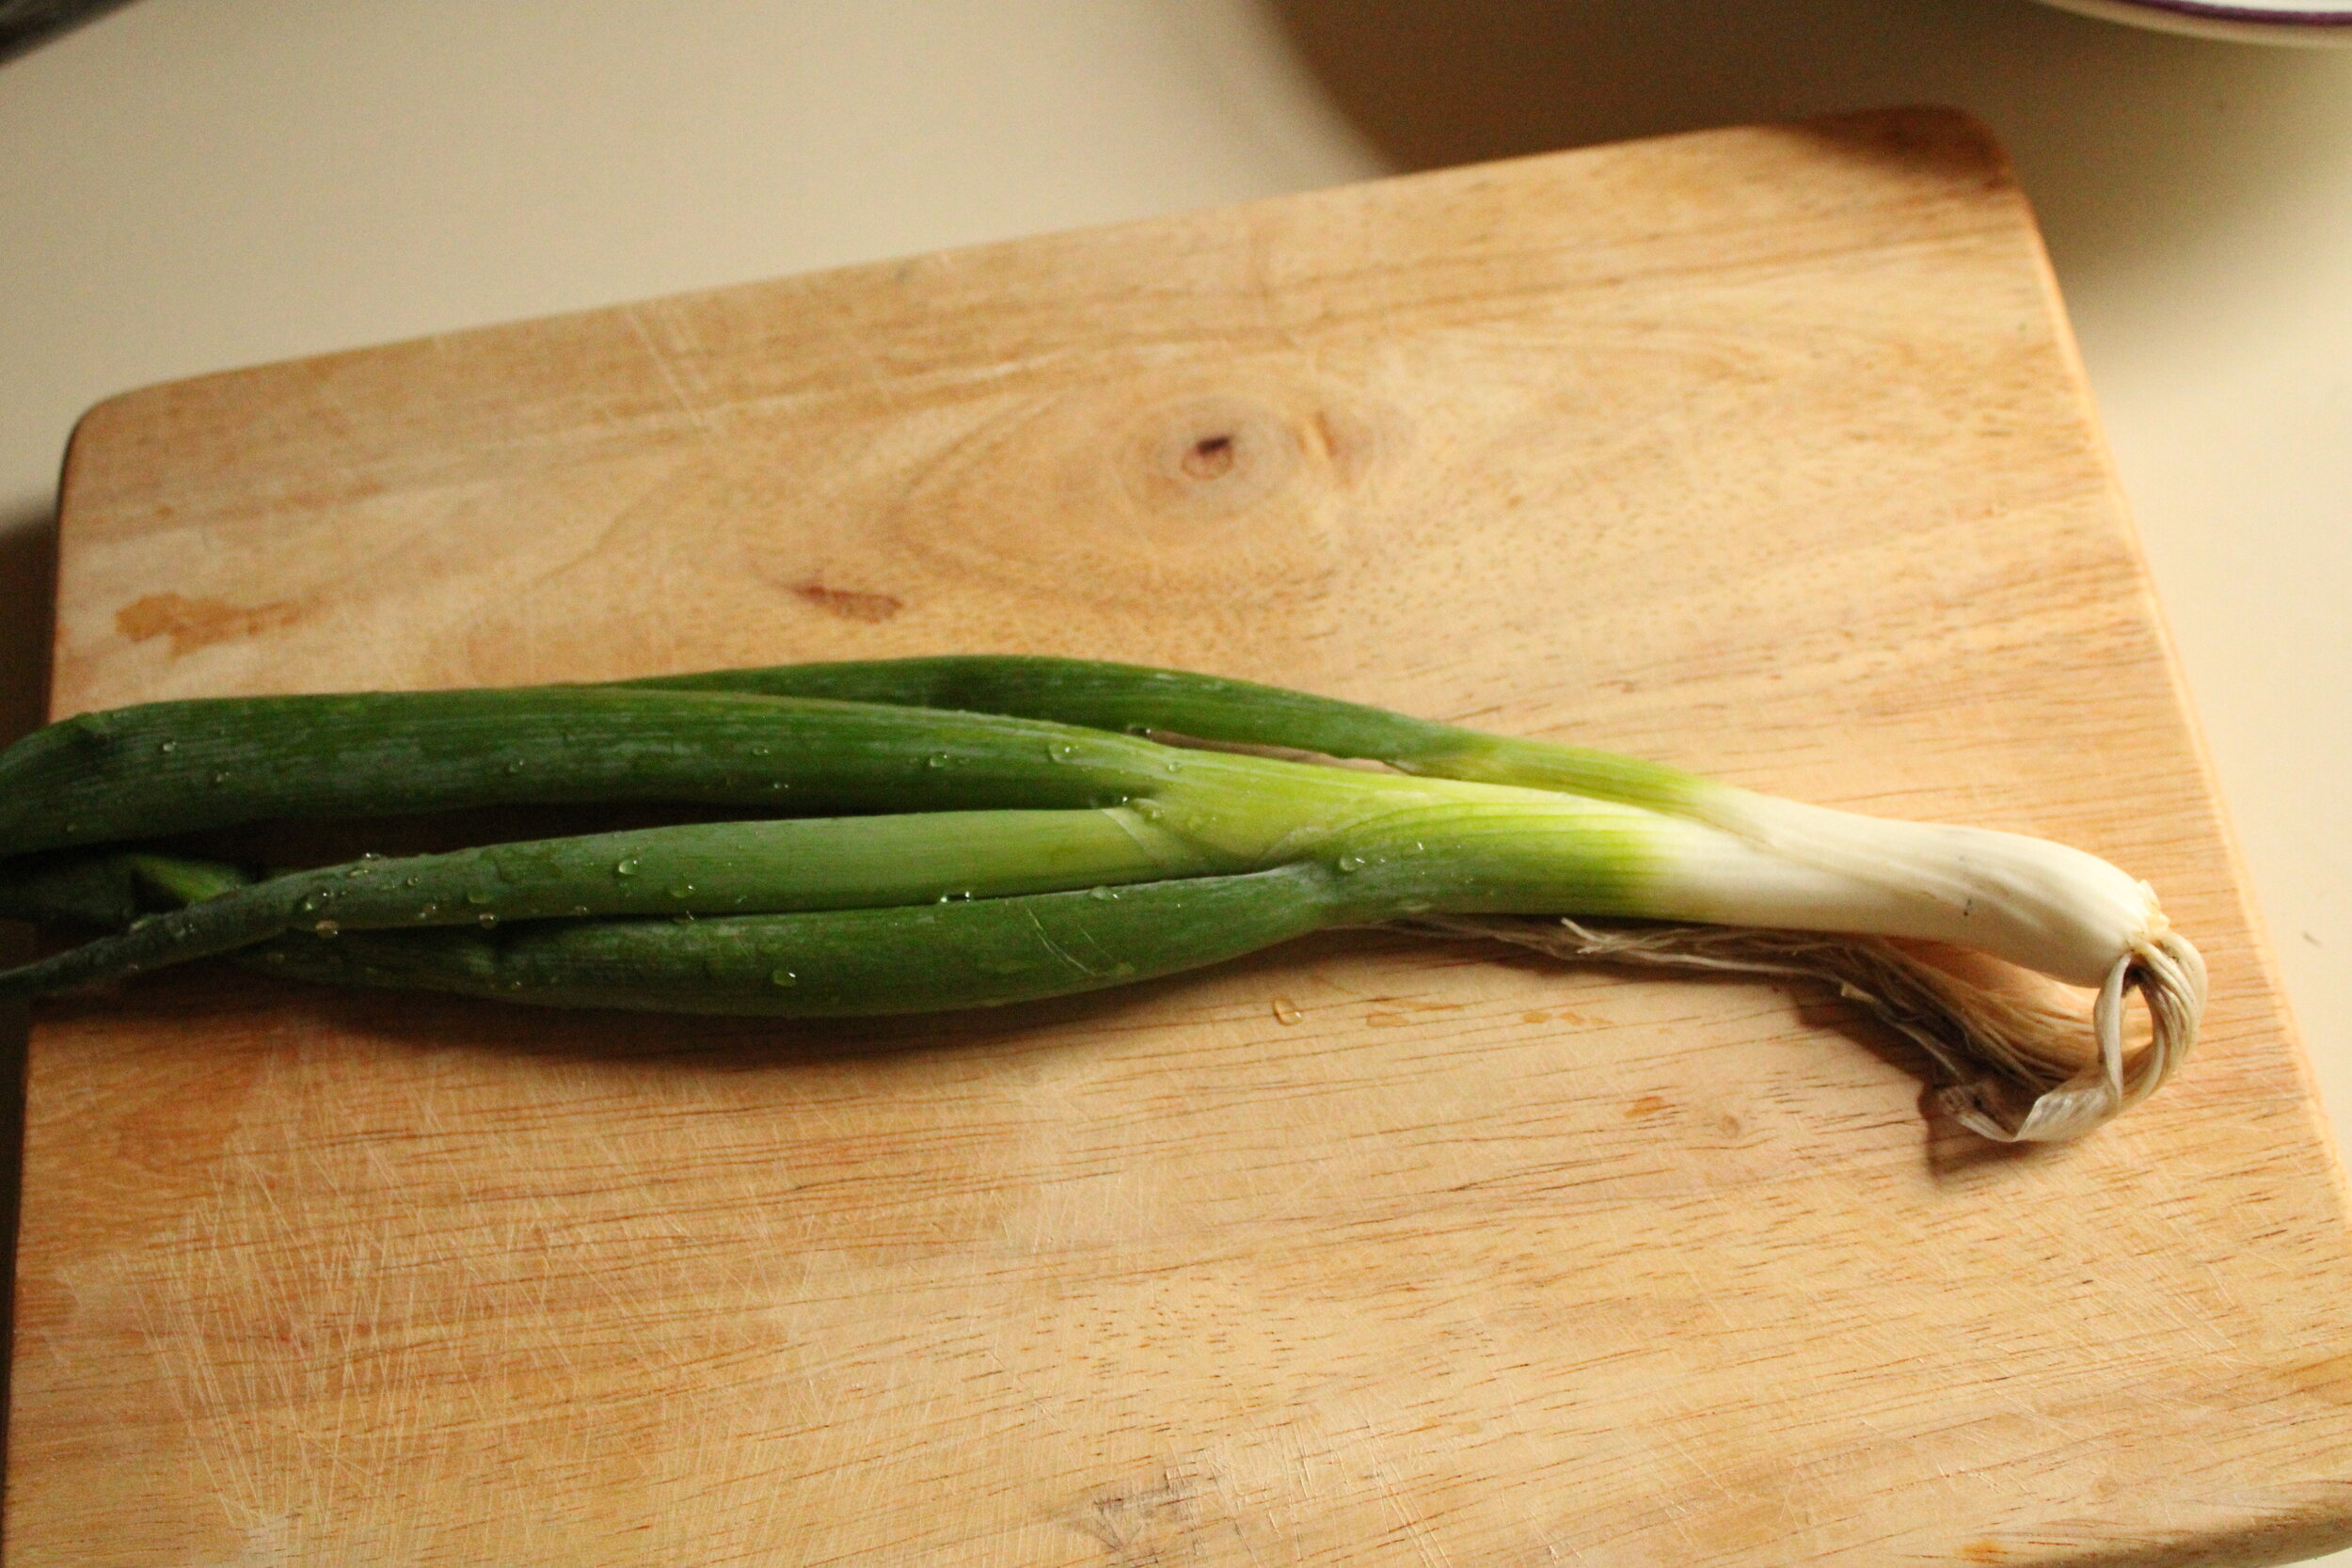
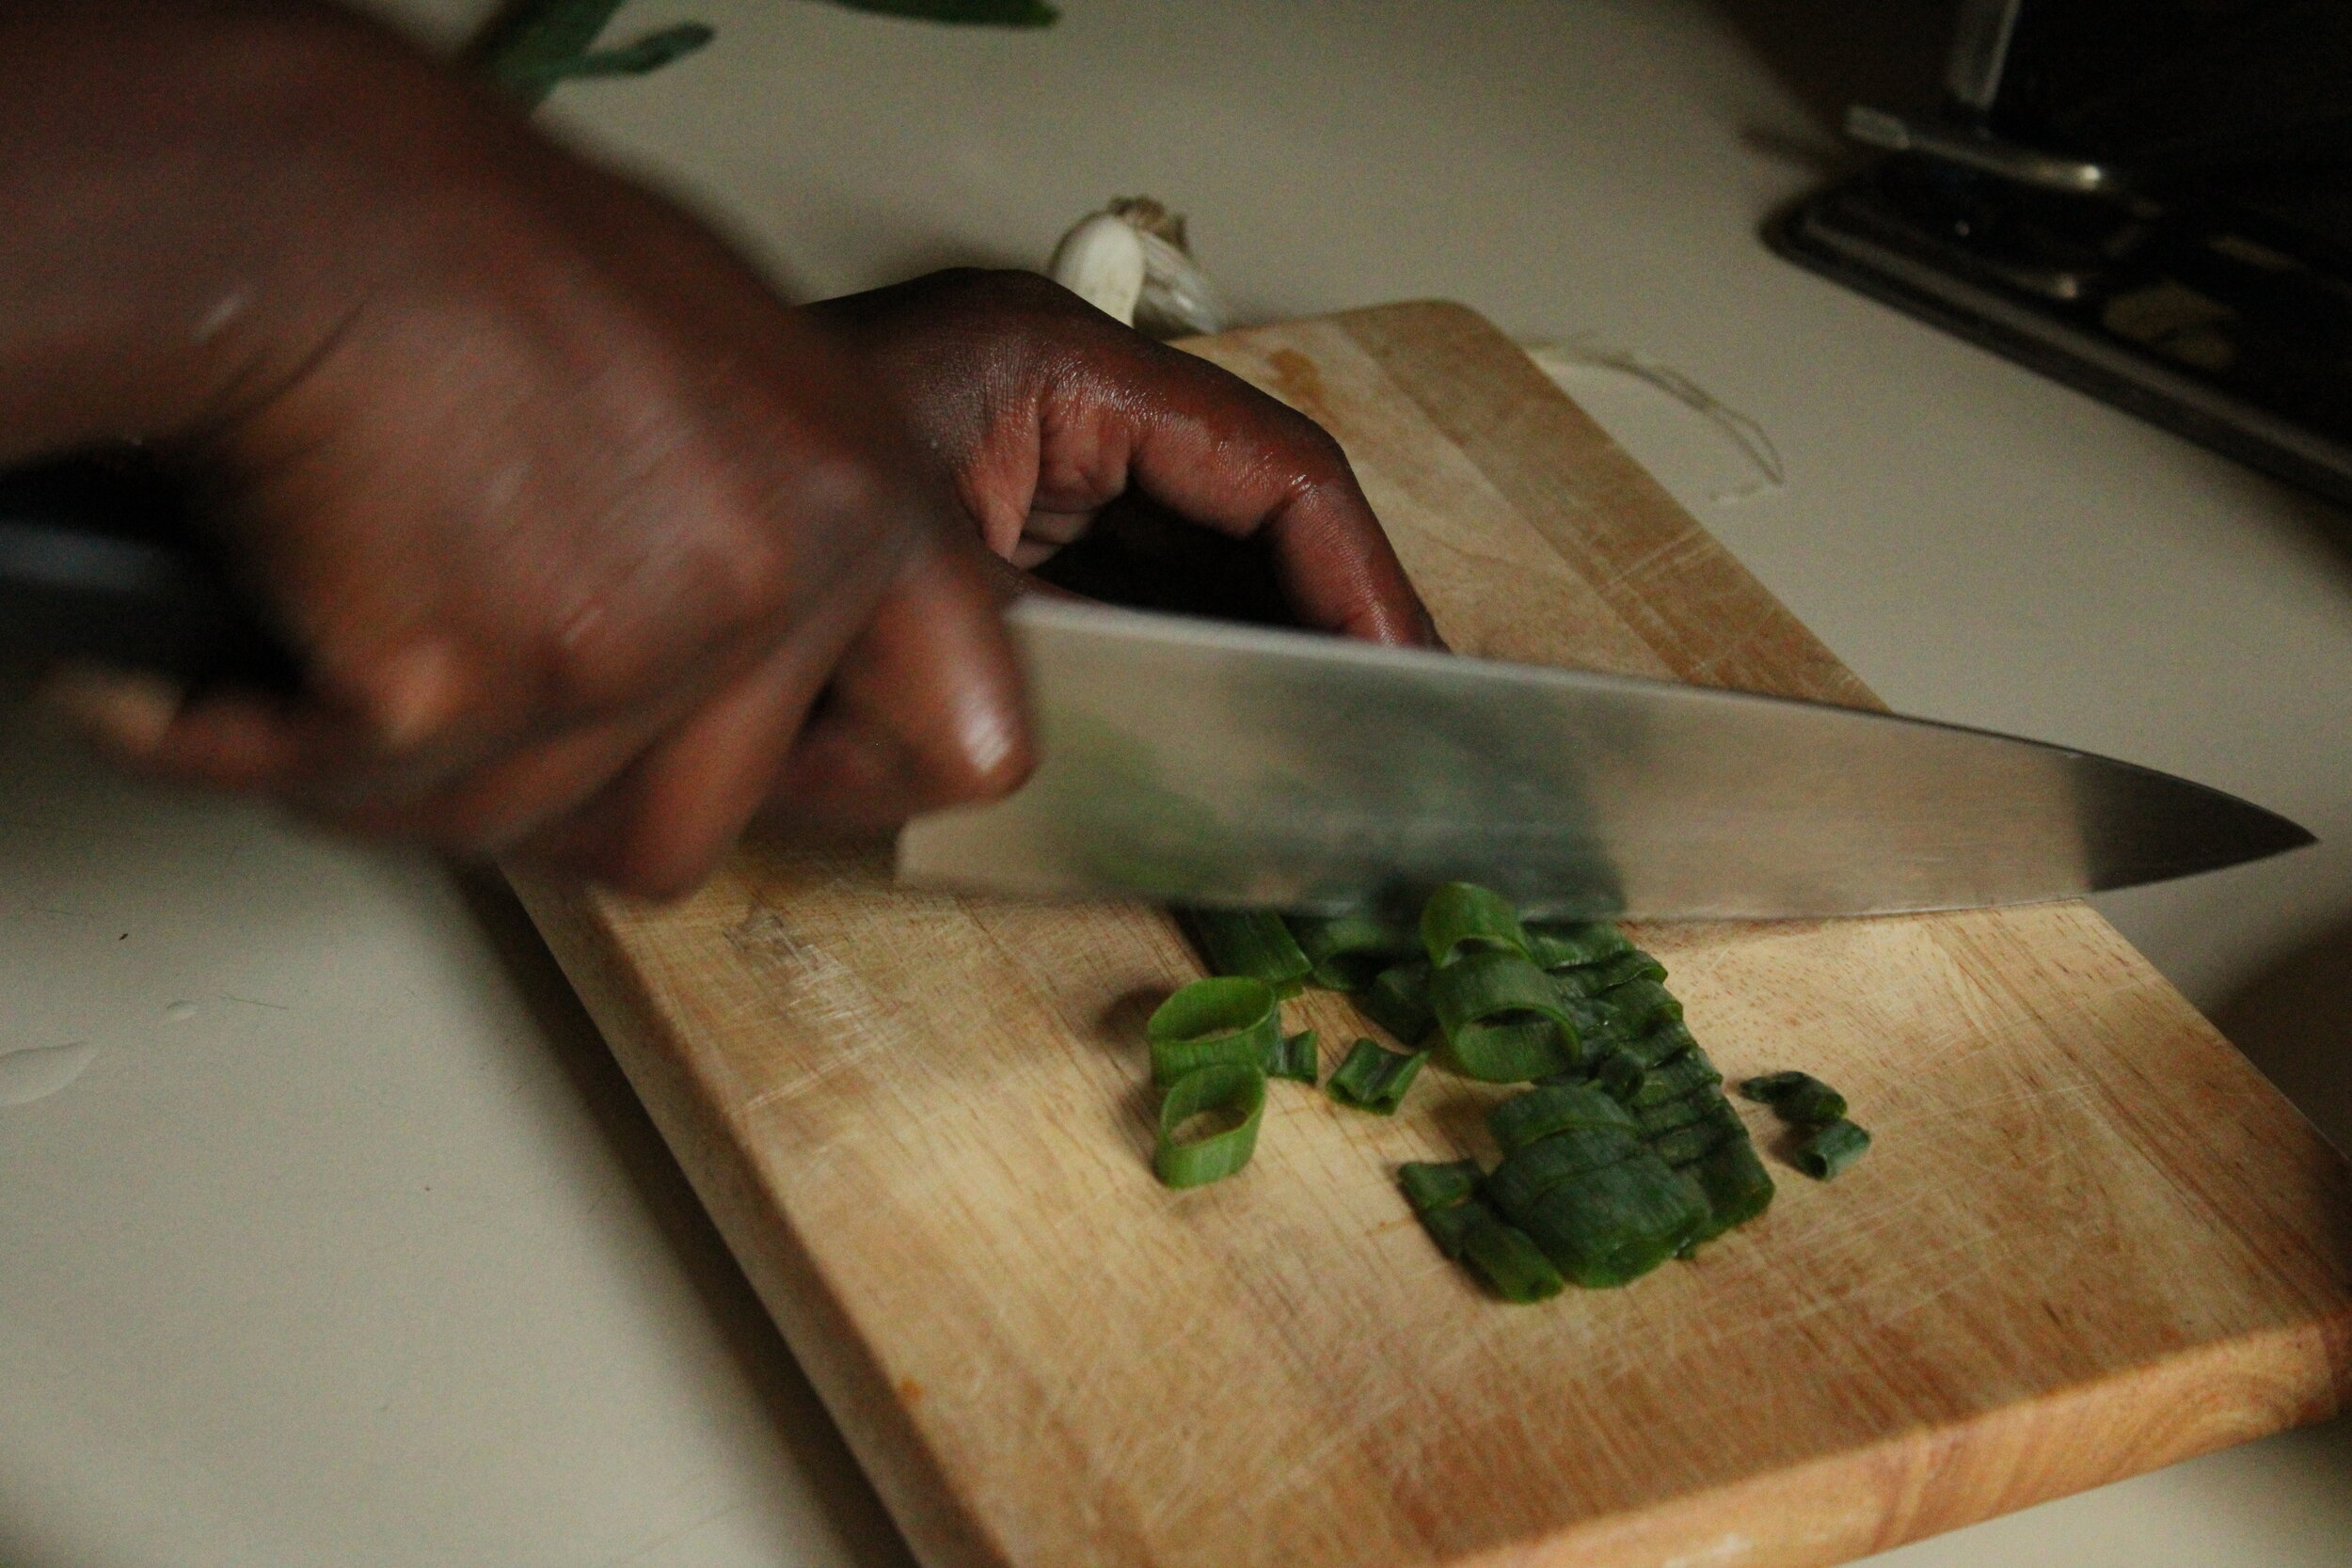
Scallions, chopped (reserve some for bowl garnish)
Step to it:
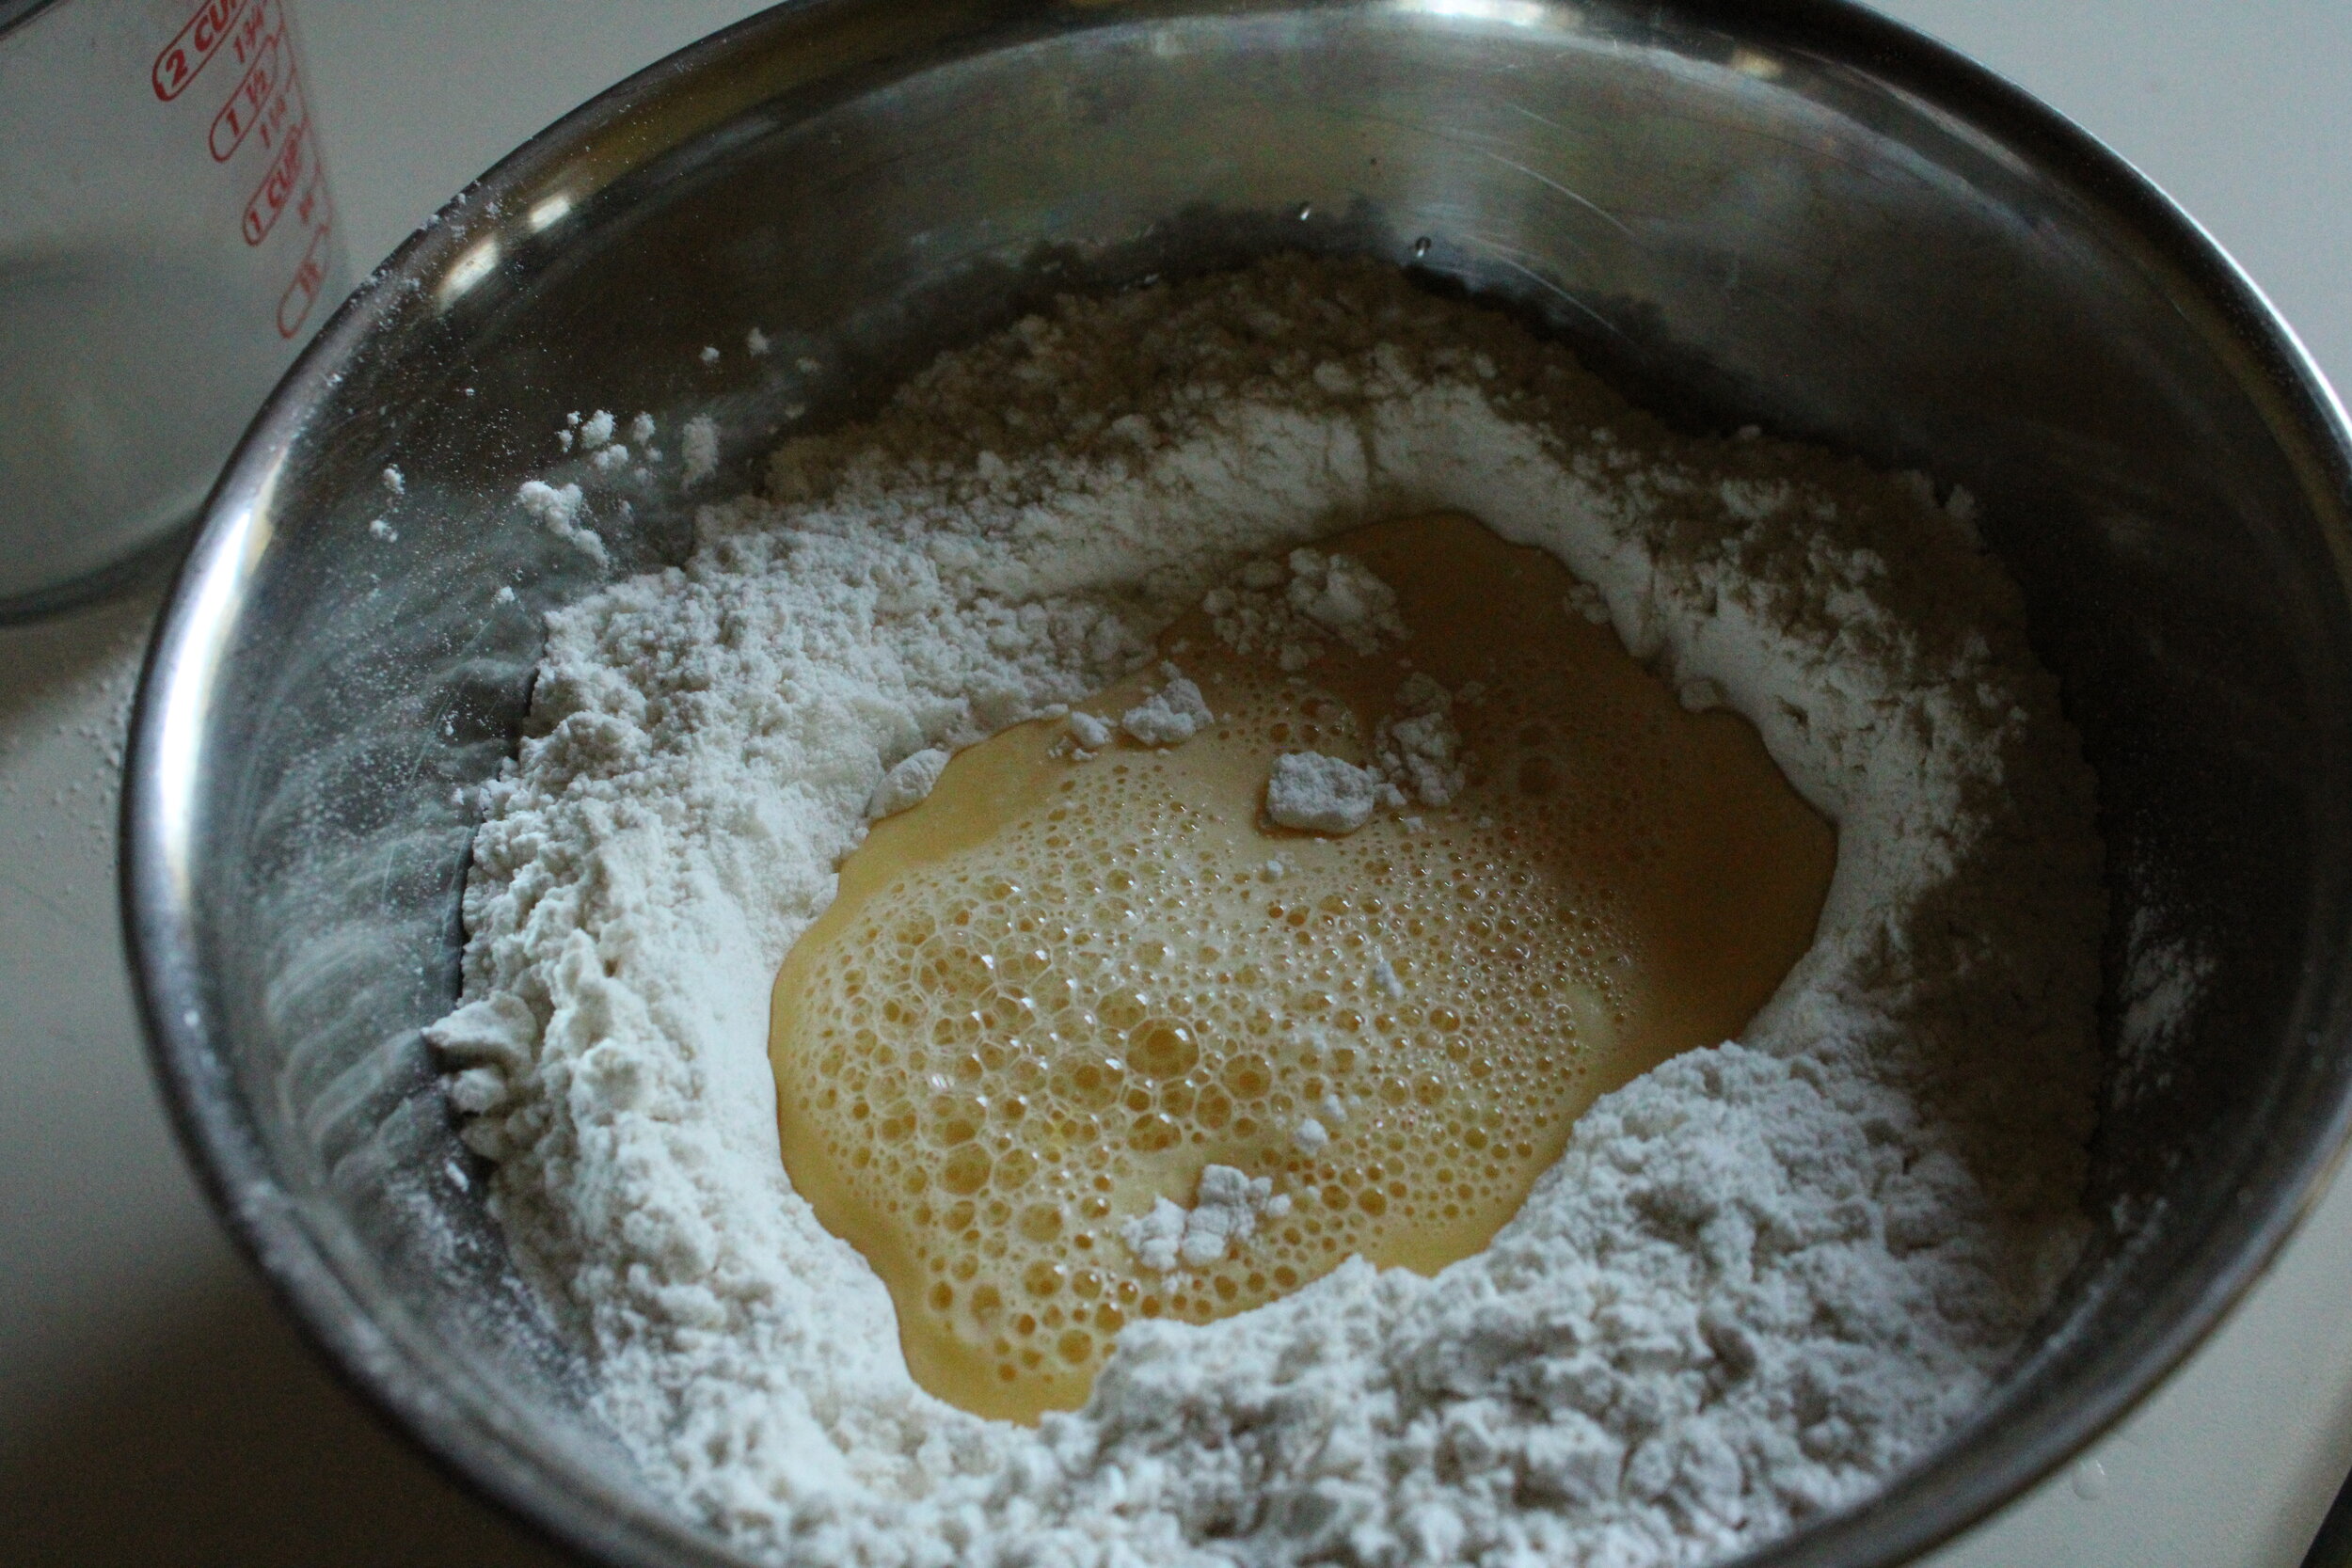
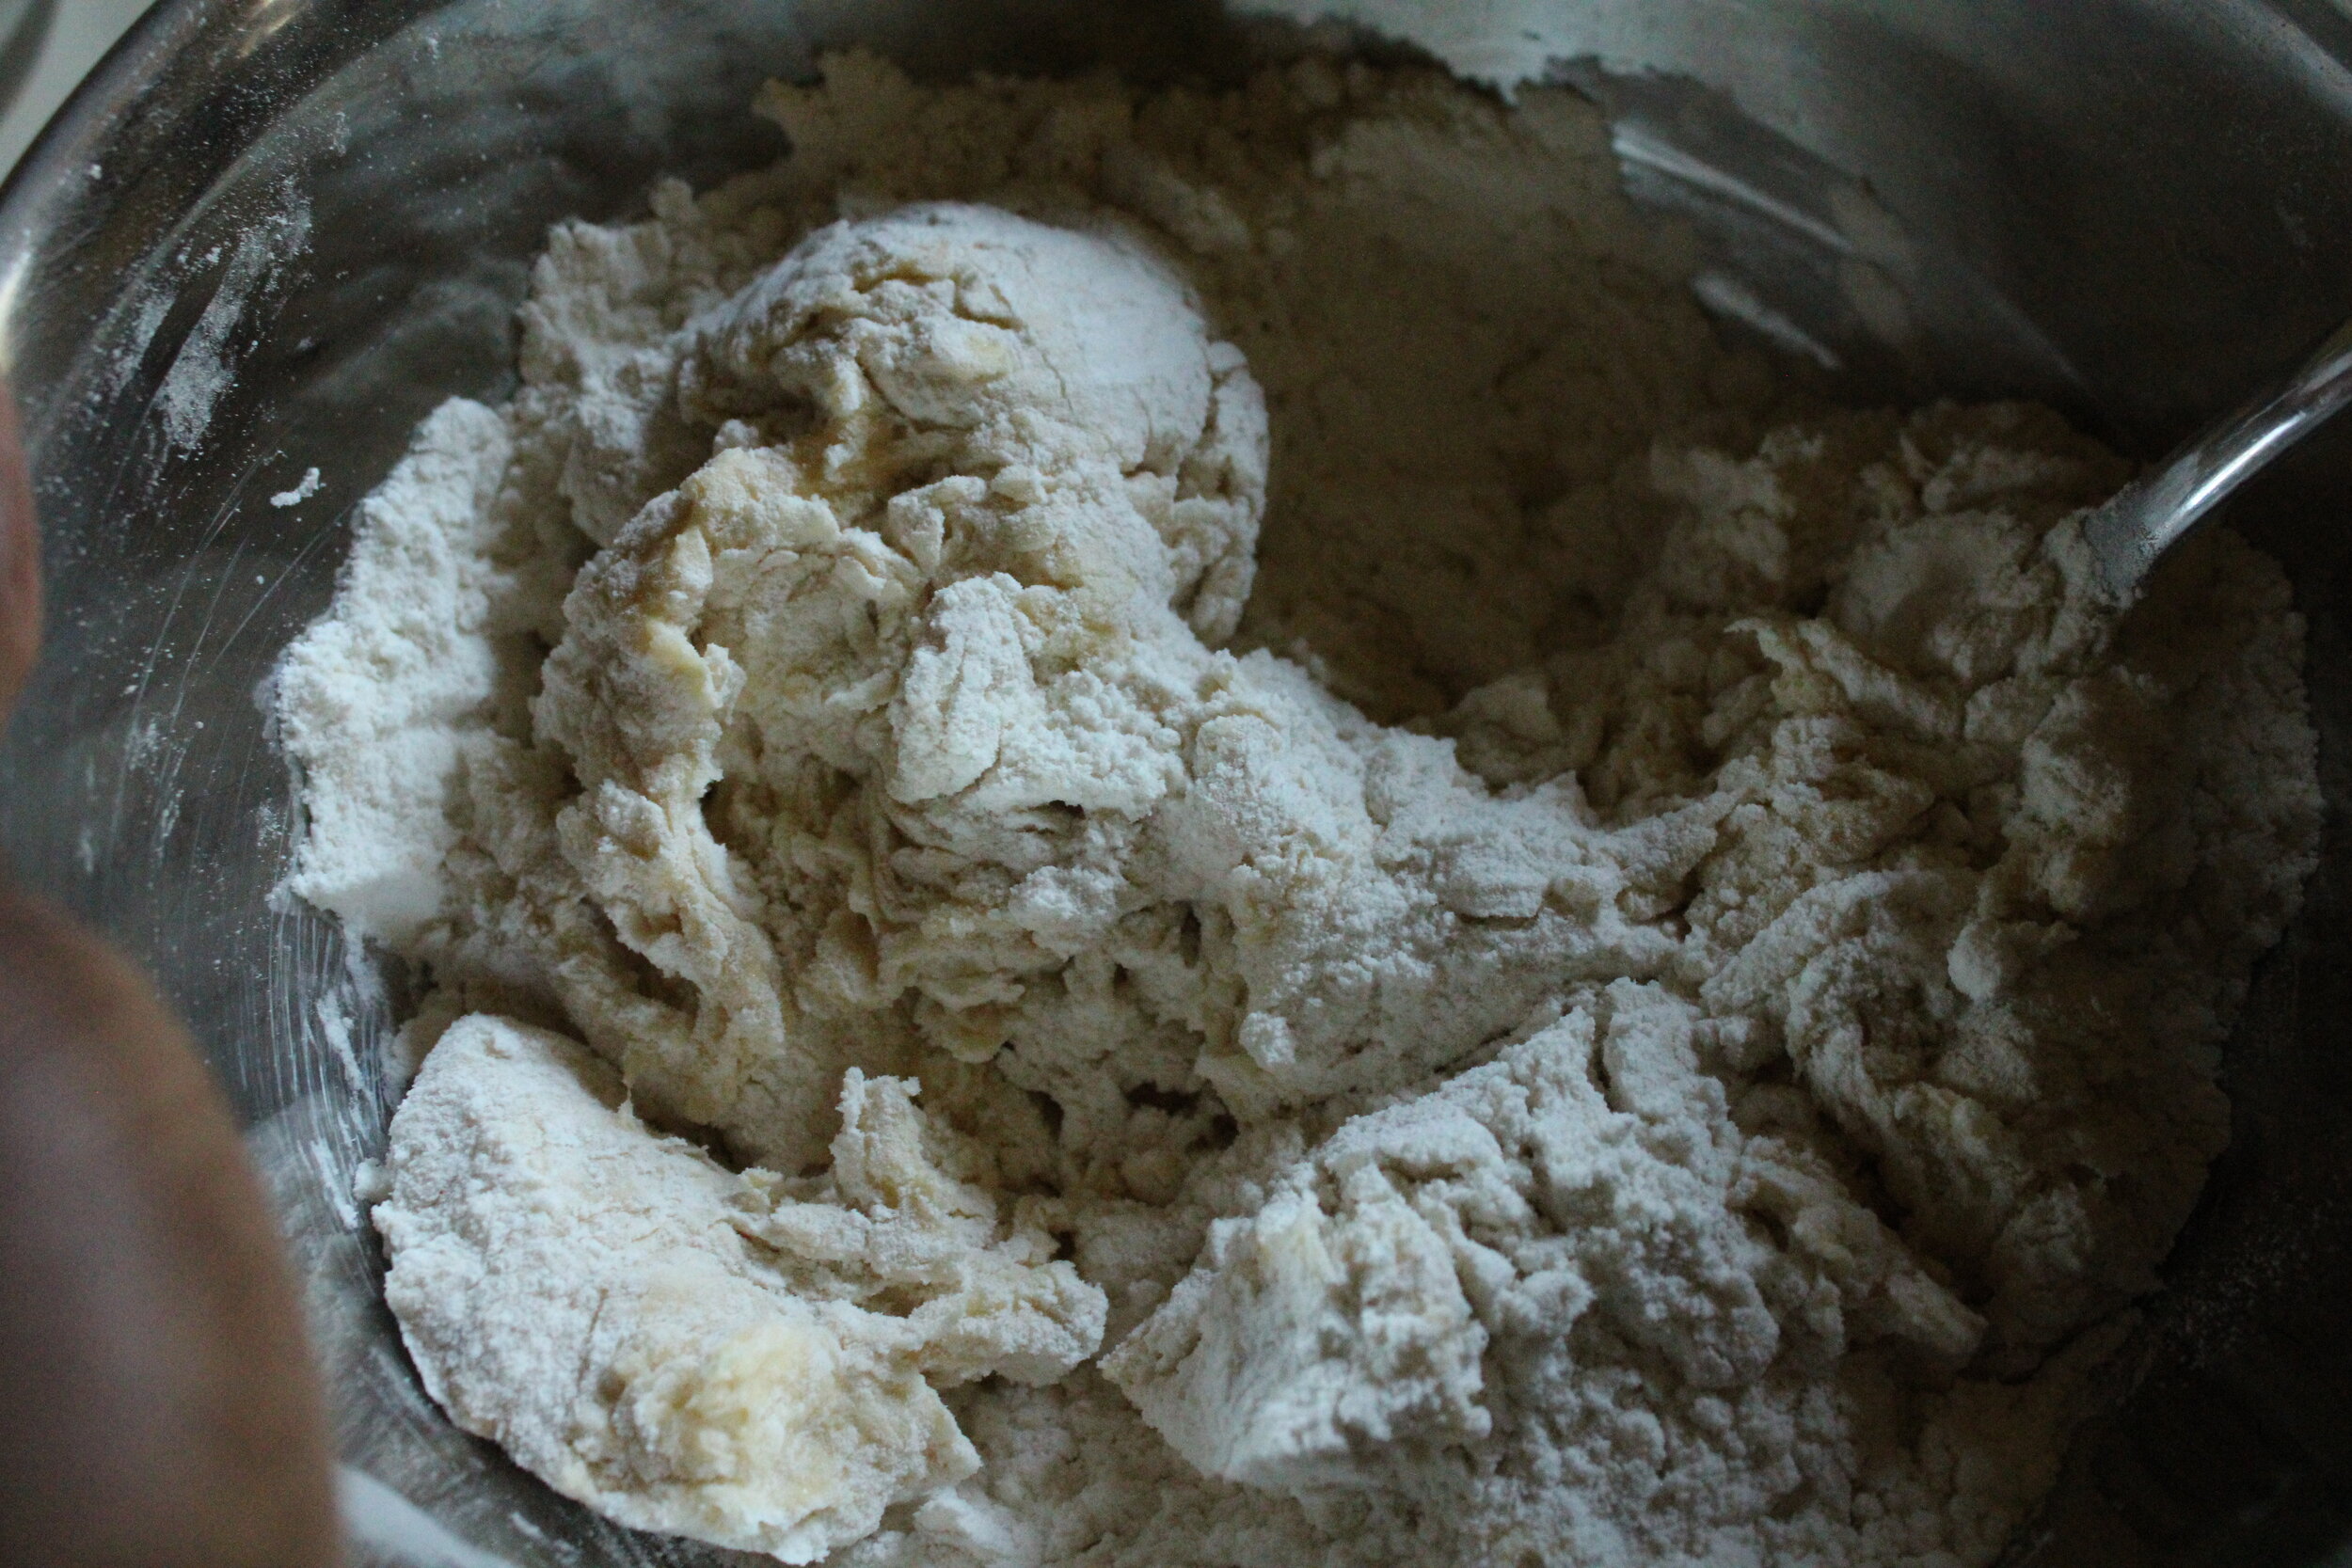
NOTE: So in the video Audrie does some countertop magical mixing of the dough like a pro. I tried that method three times and was in no way as graceful as she was with keeping the eggs from overflowing out of the flour. So on my fourth try I placed the flour in a bowl and mimicked the pooling technique by pushing the flour to the side and pouring the egg mixture in the center. This was really effective and I didn’t have to mop eggs off my flour for the fourth time.
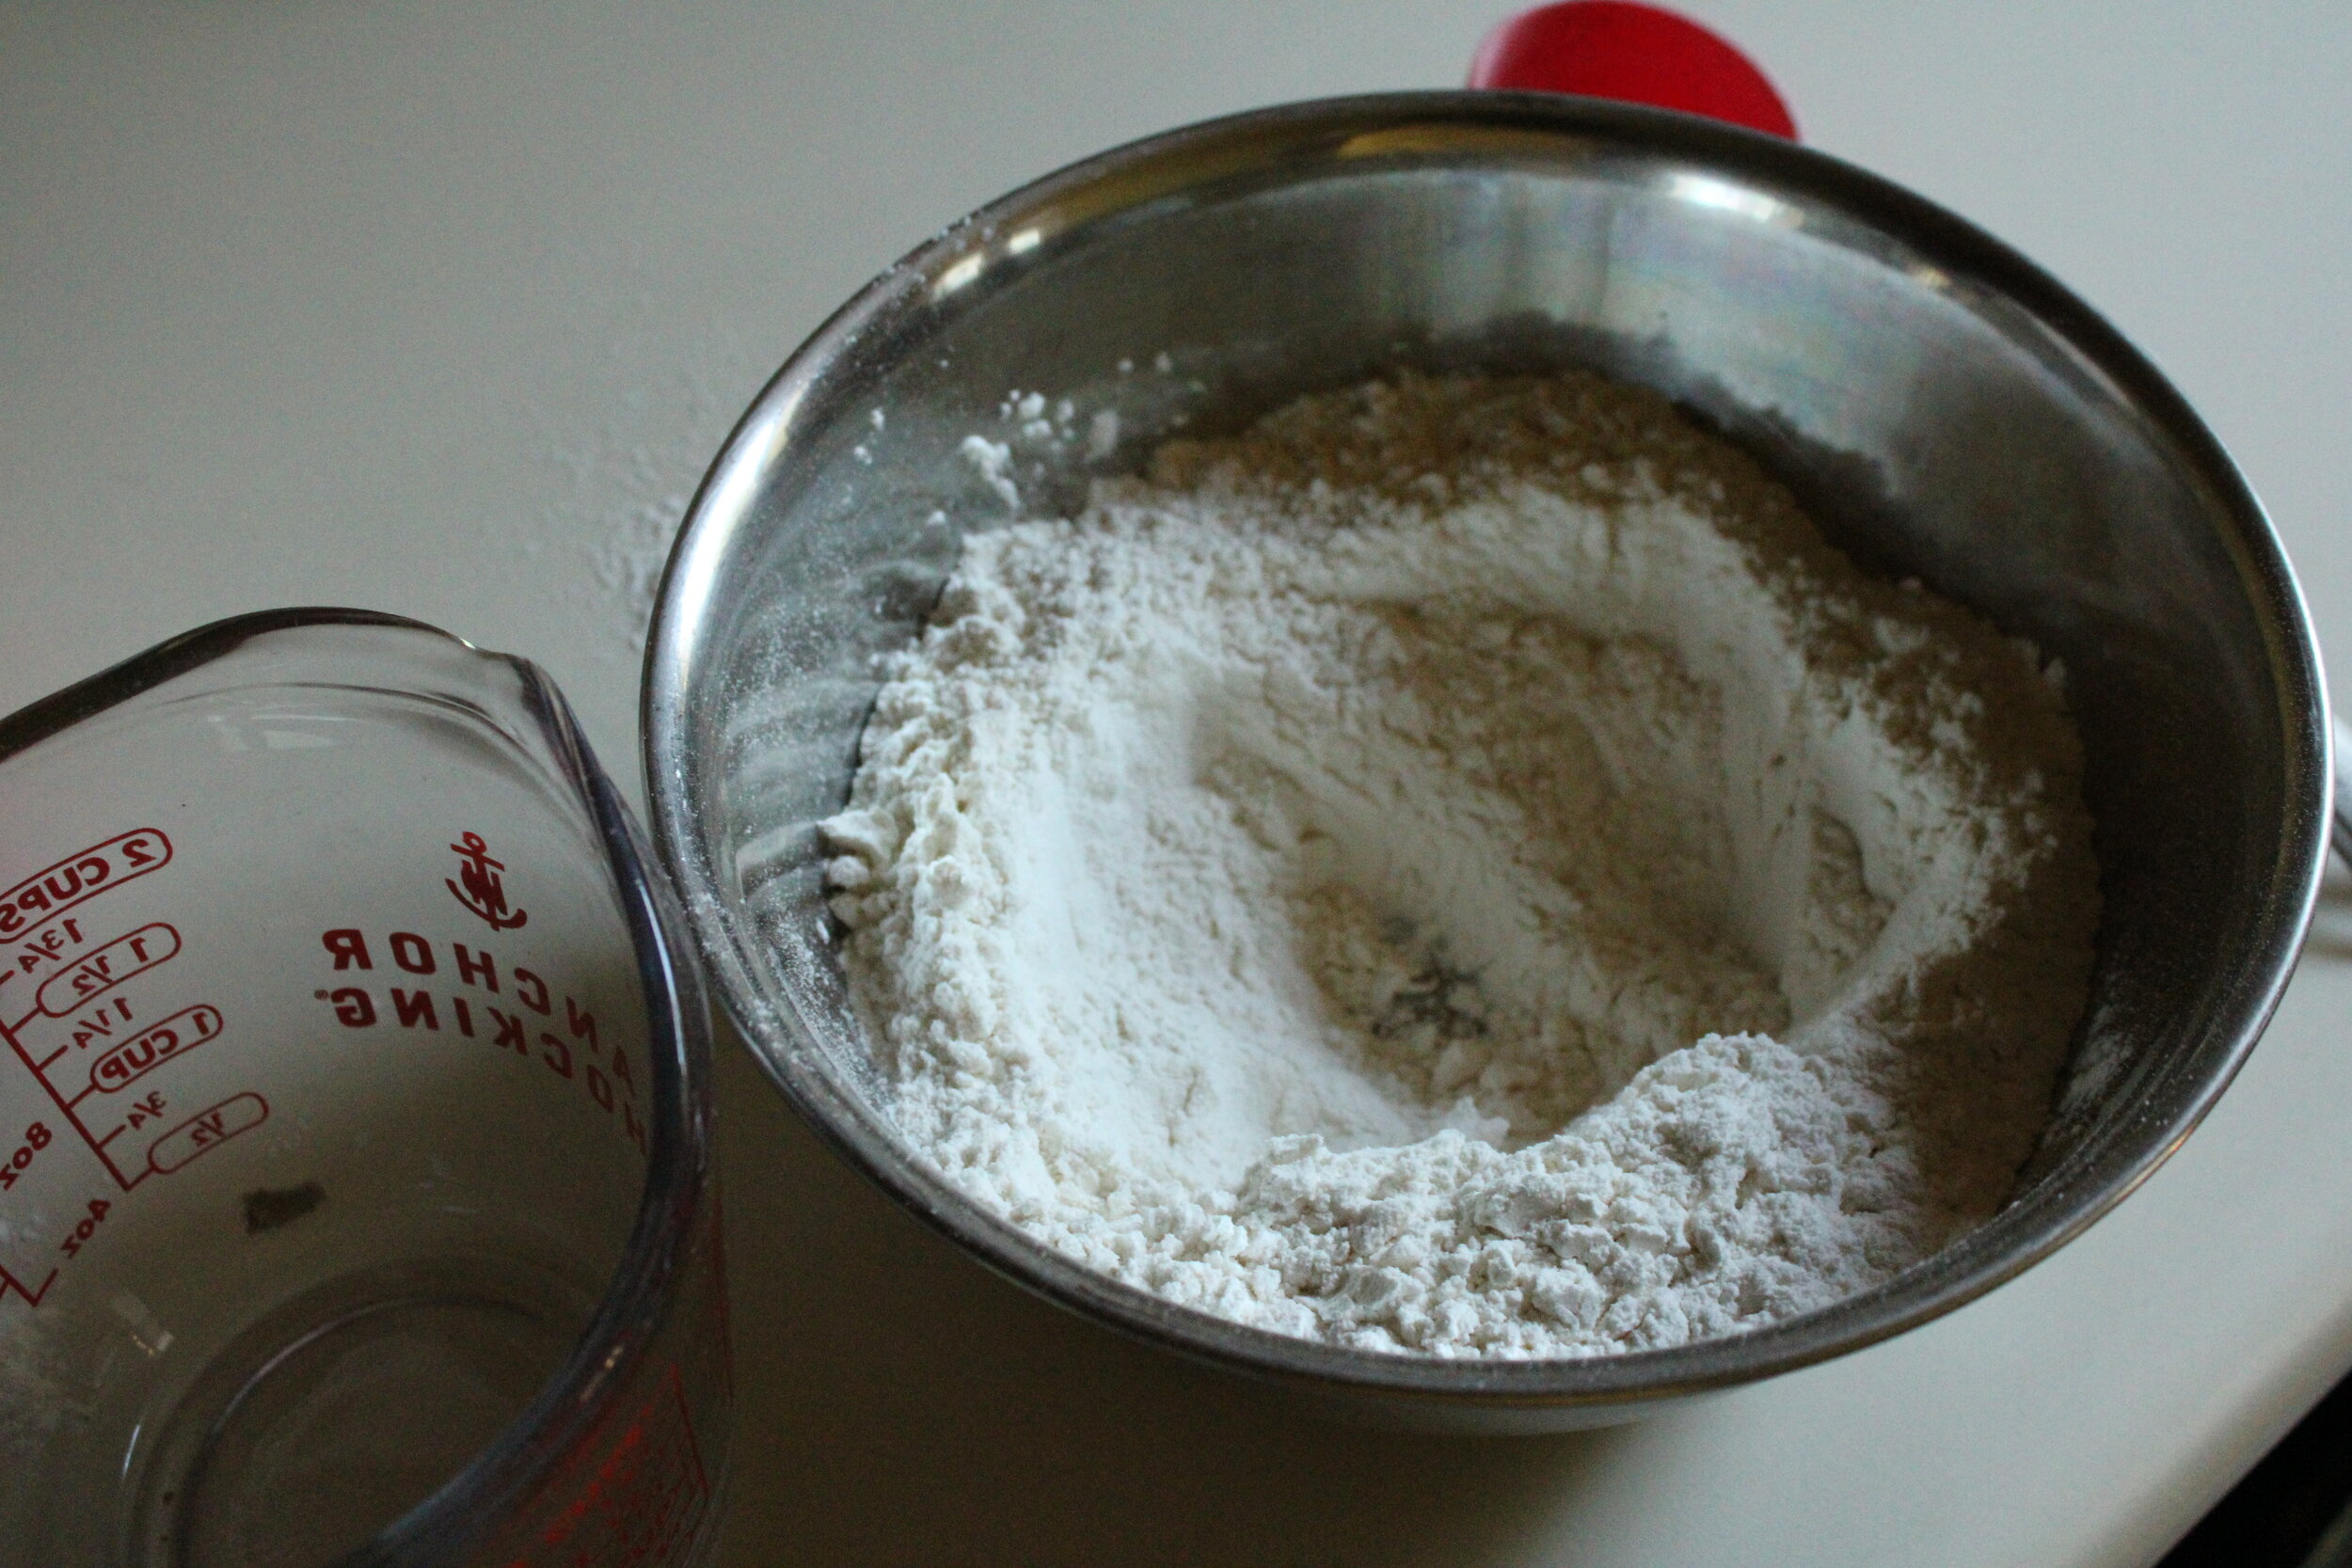
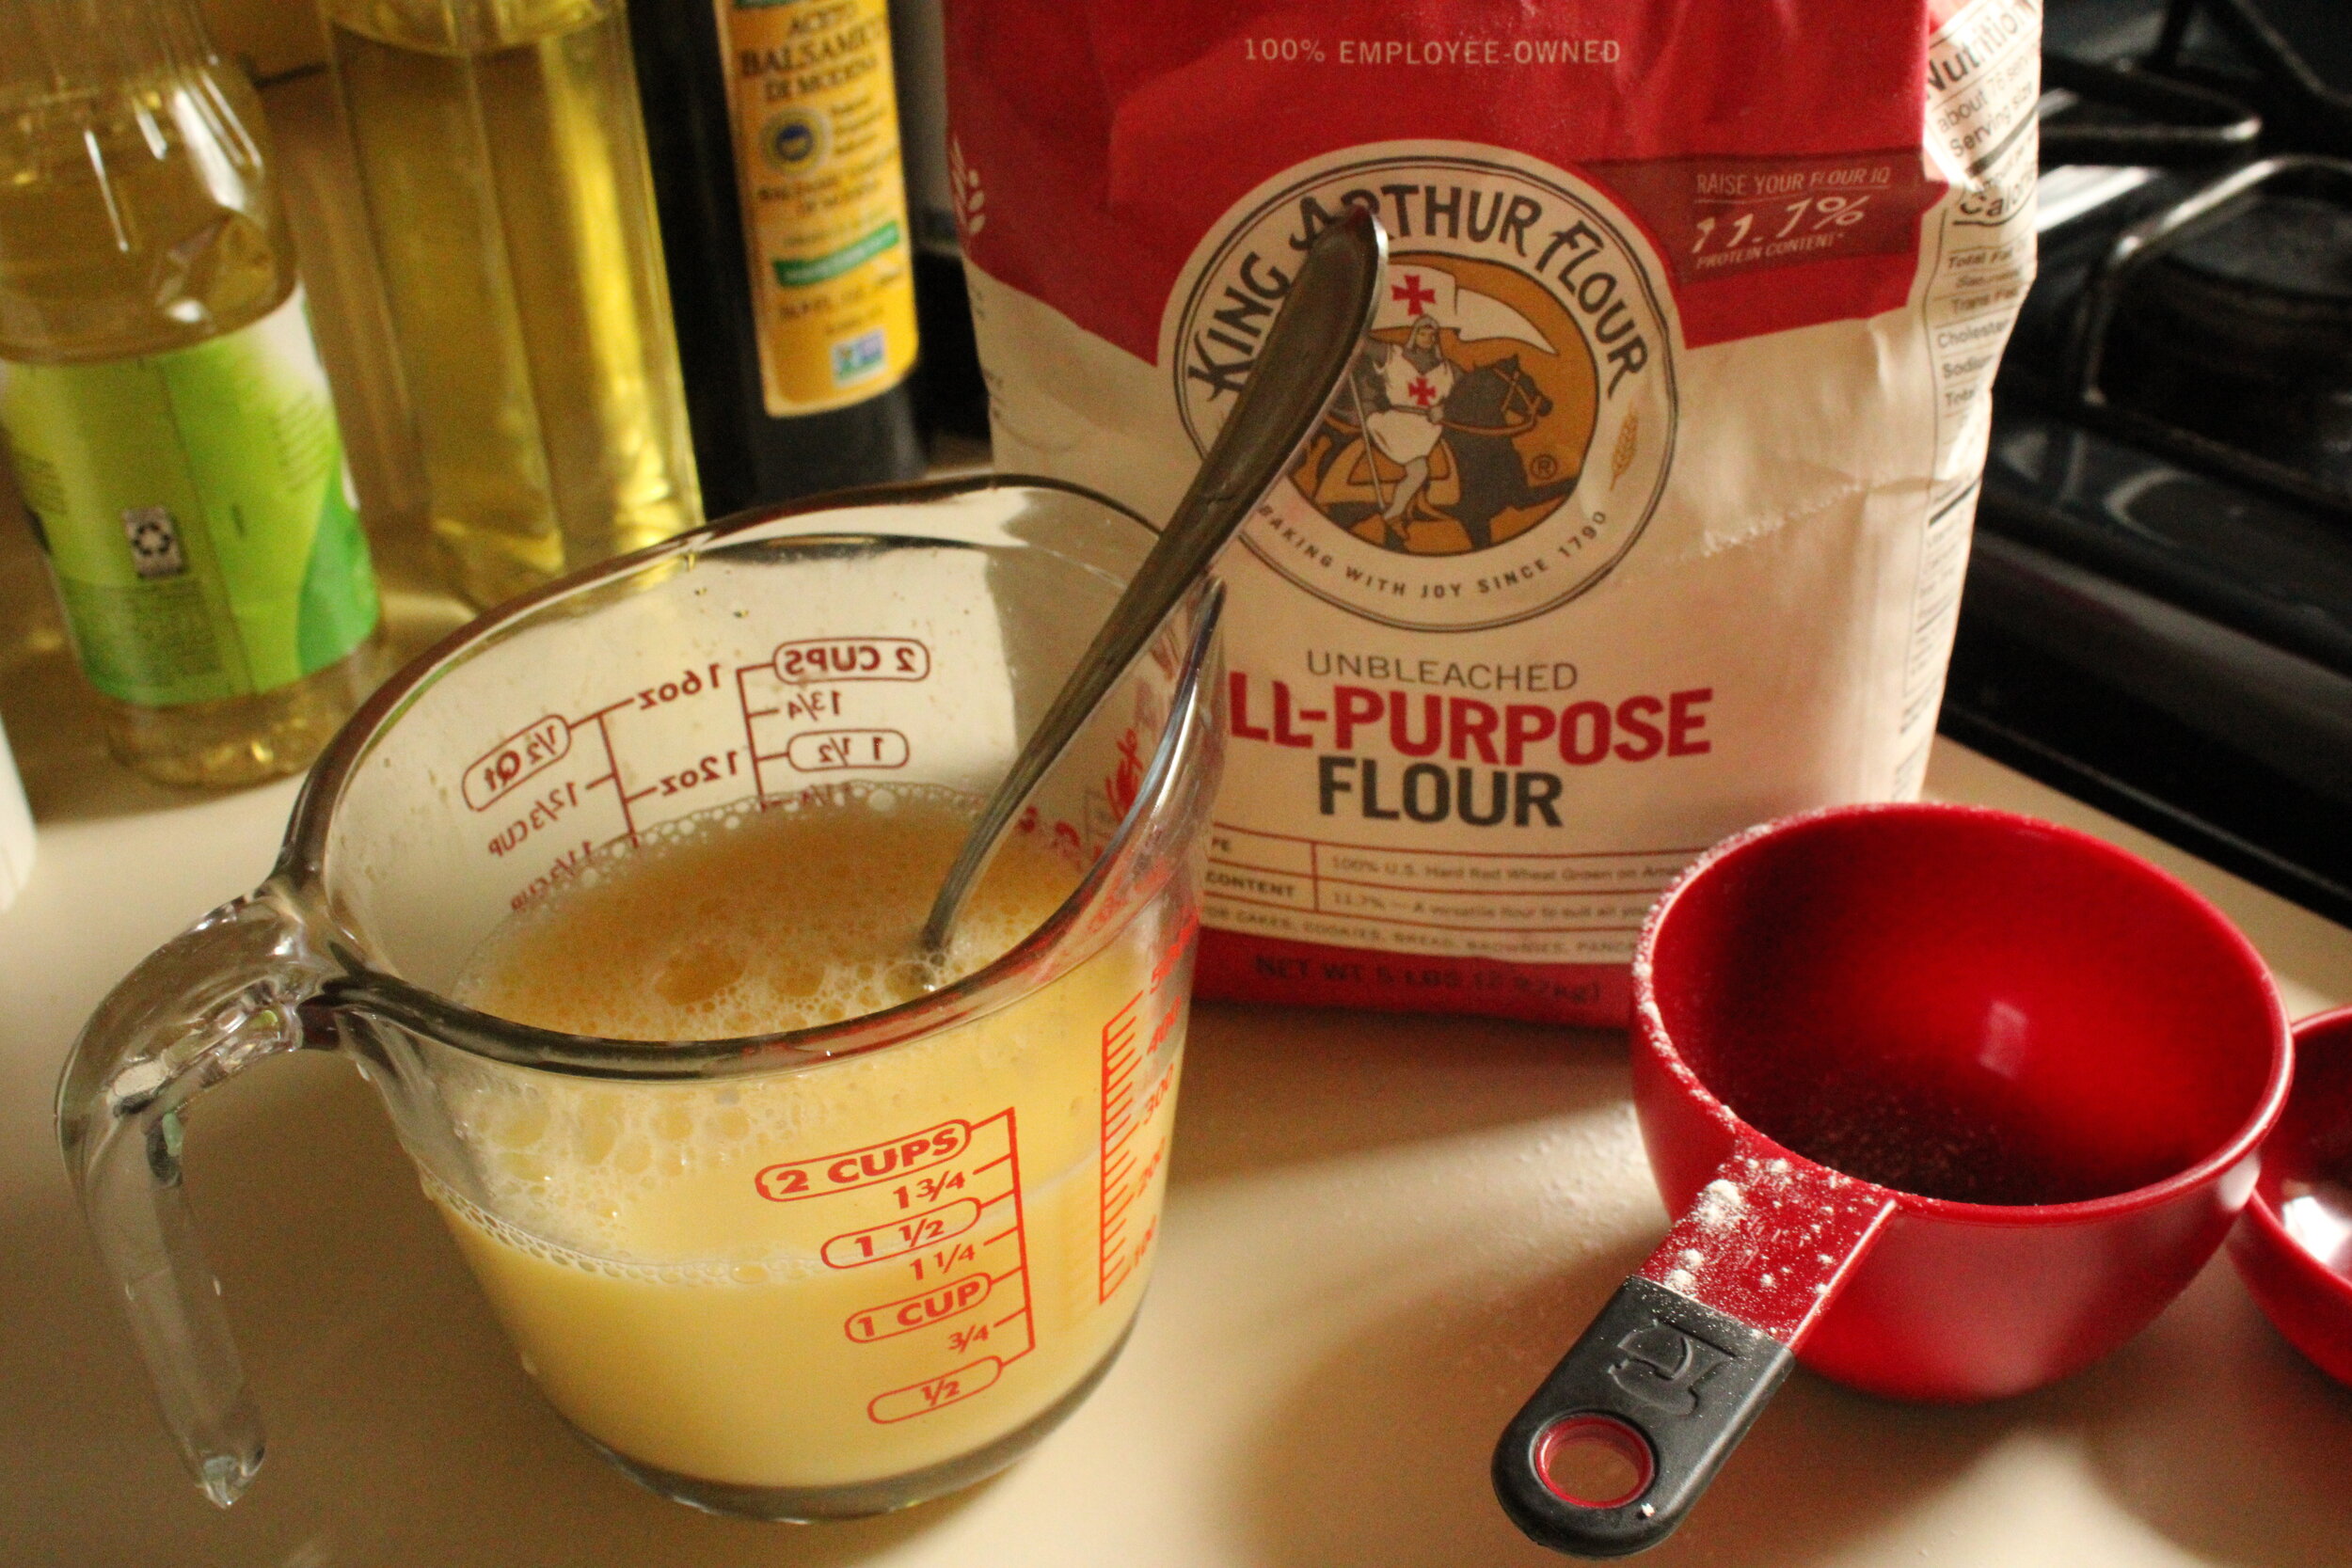
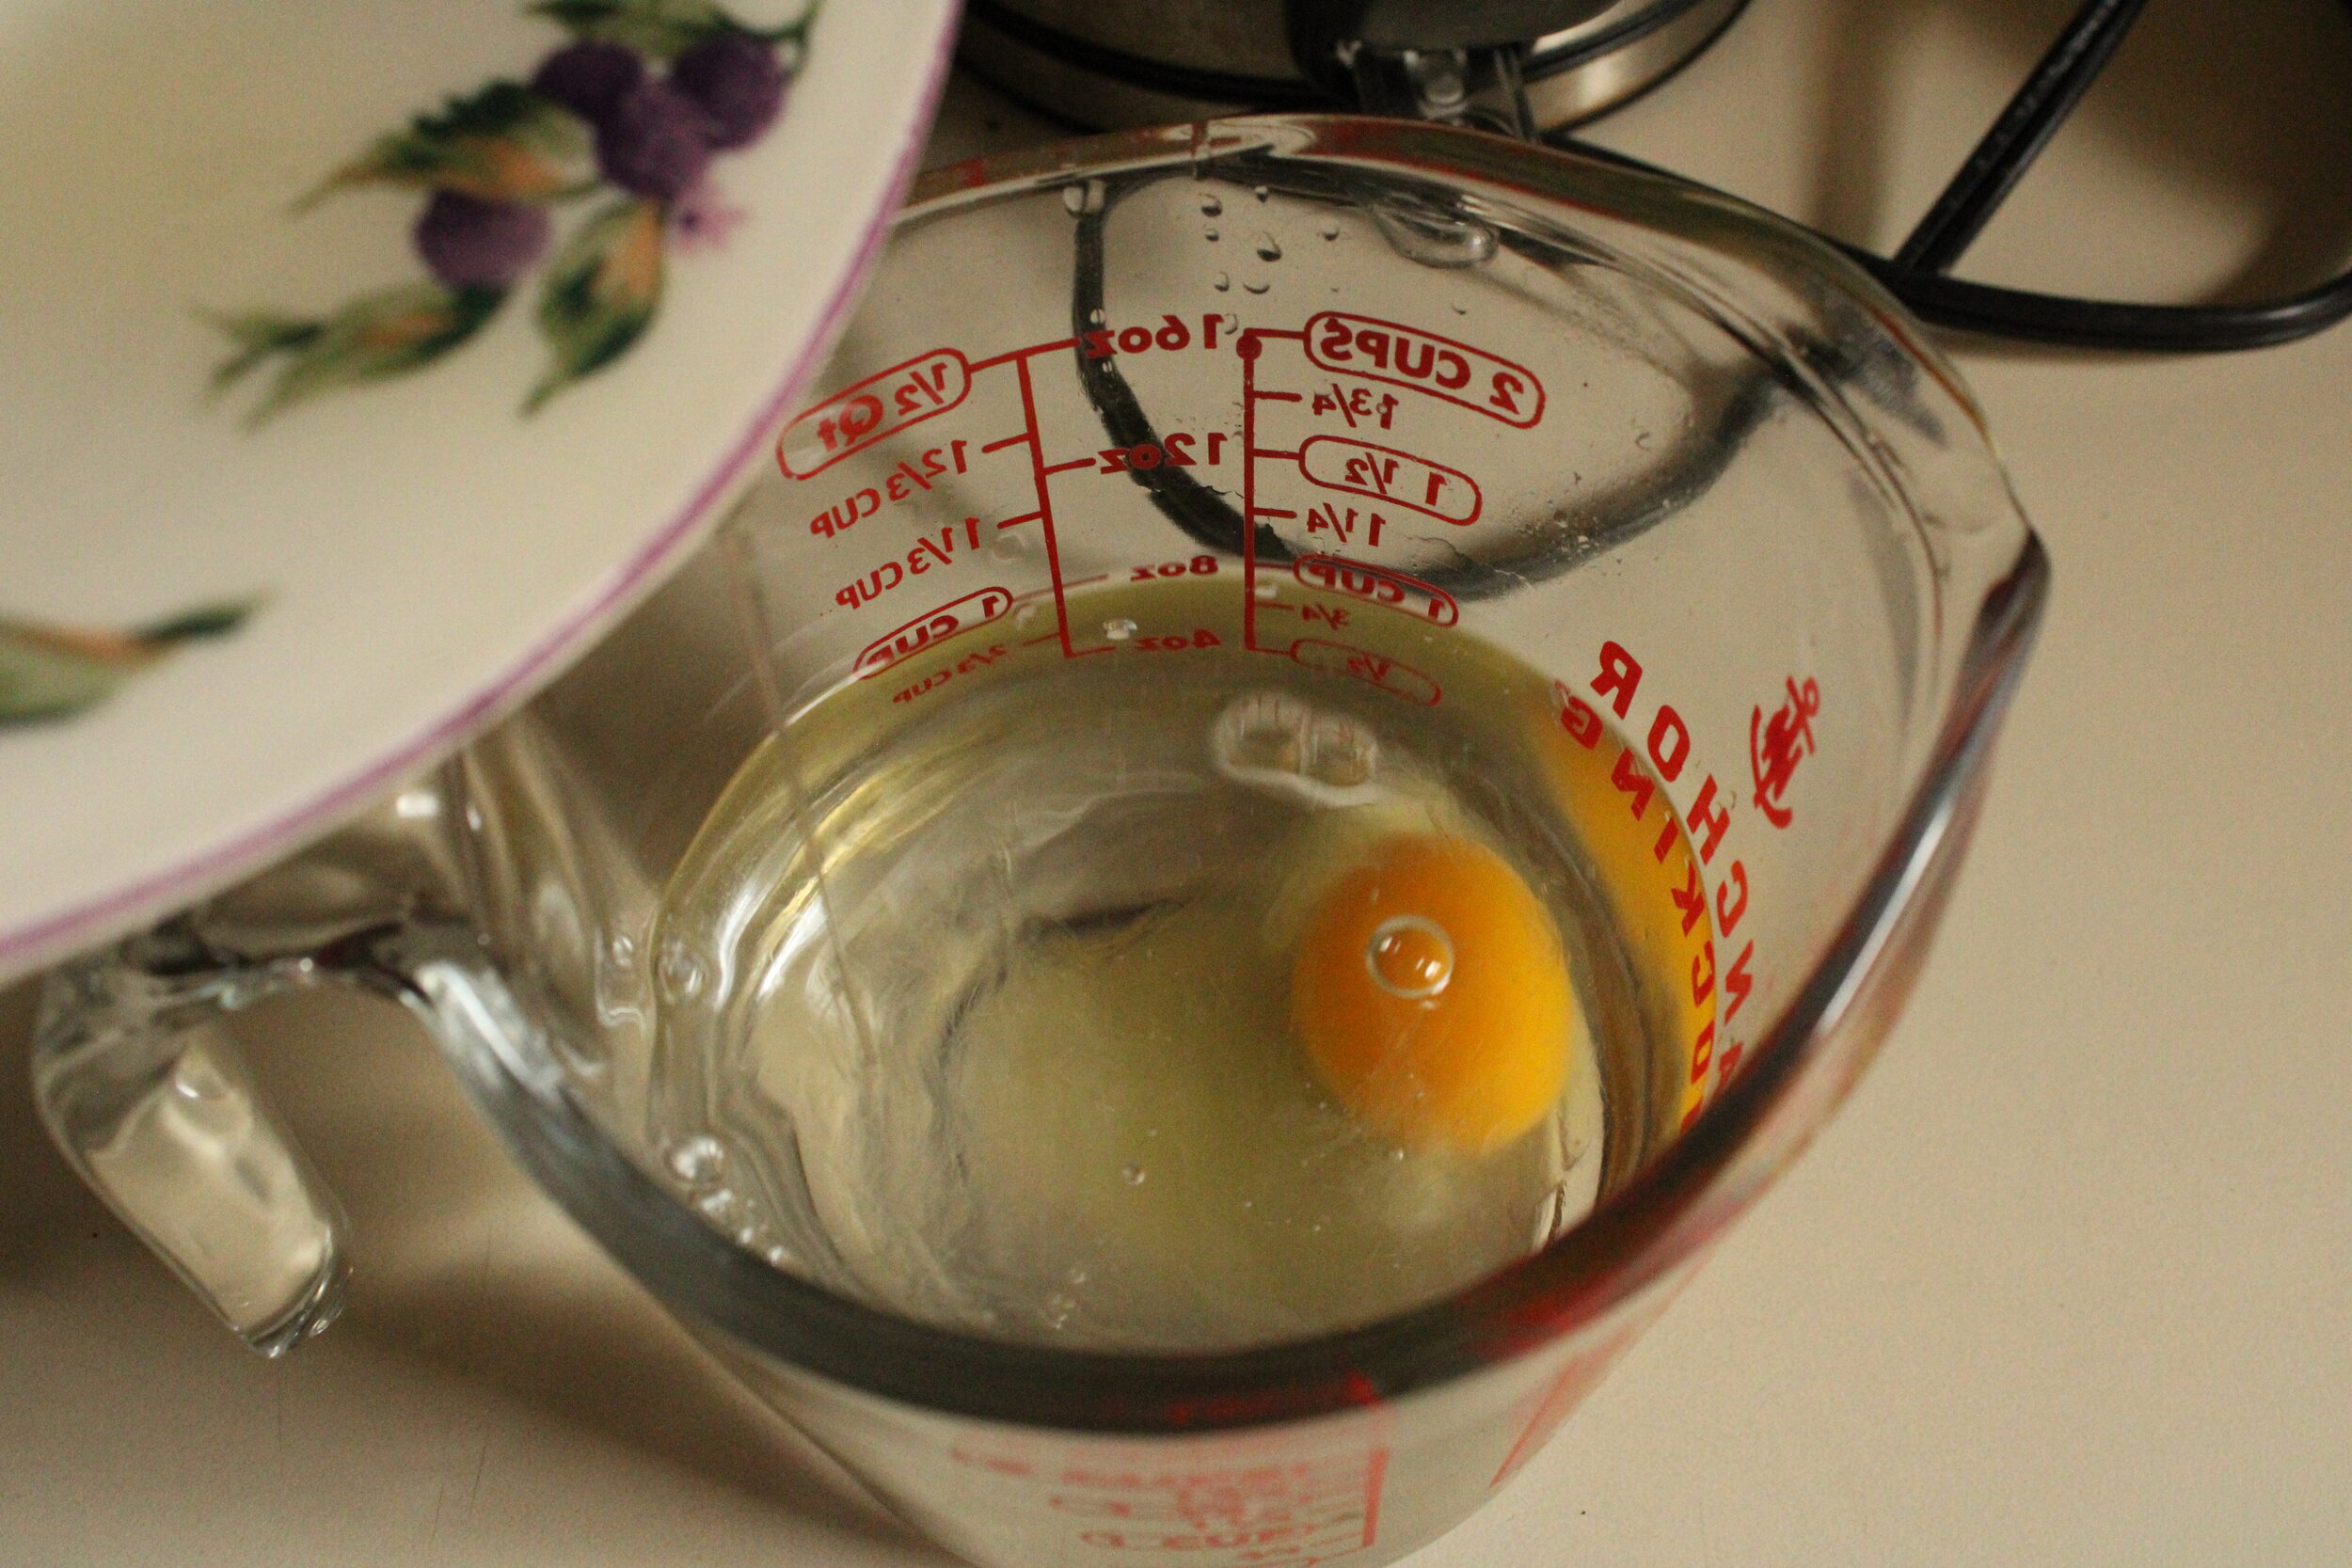
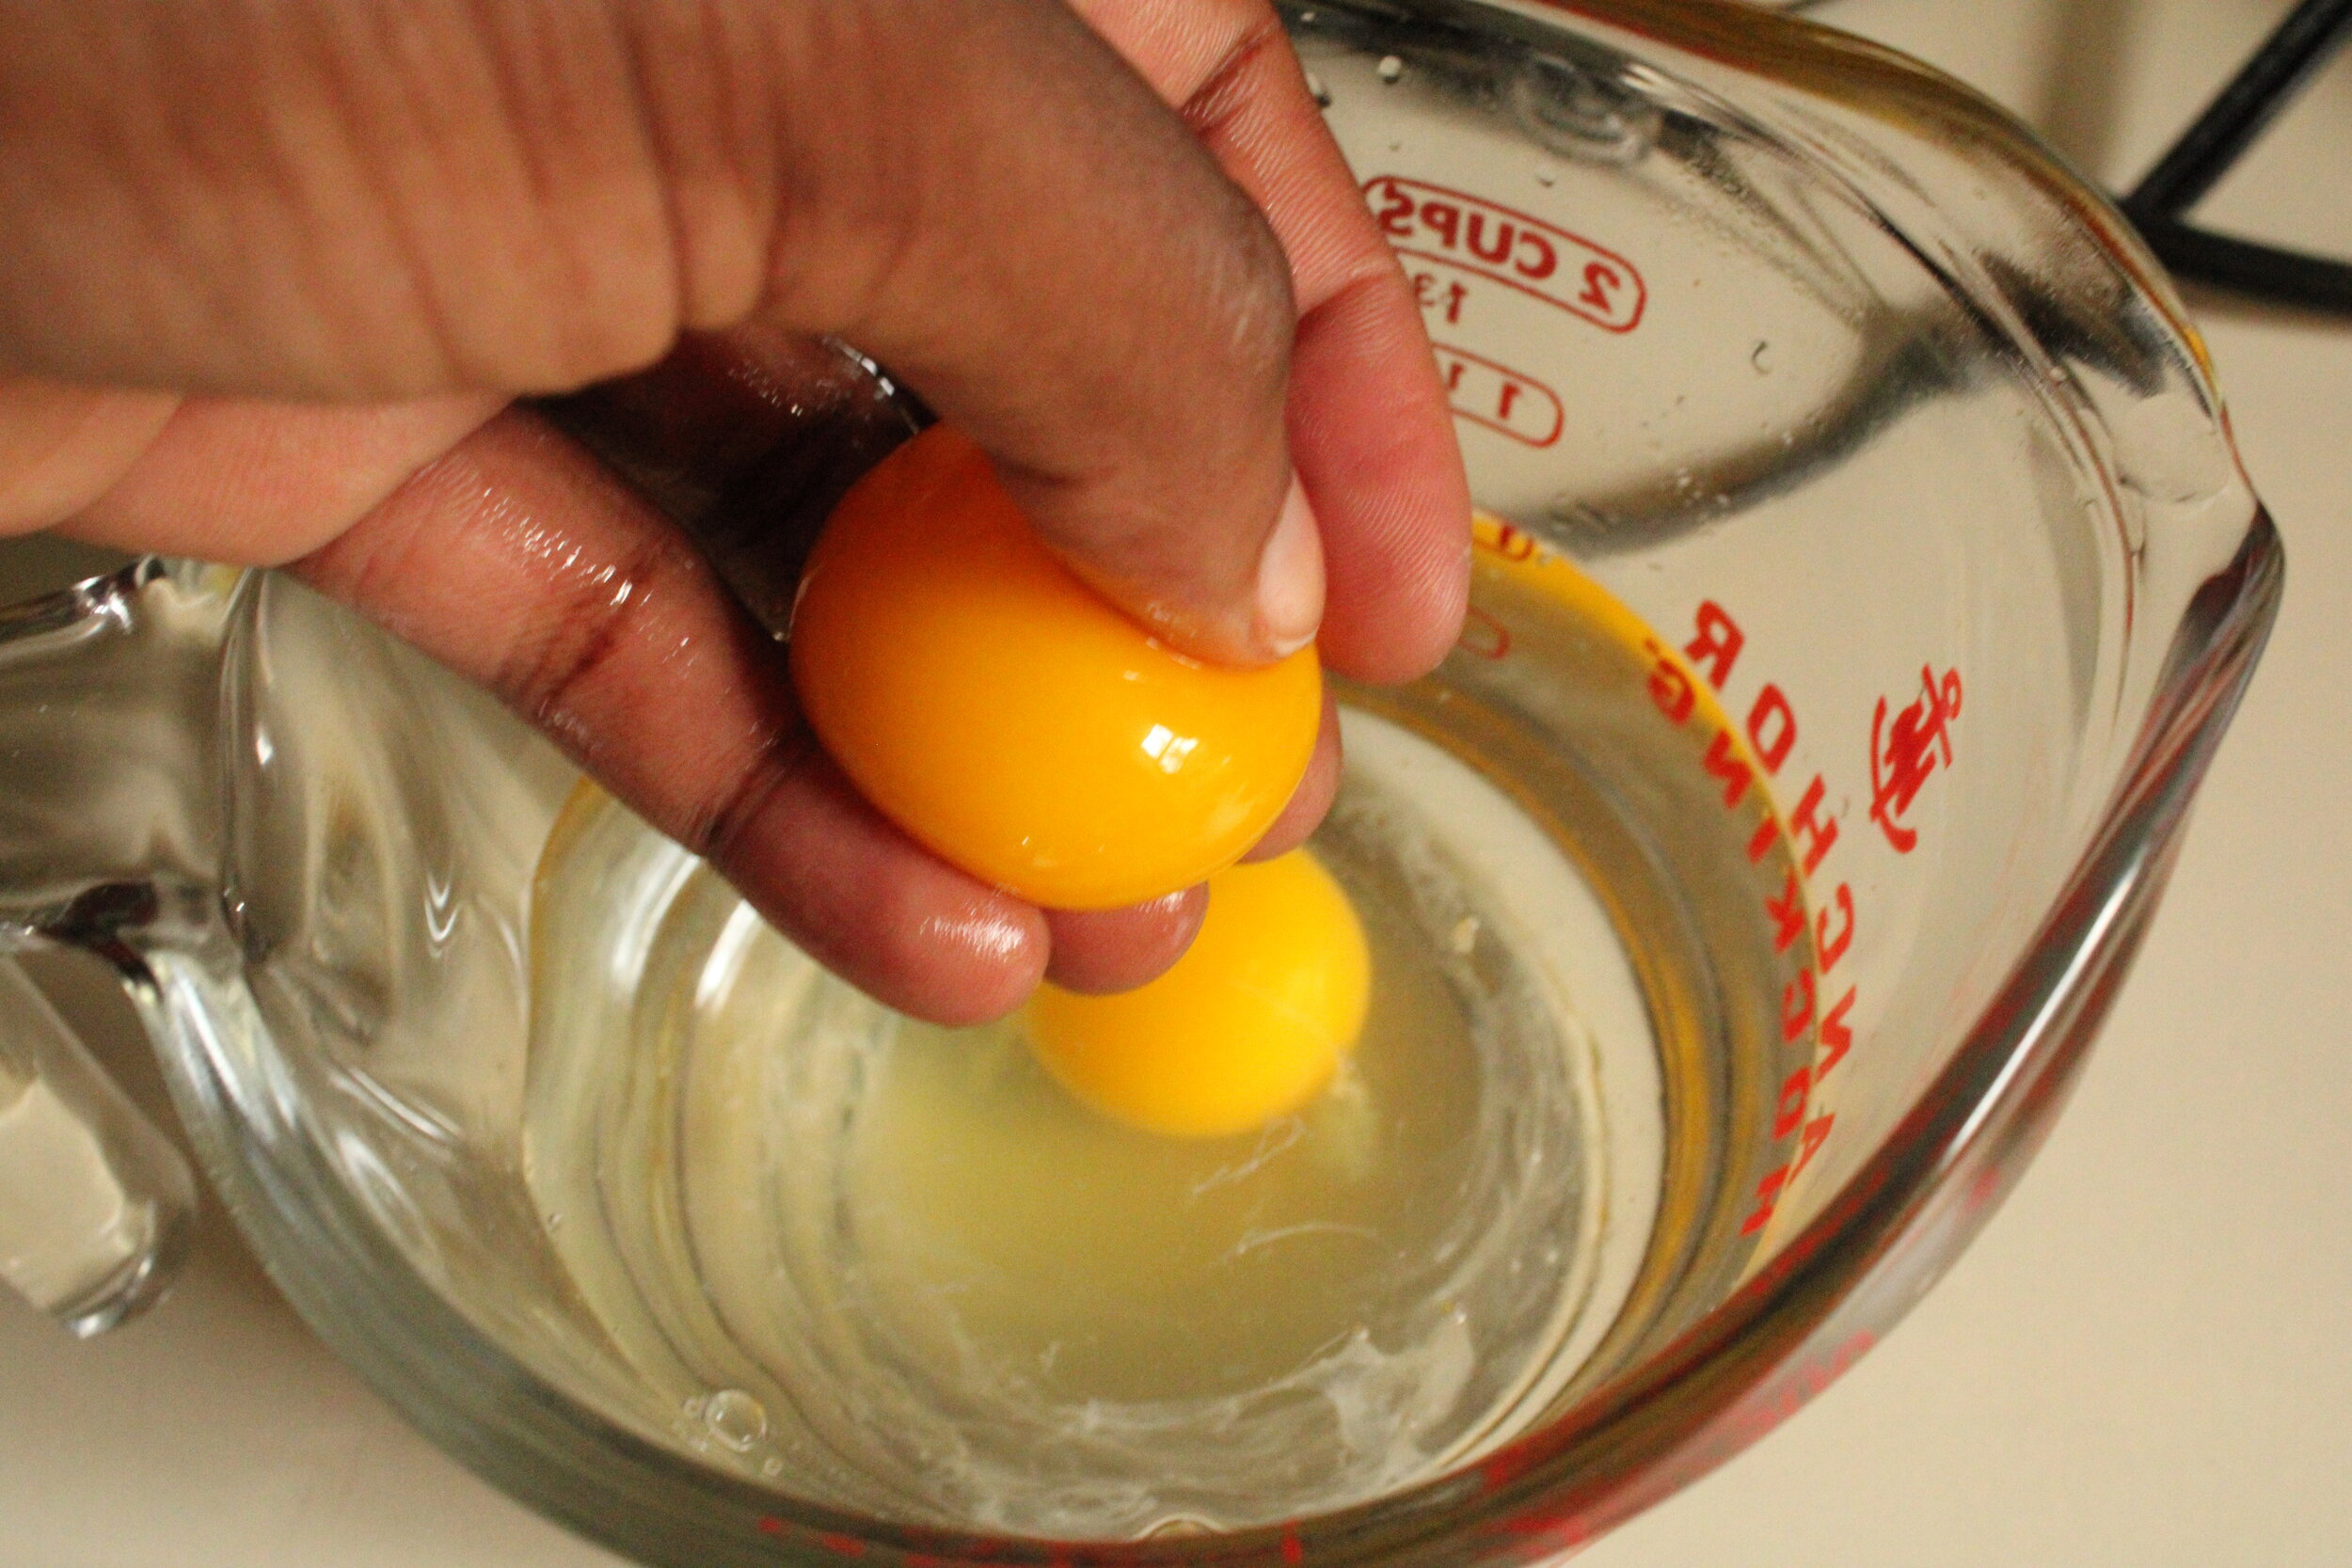
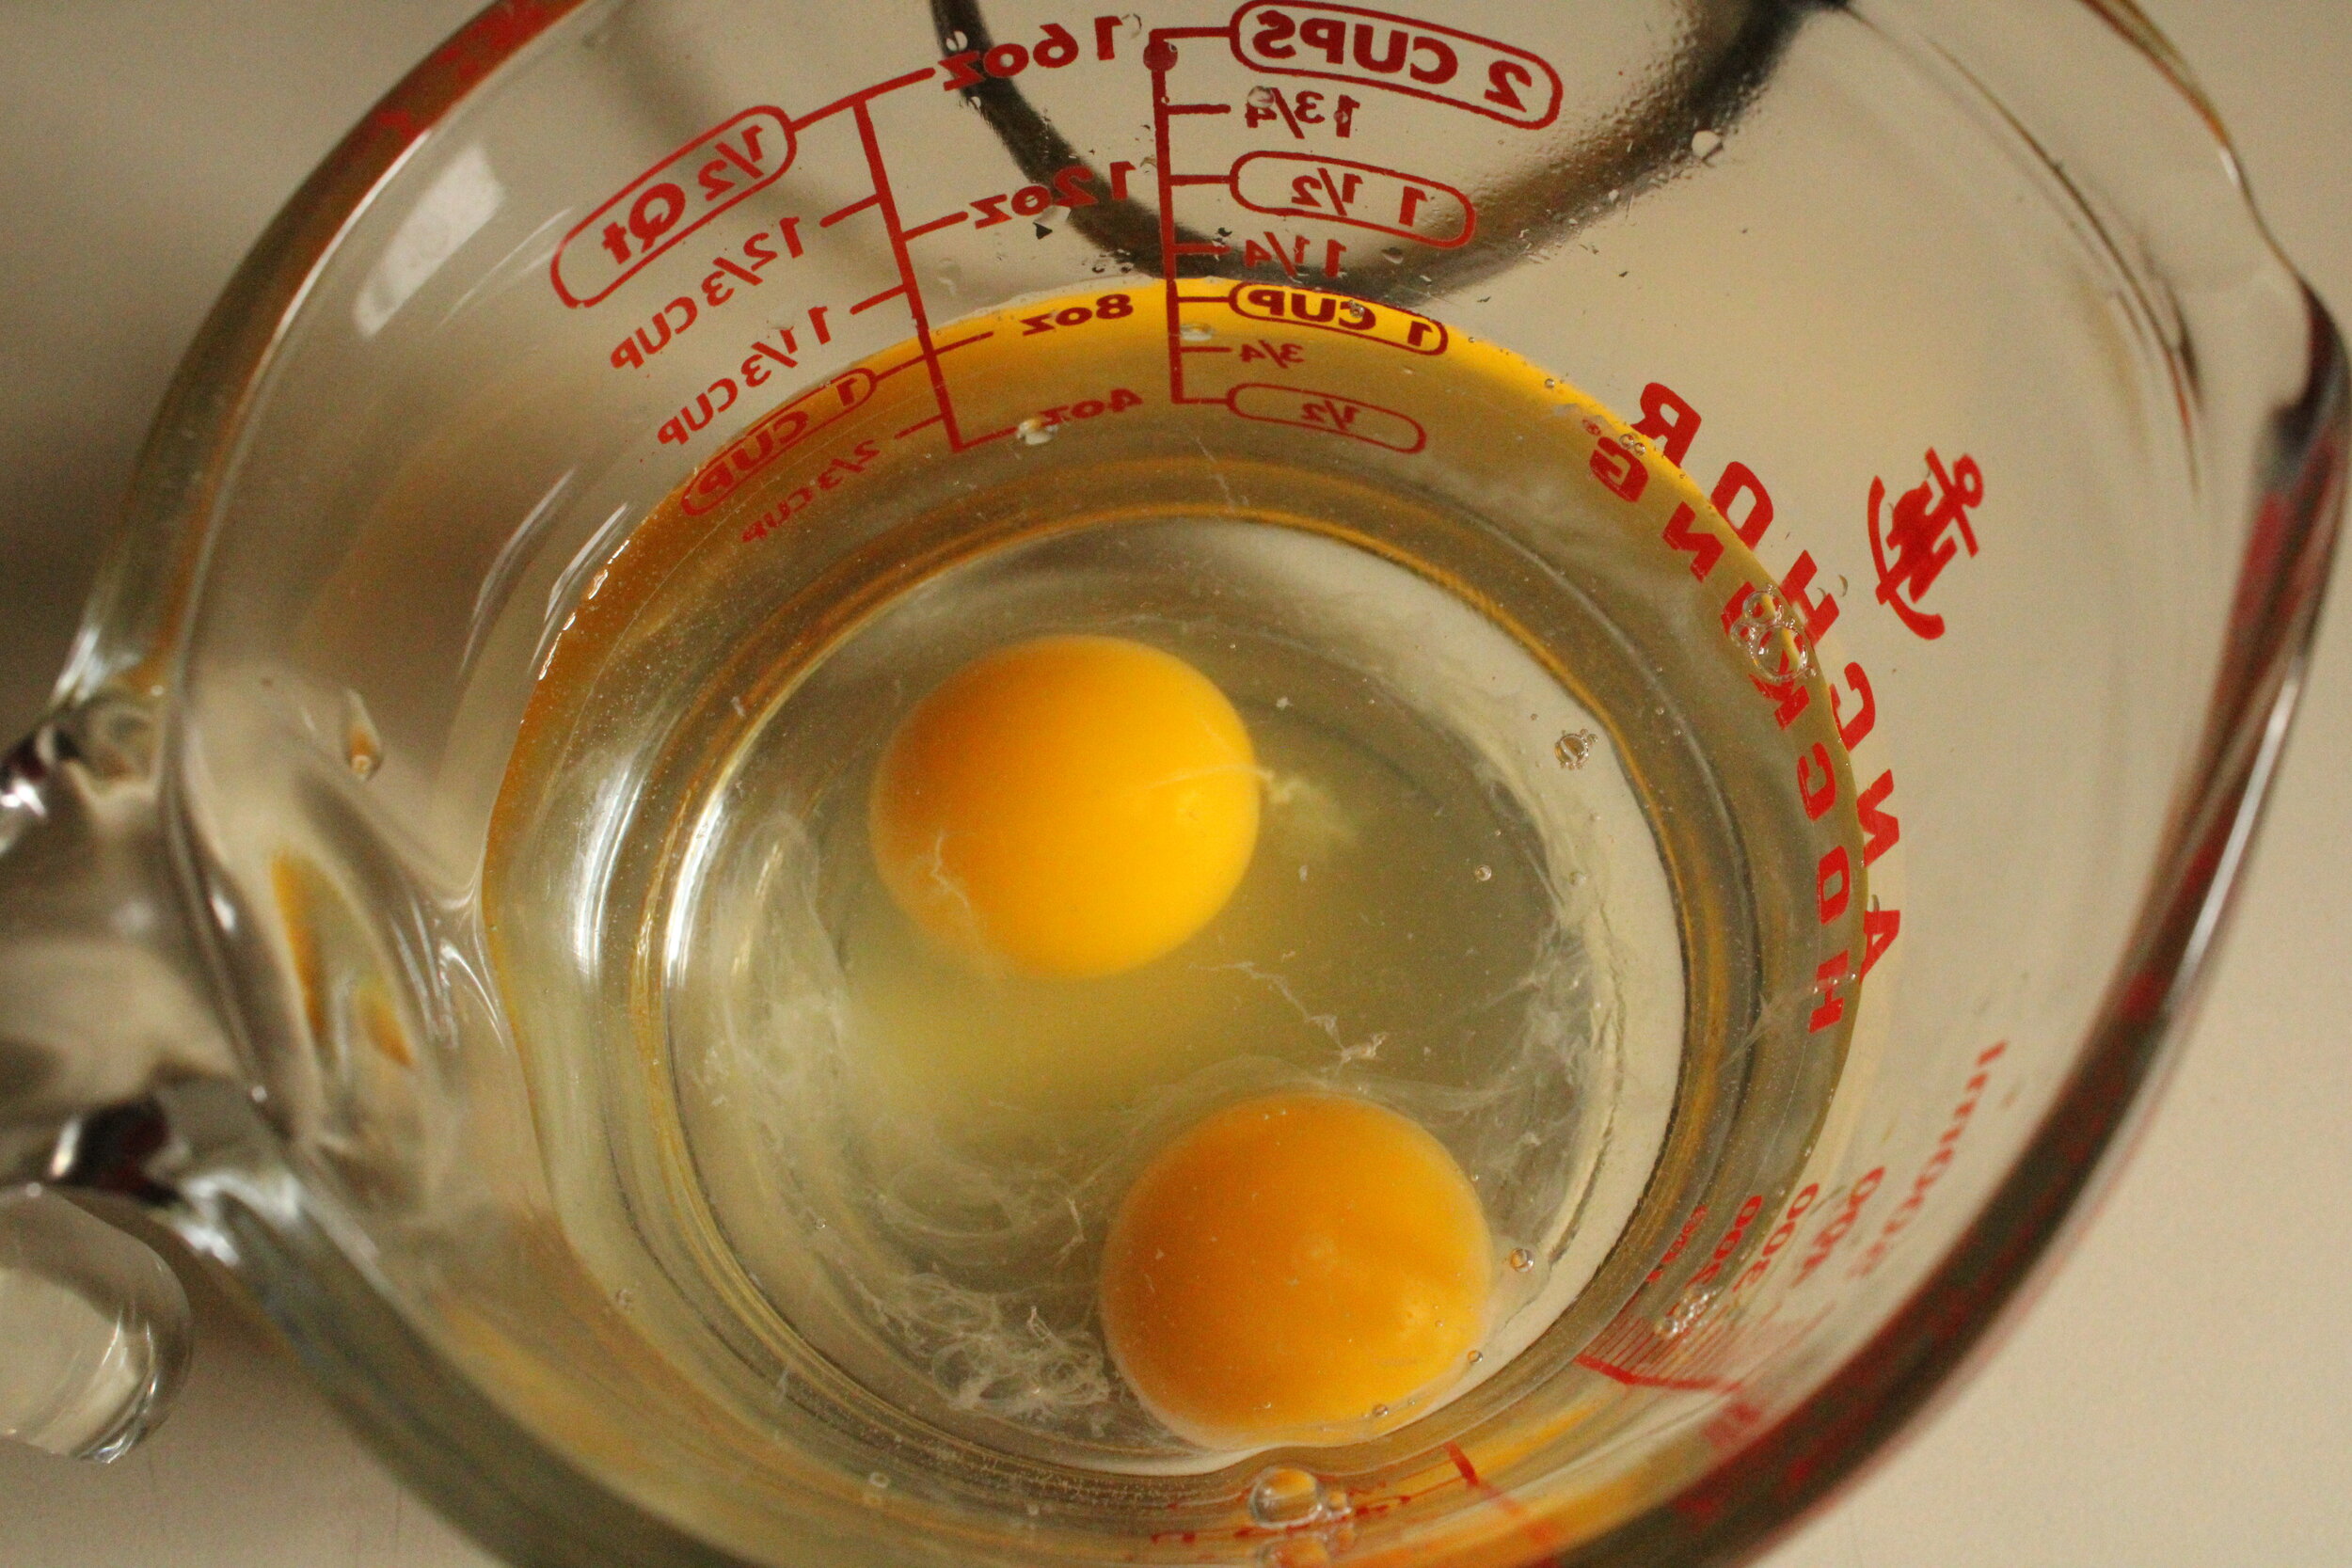
PREPARE YOUR NOODLES: Combine eggs and water in a small bowl. Combine flour and salt in a small bowl then create deep concave in the flour by pushing the flour to the sides.
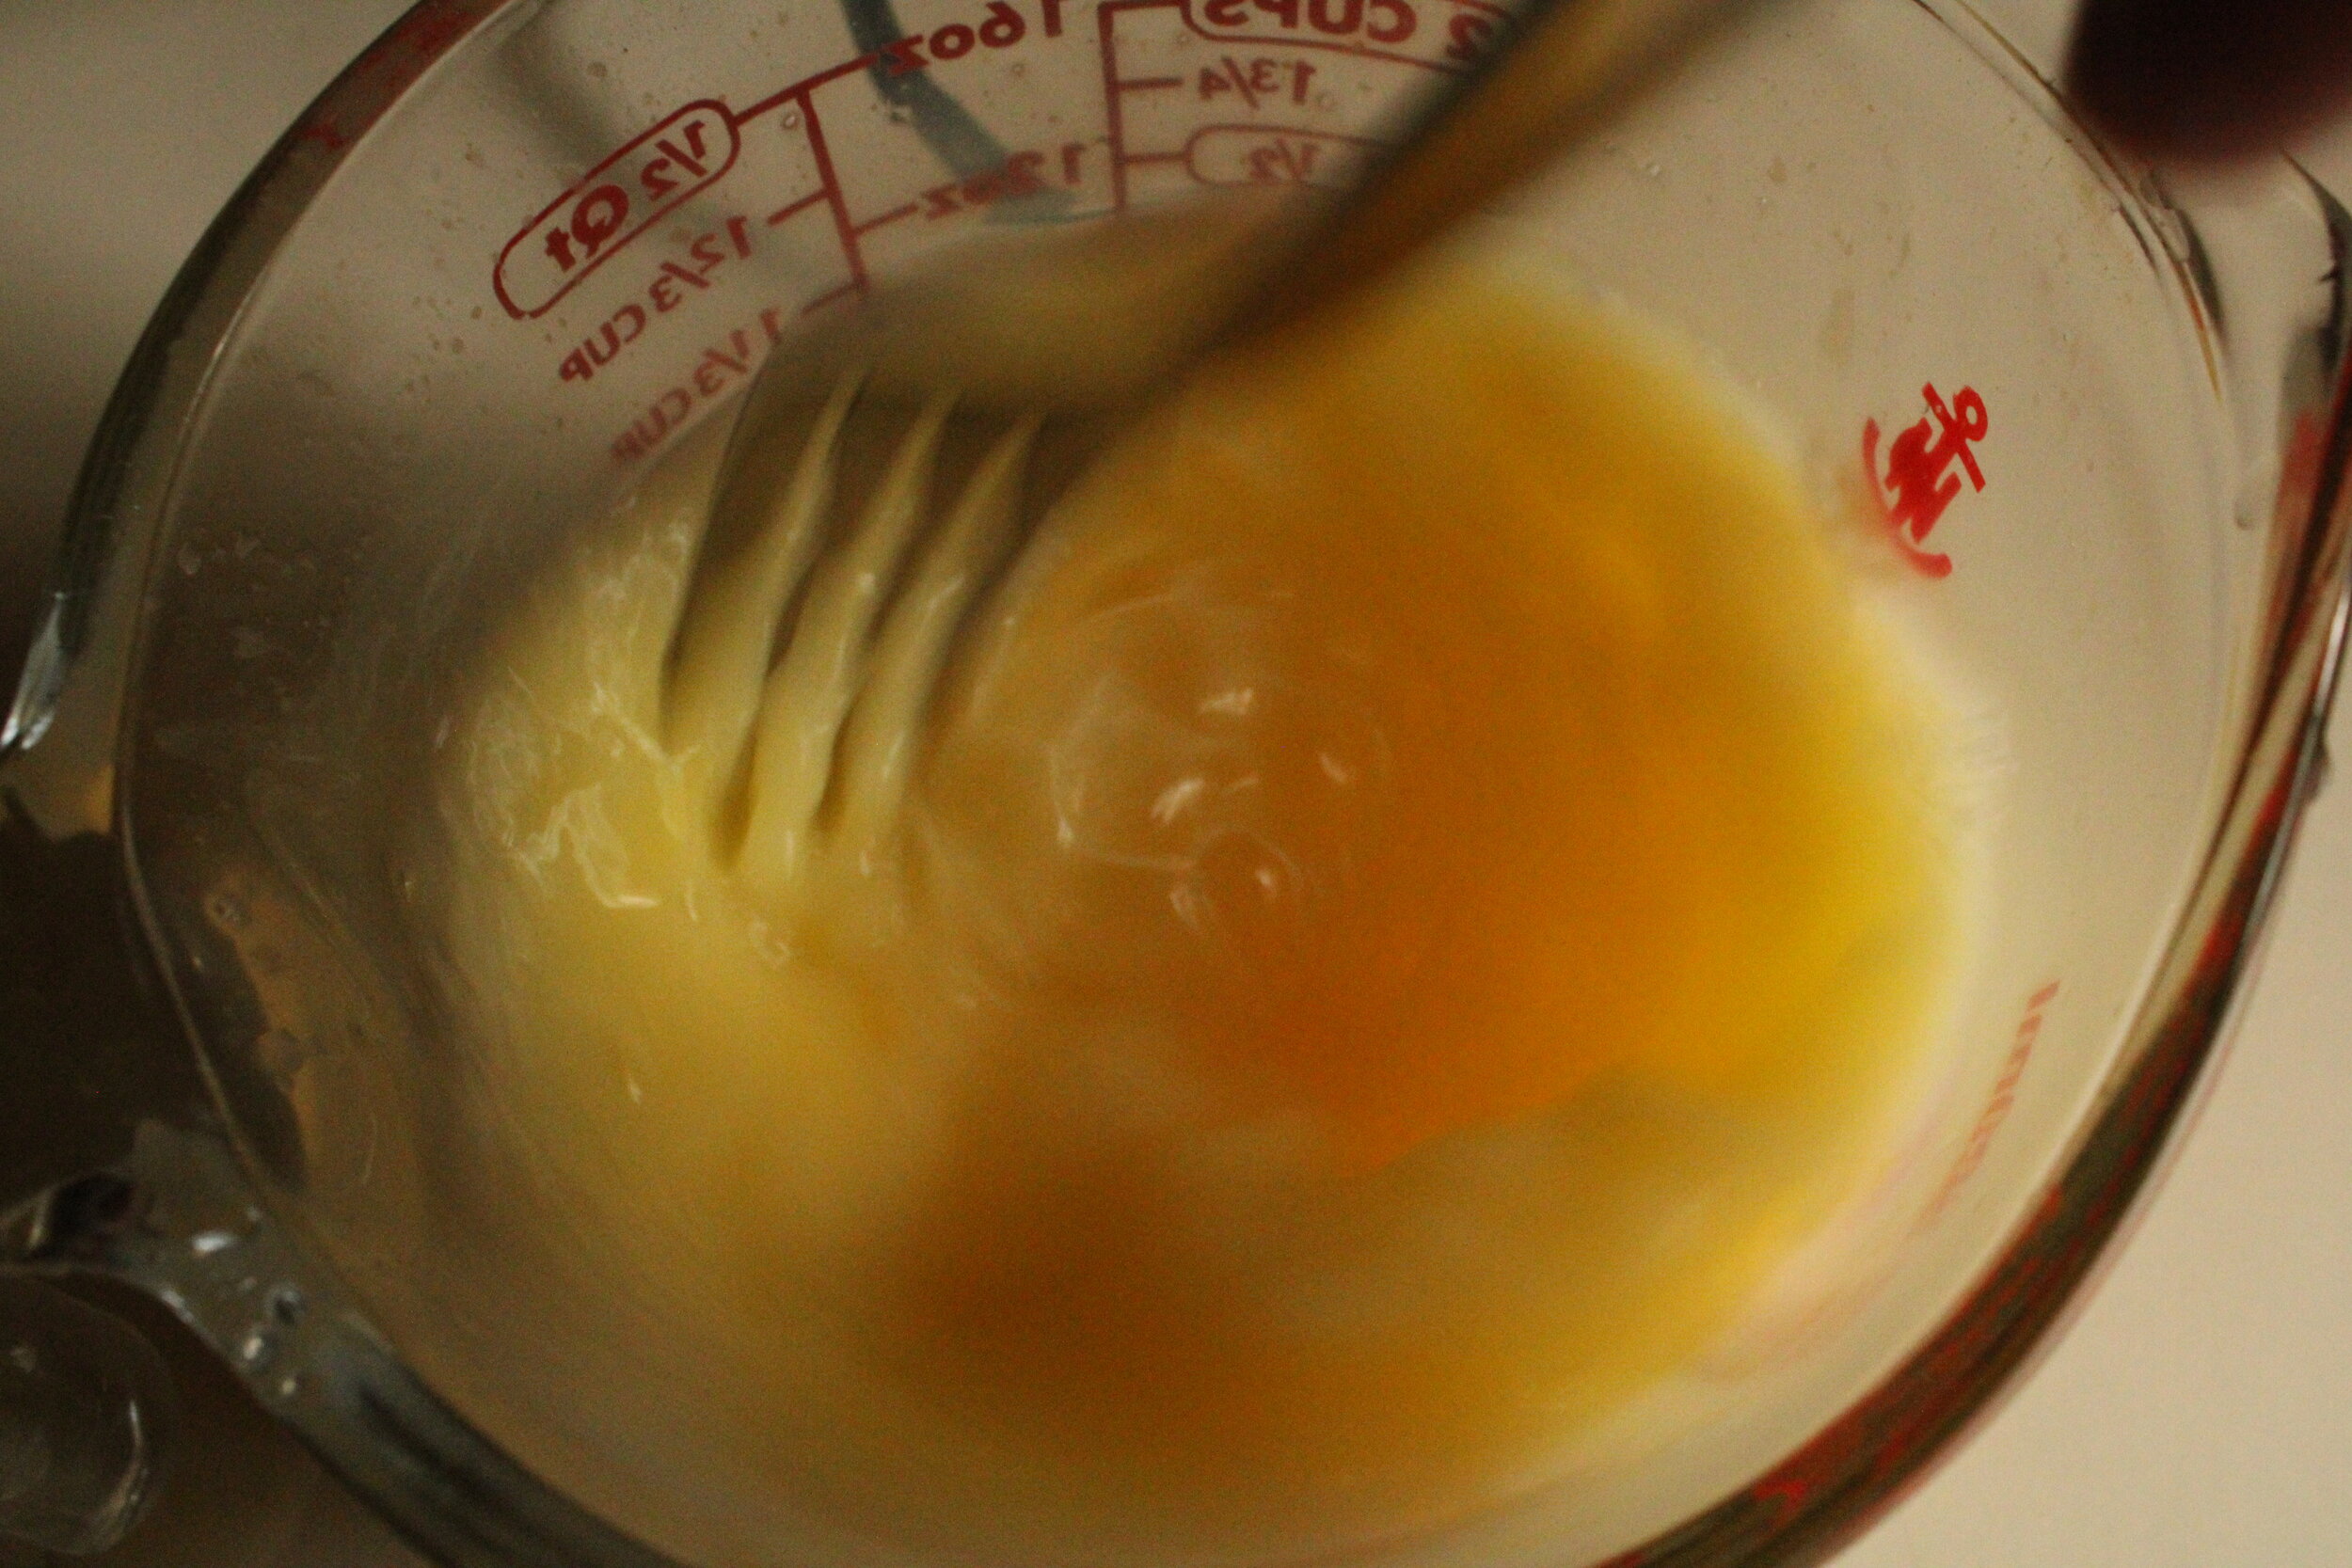
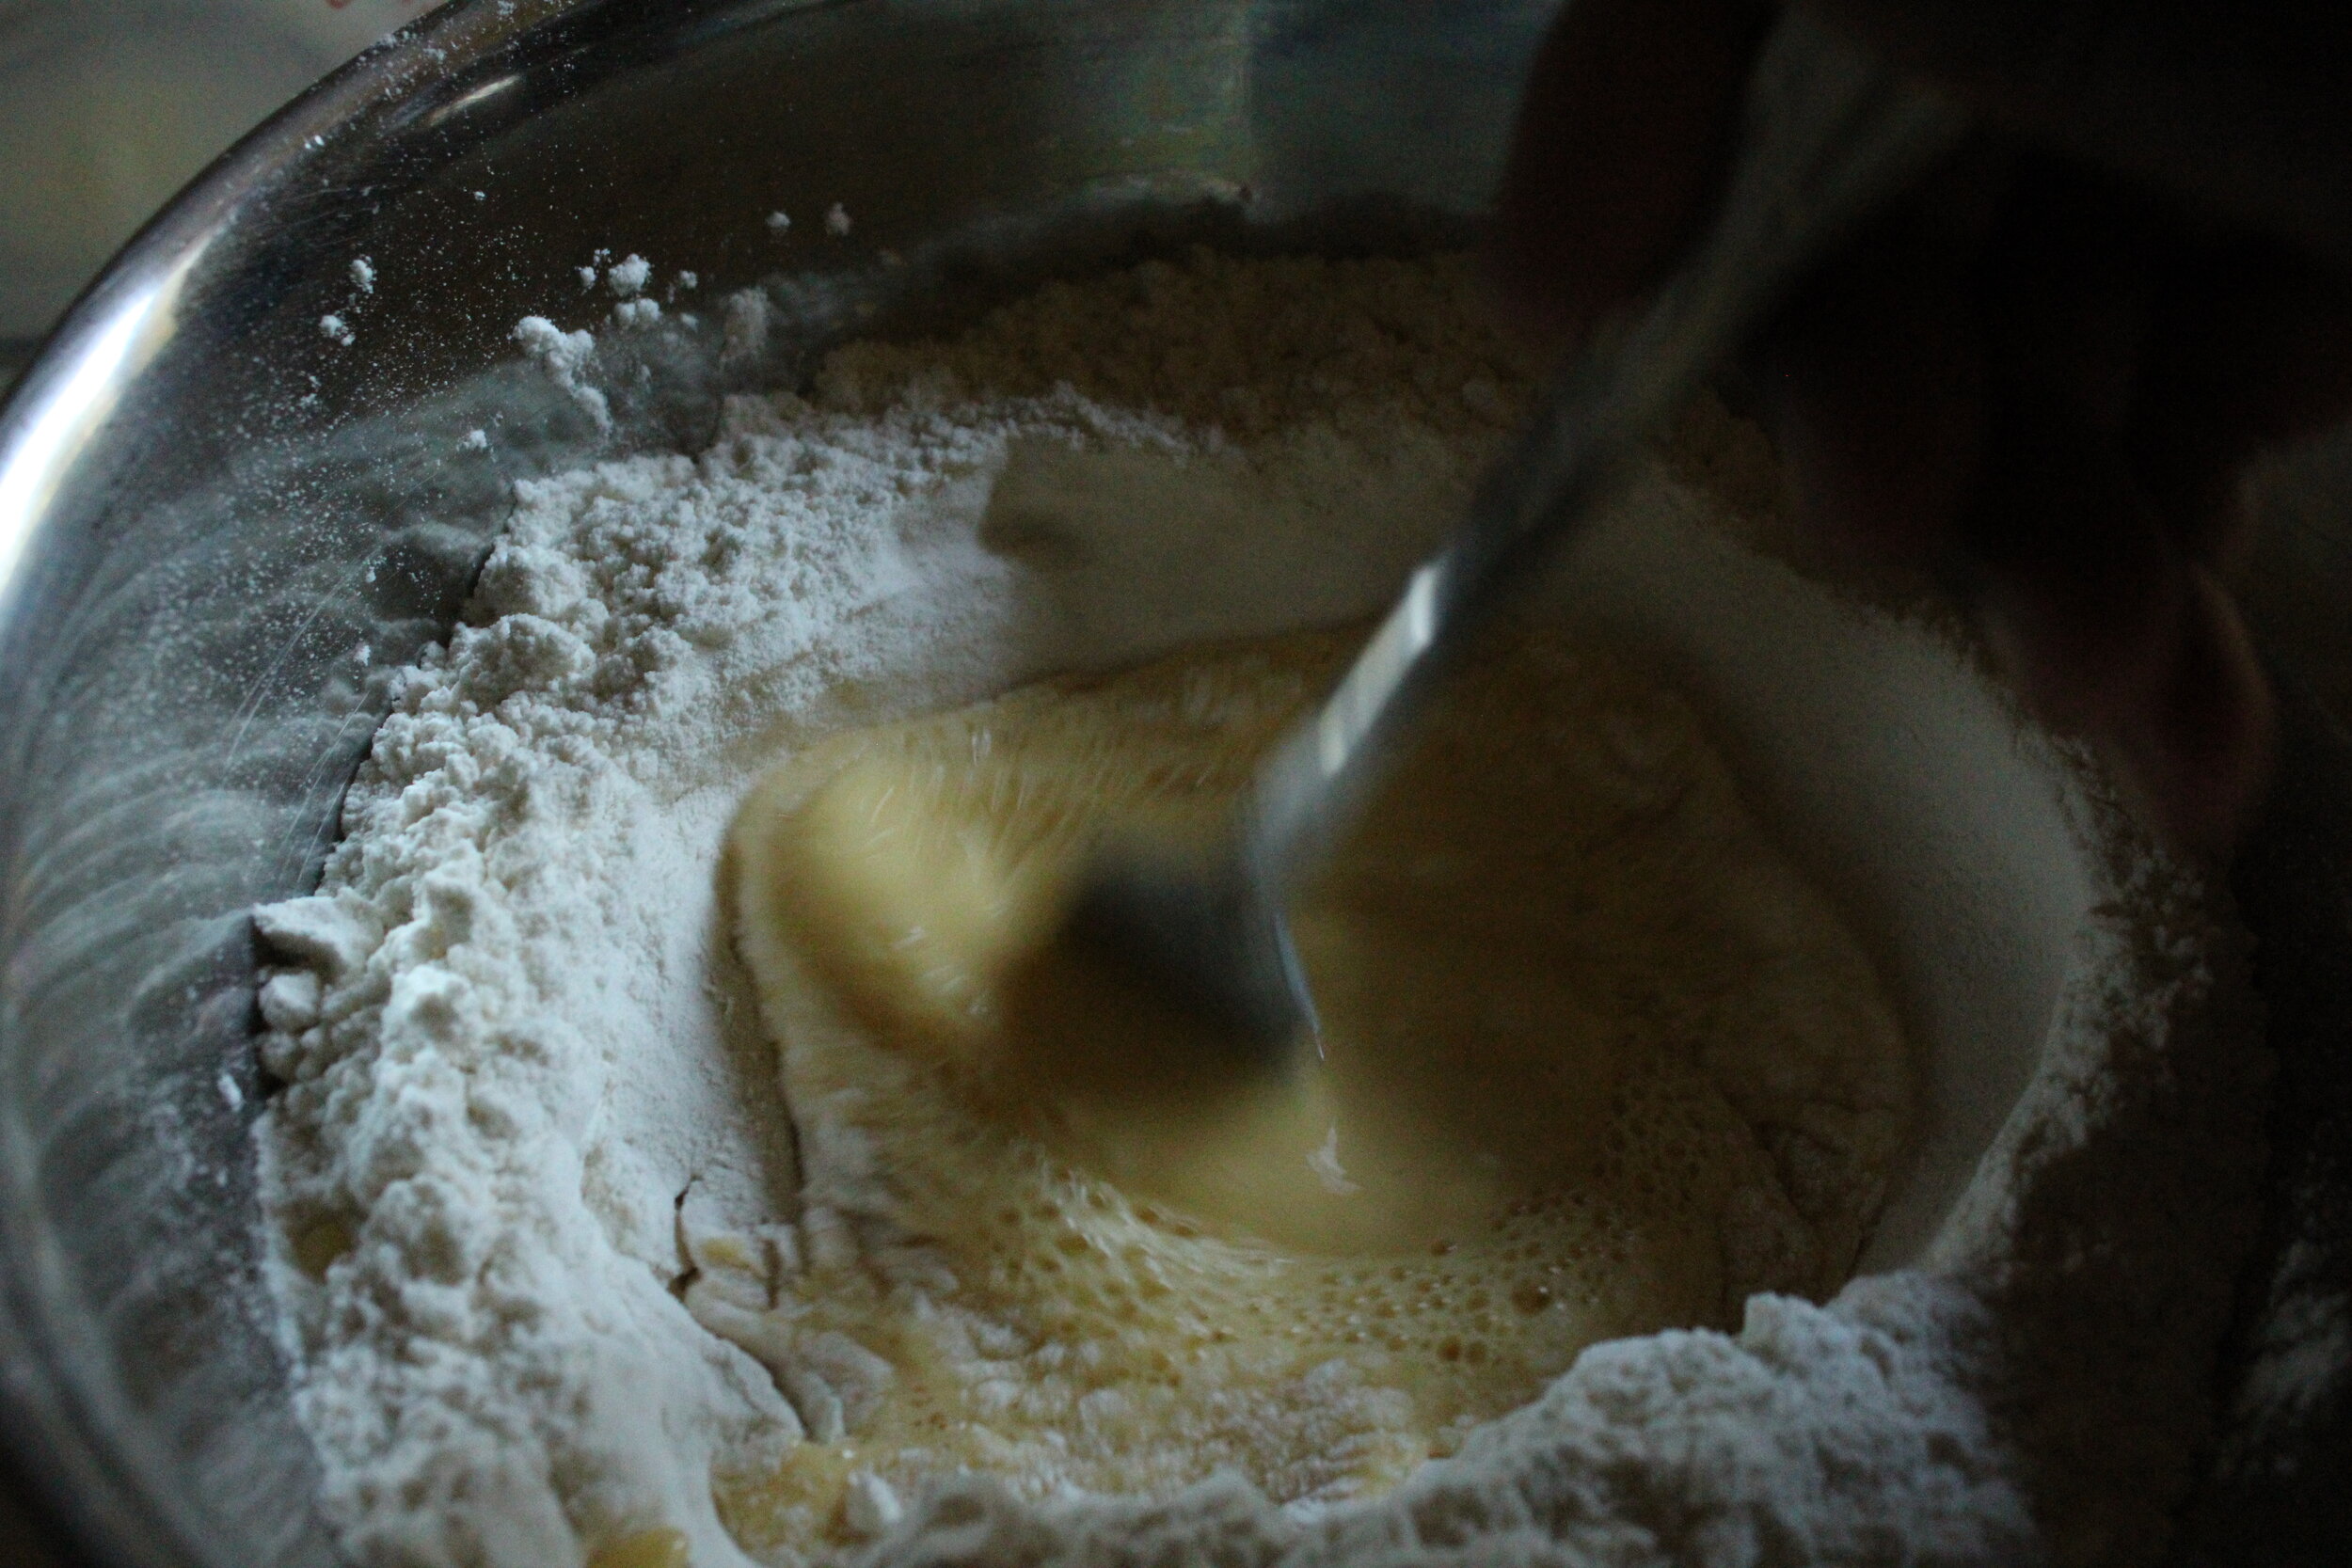
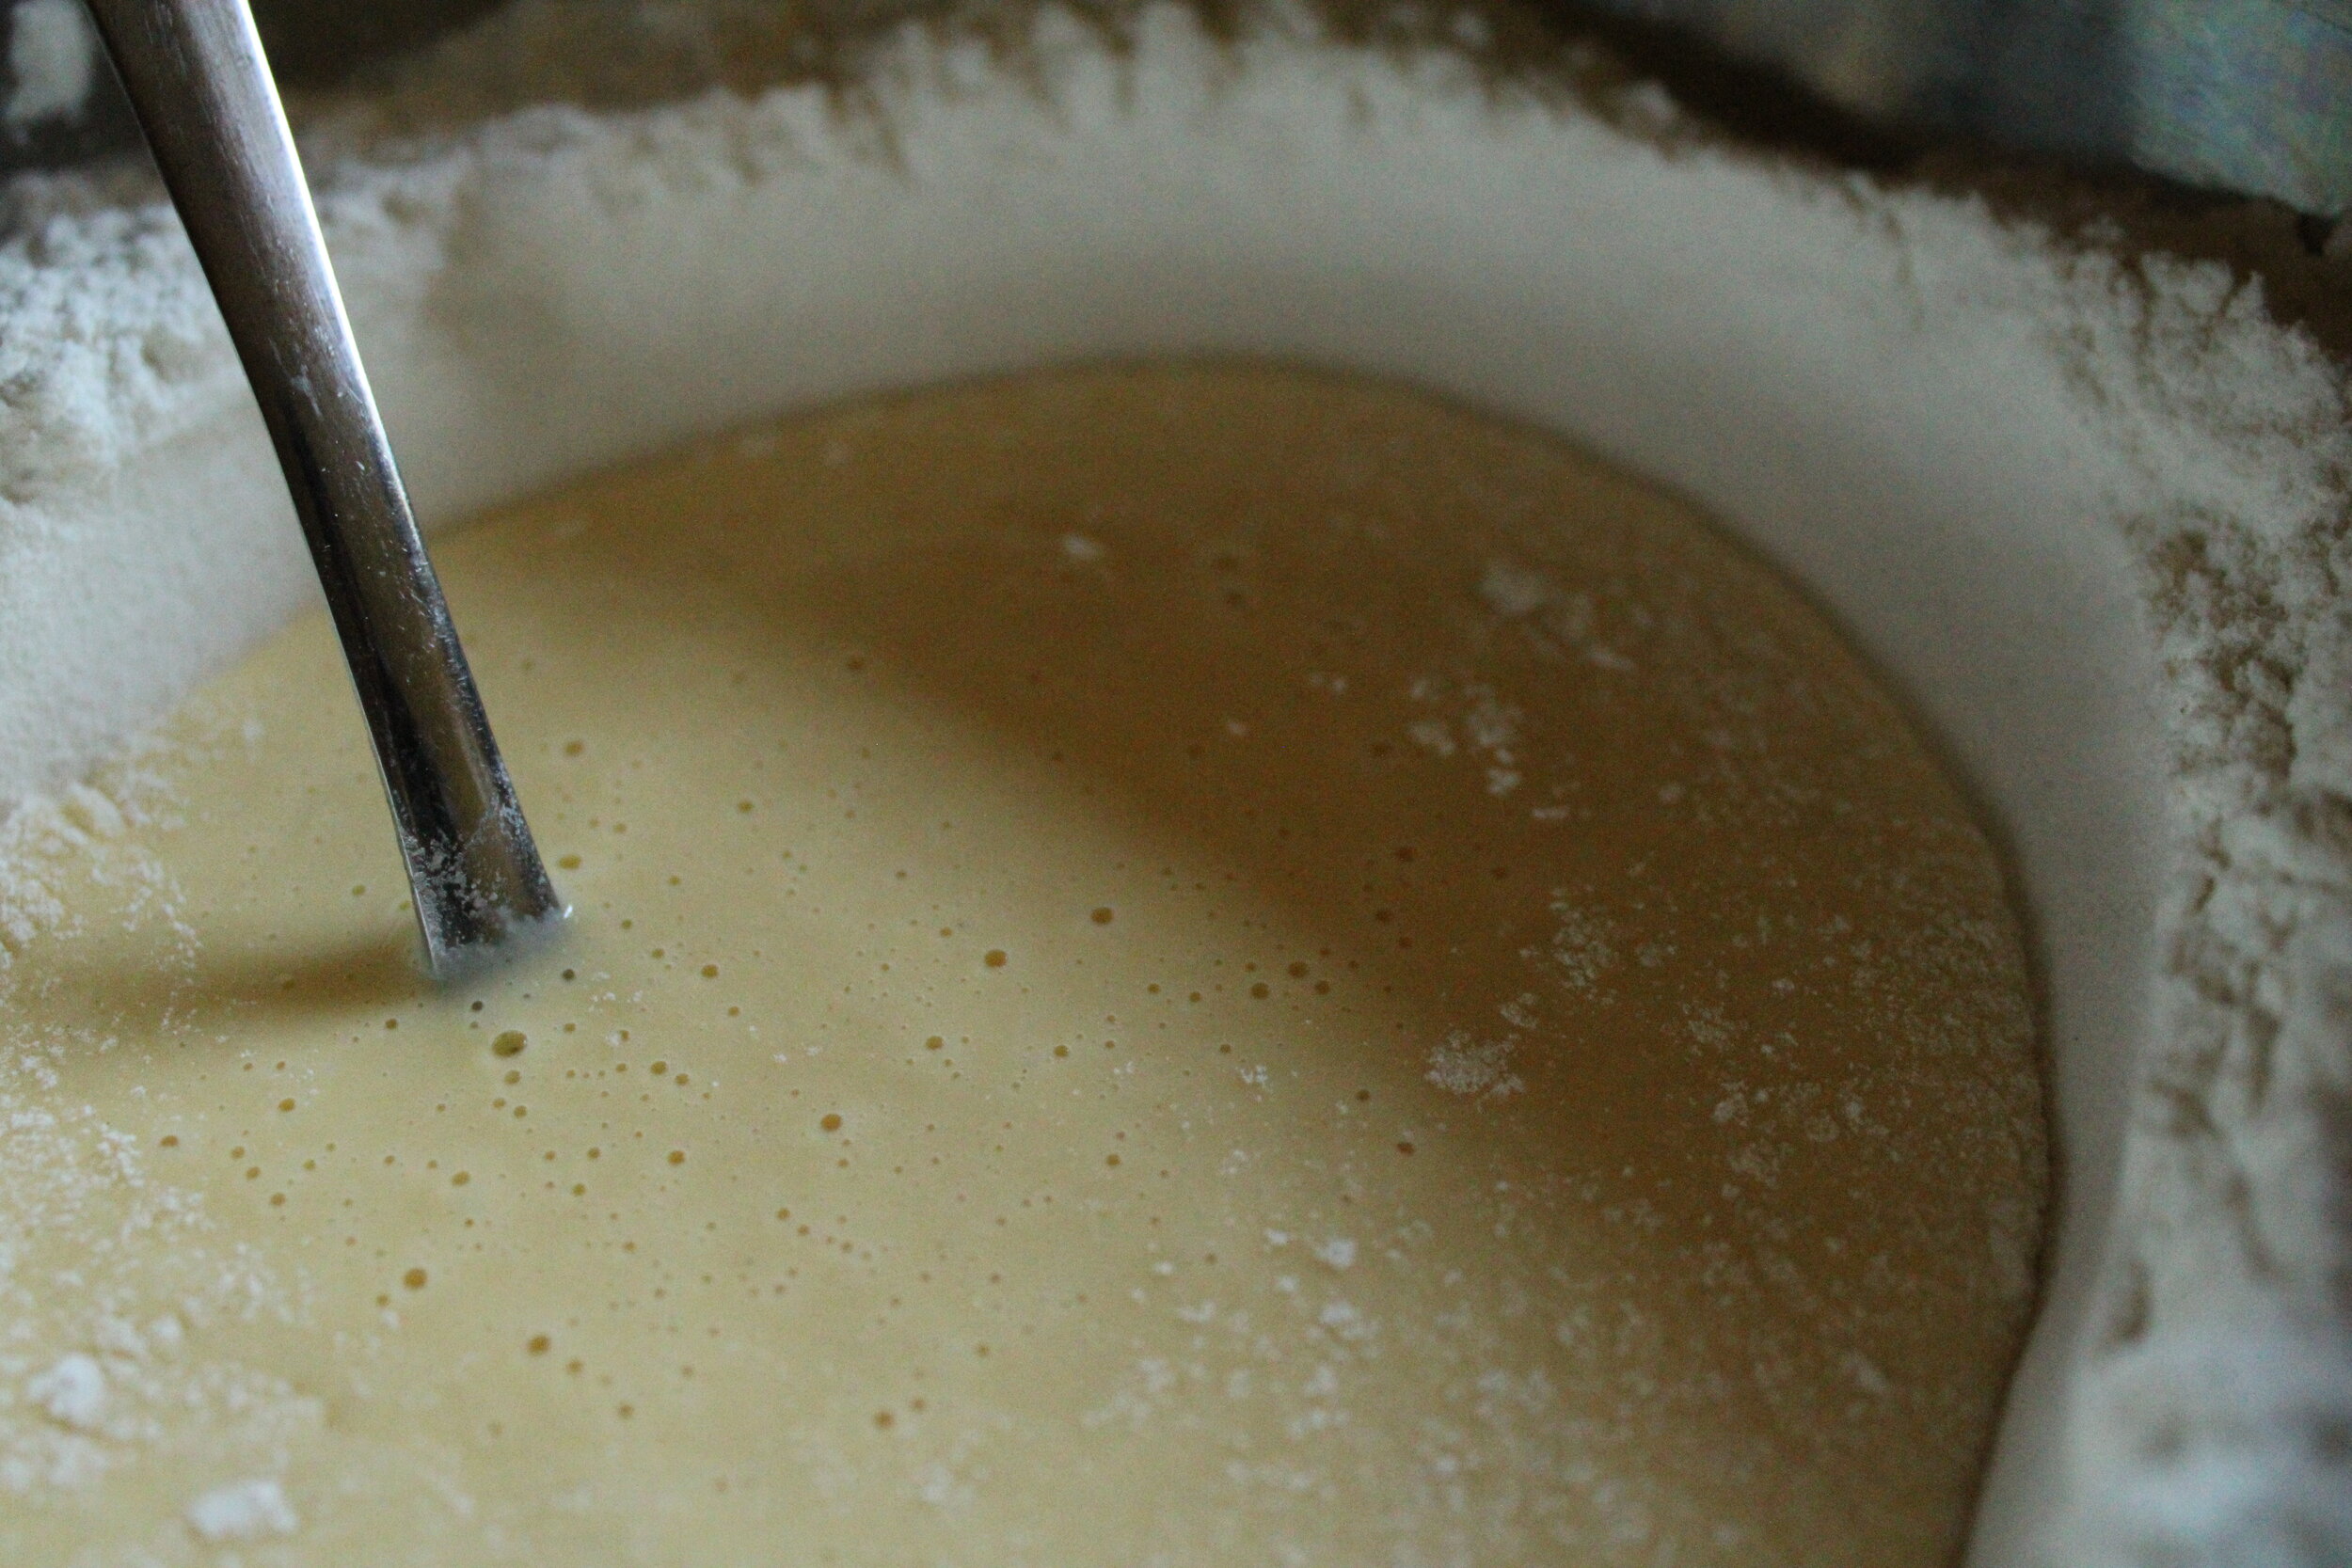
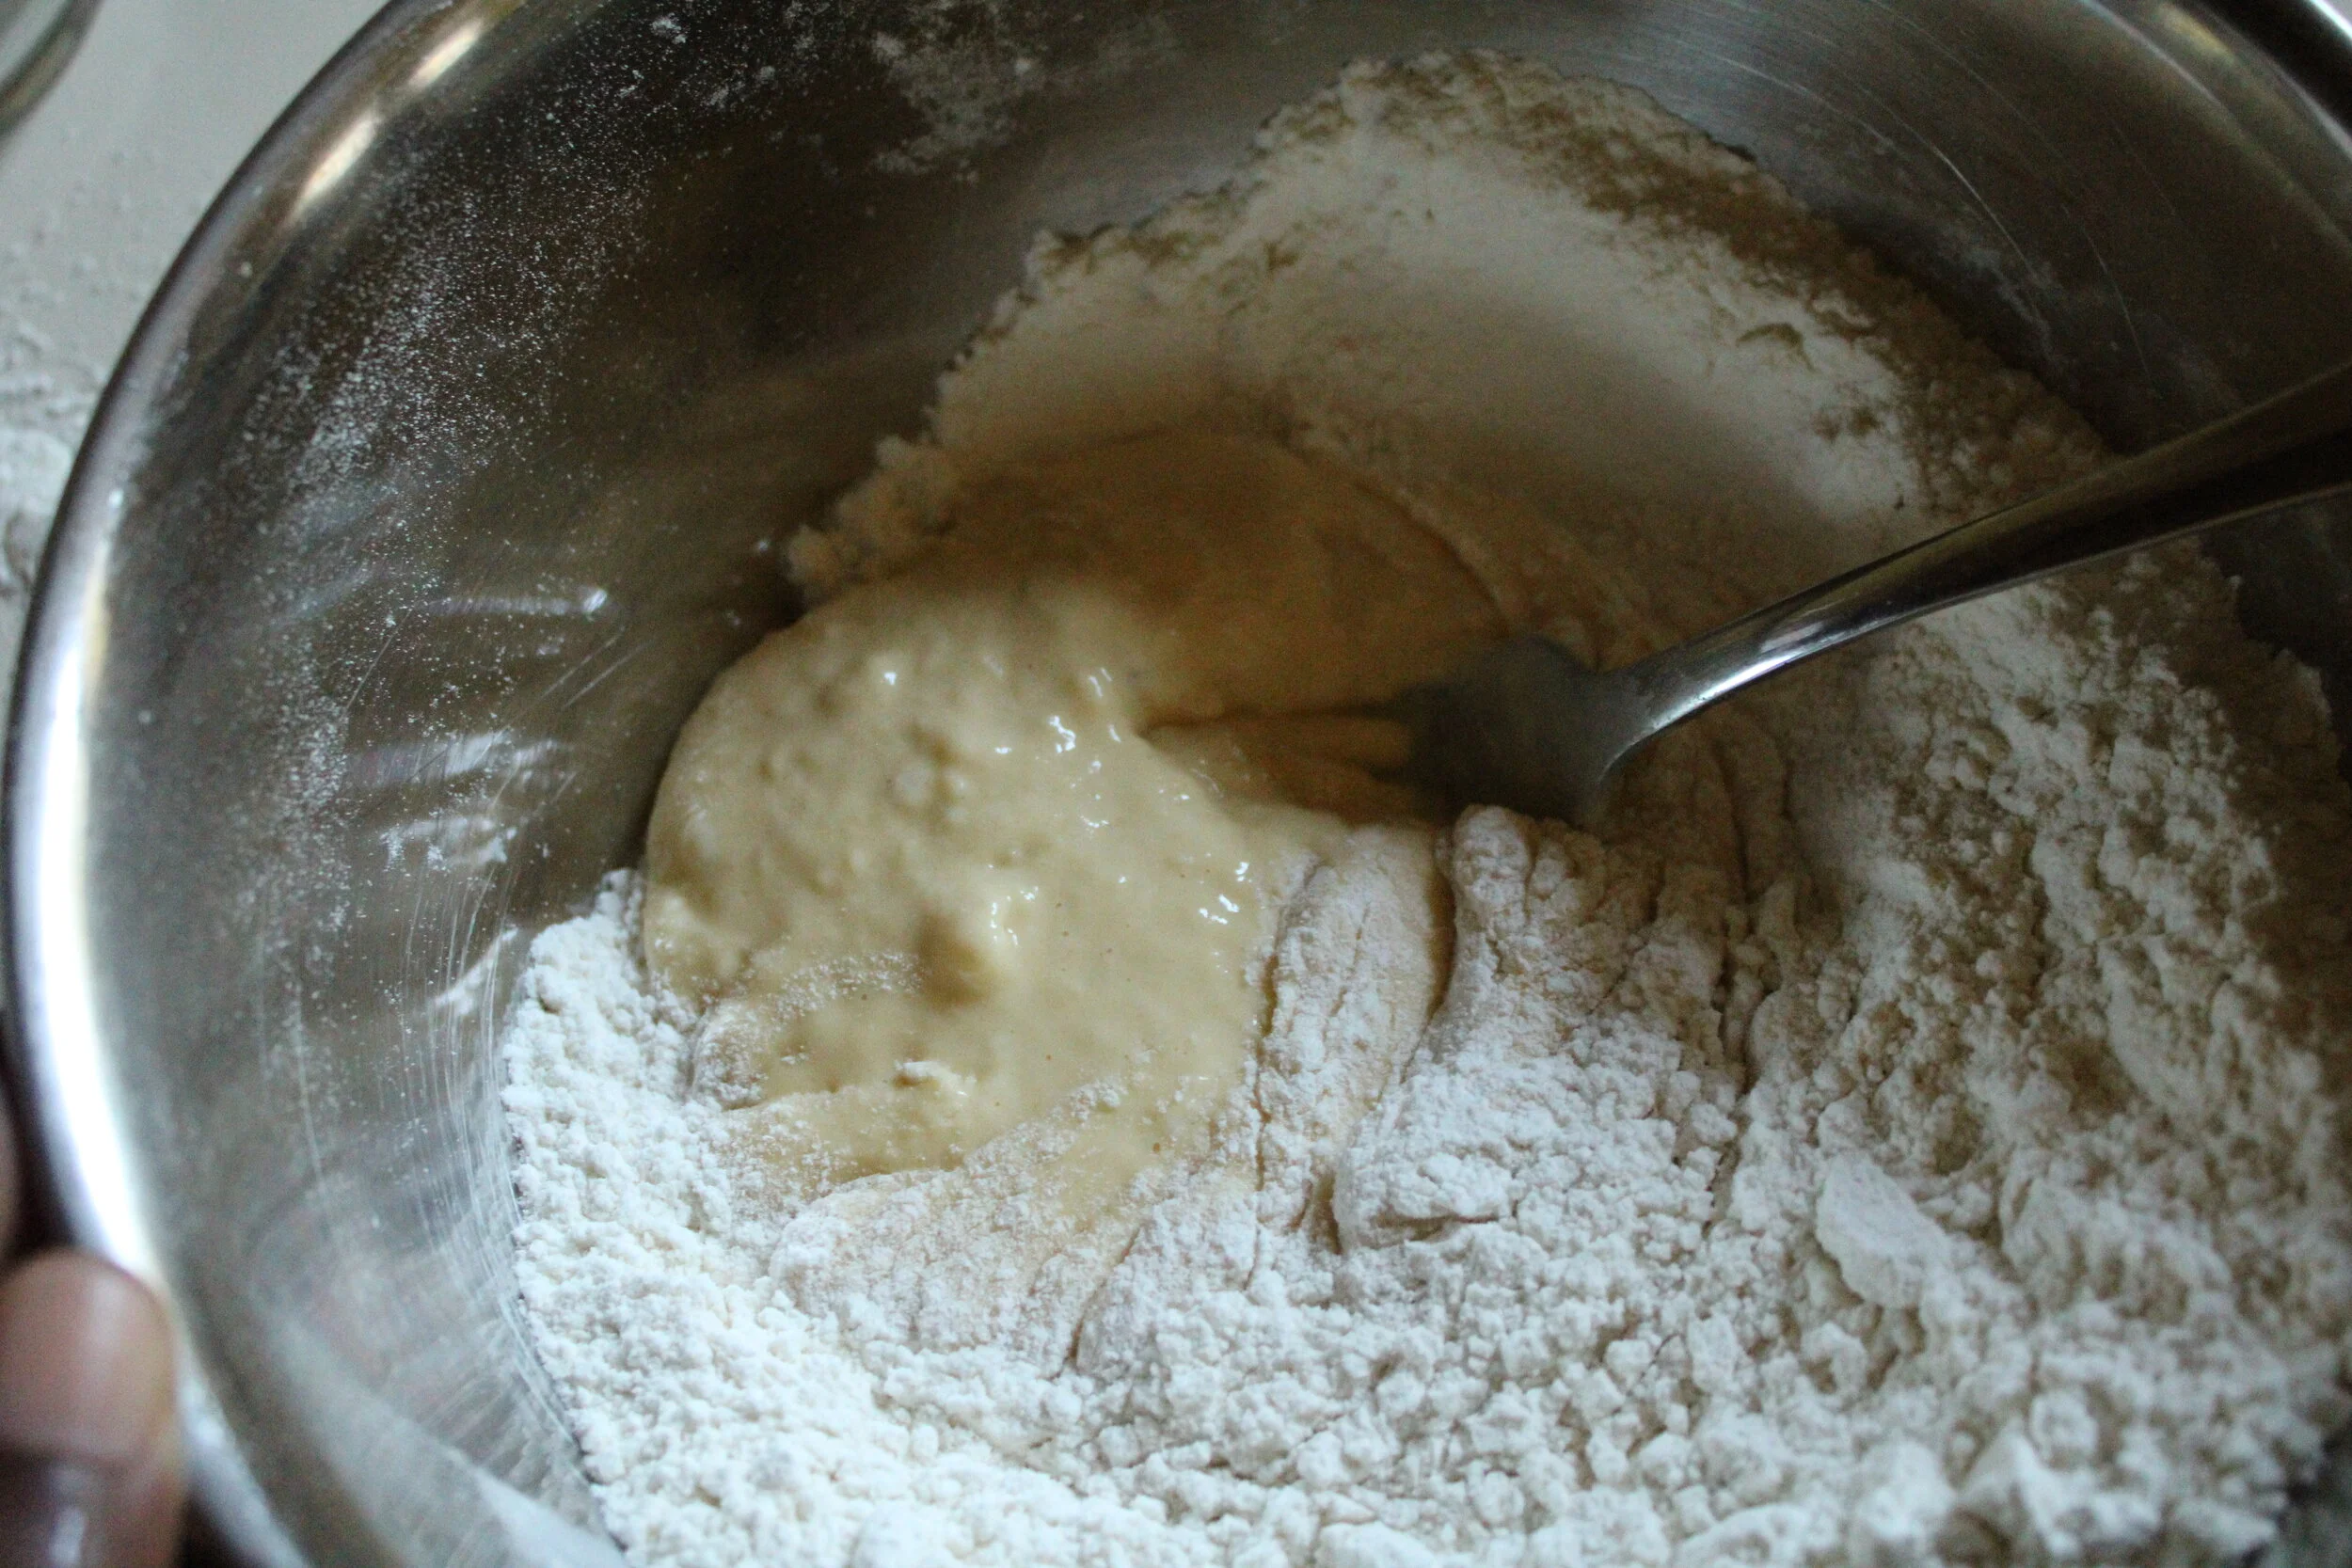
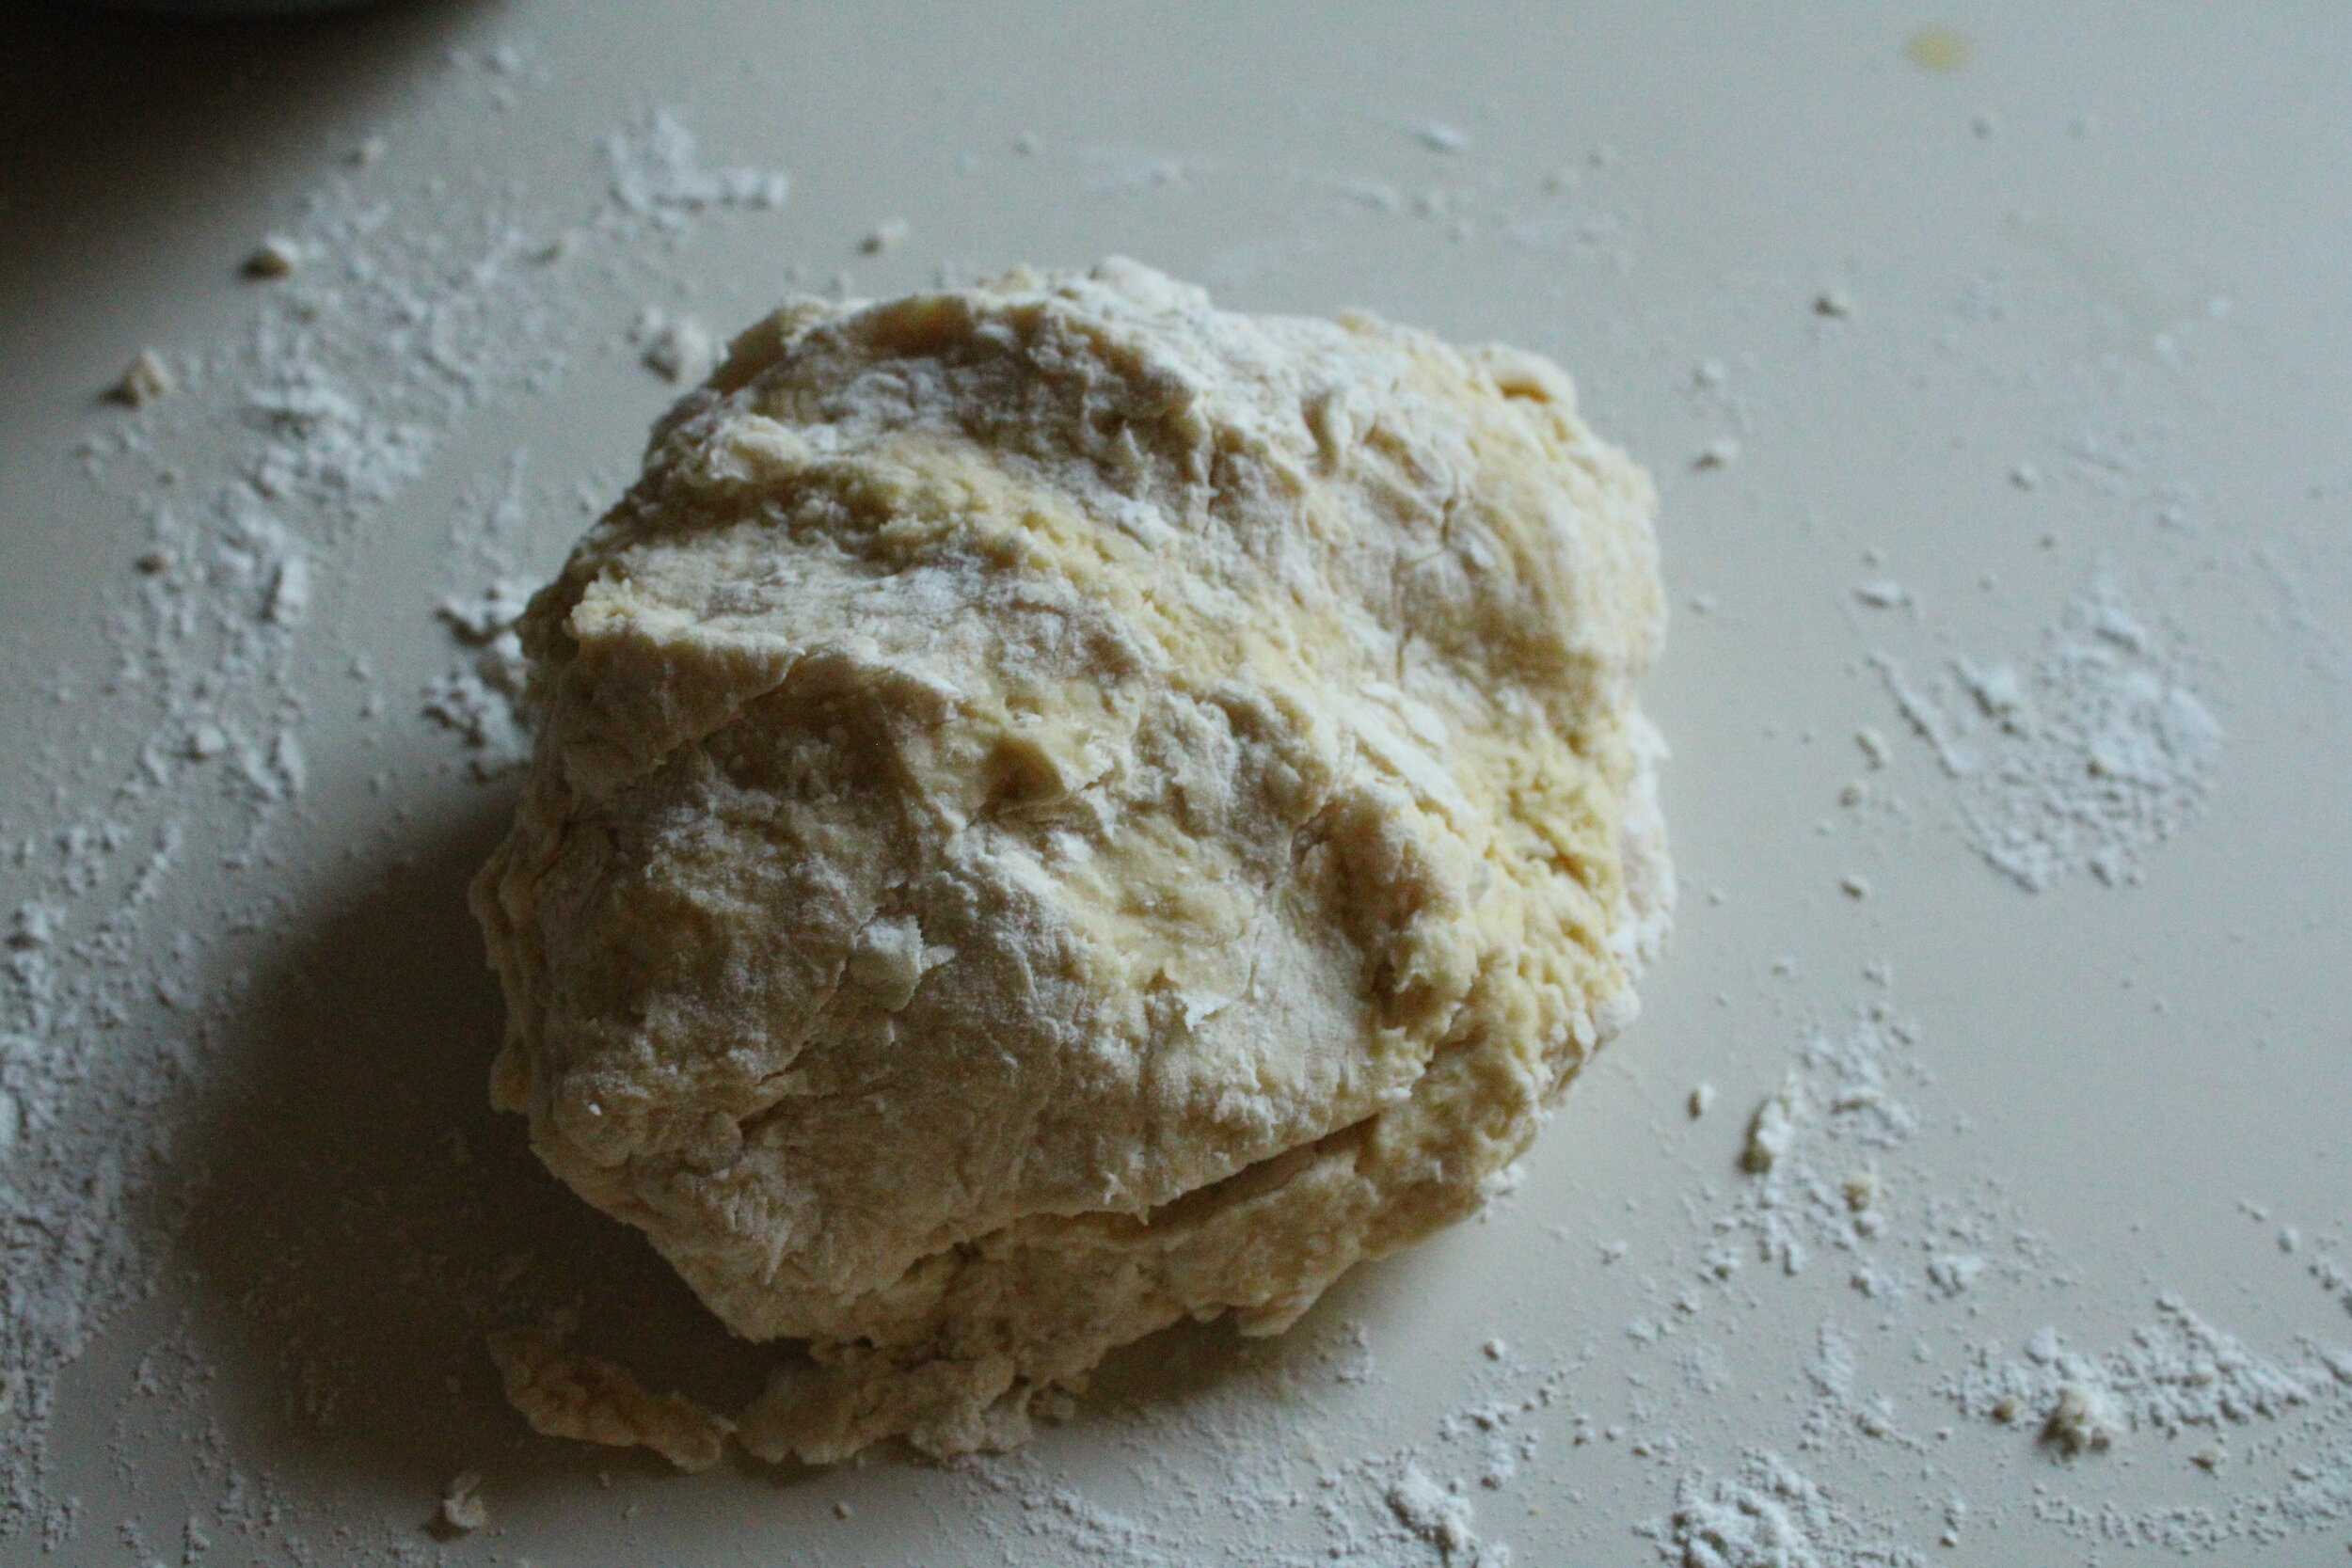
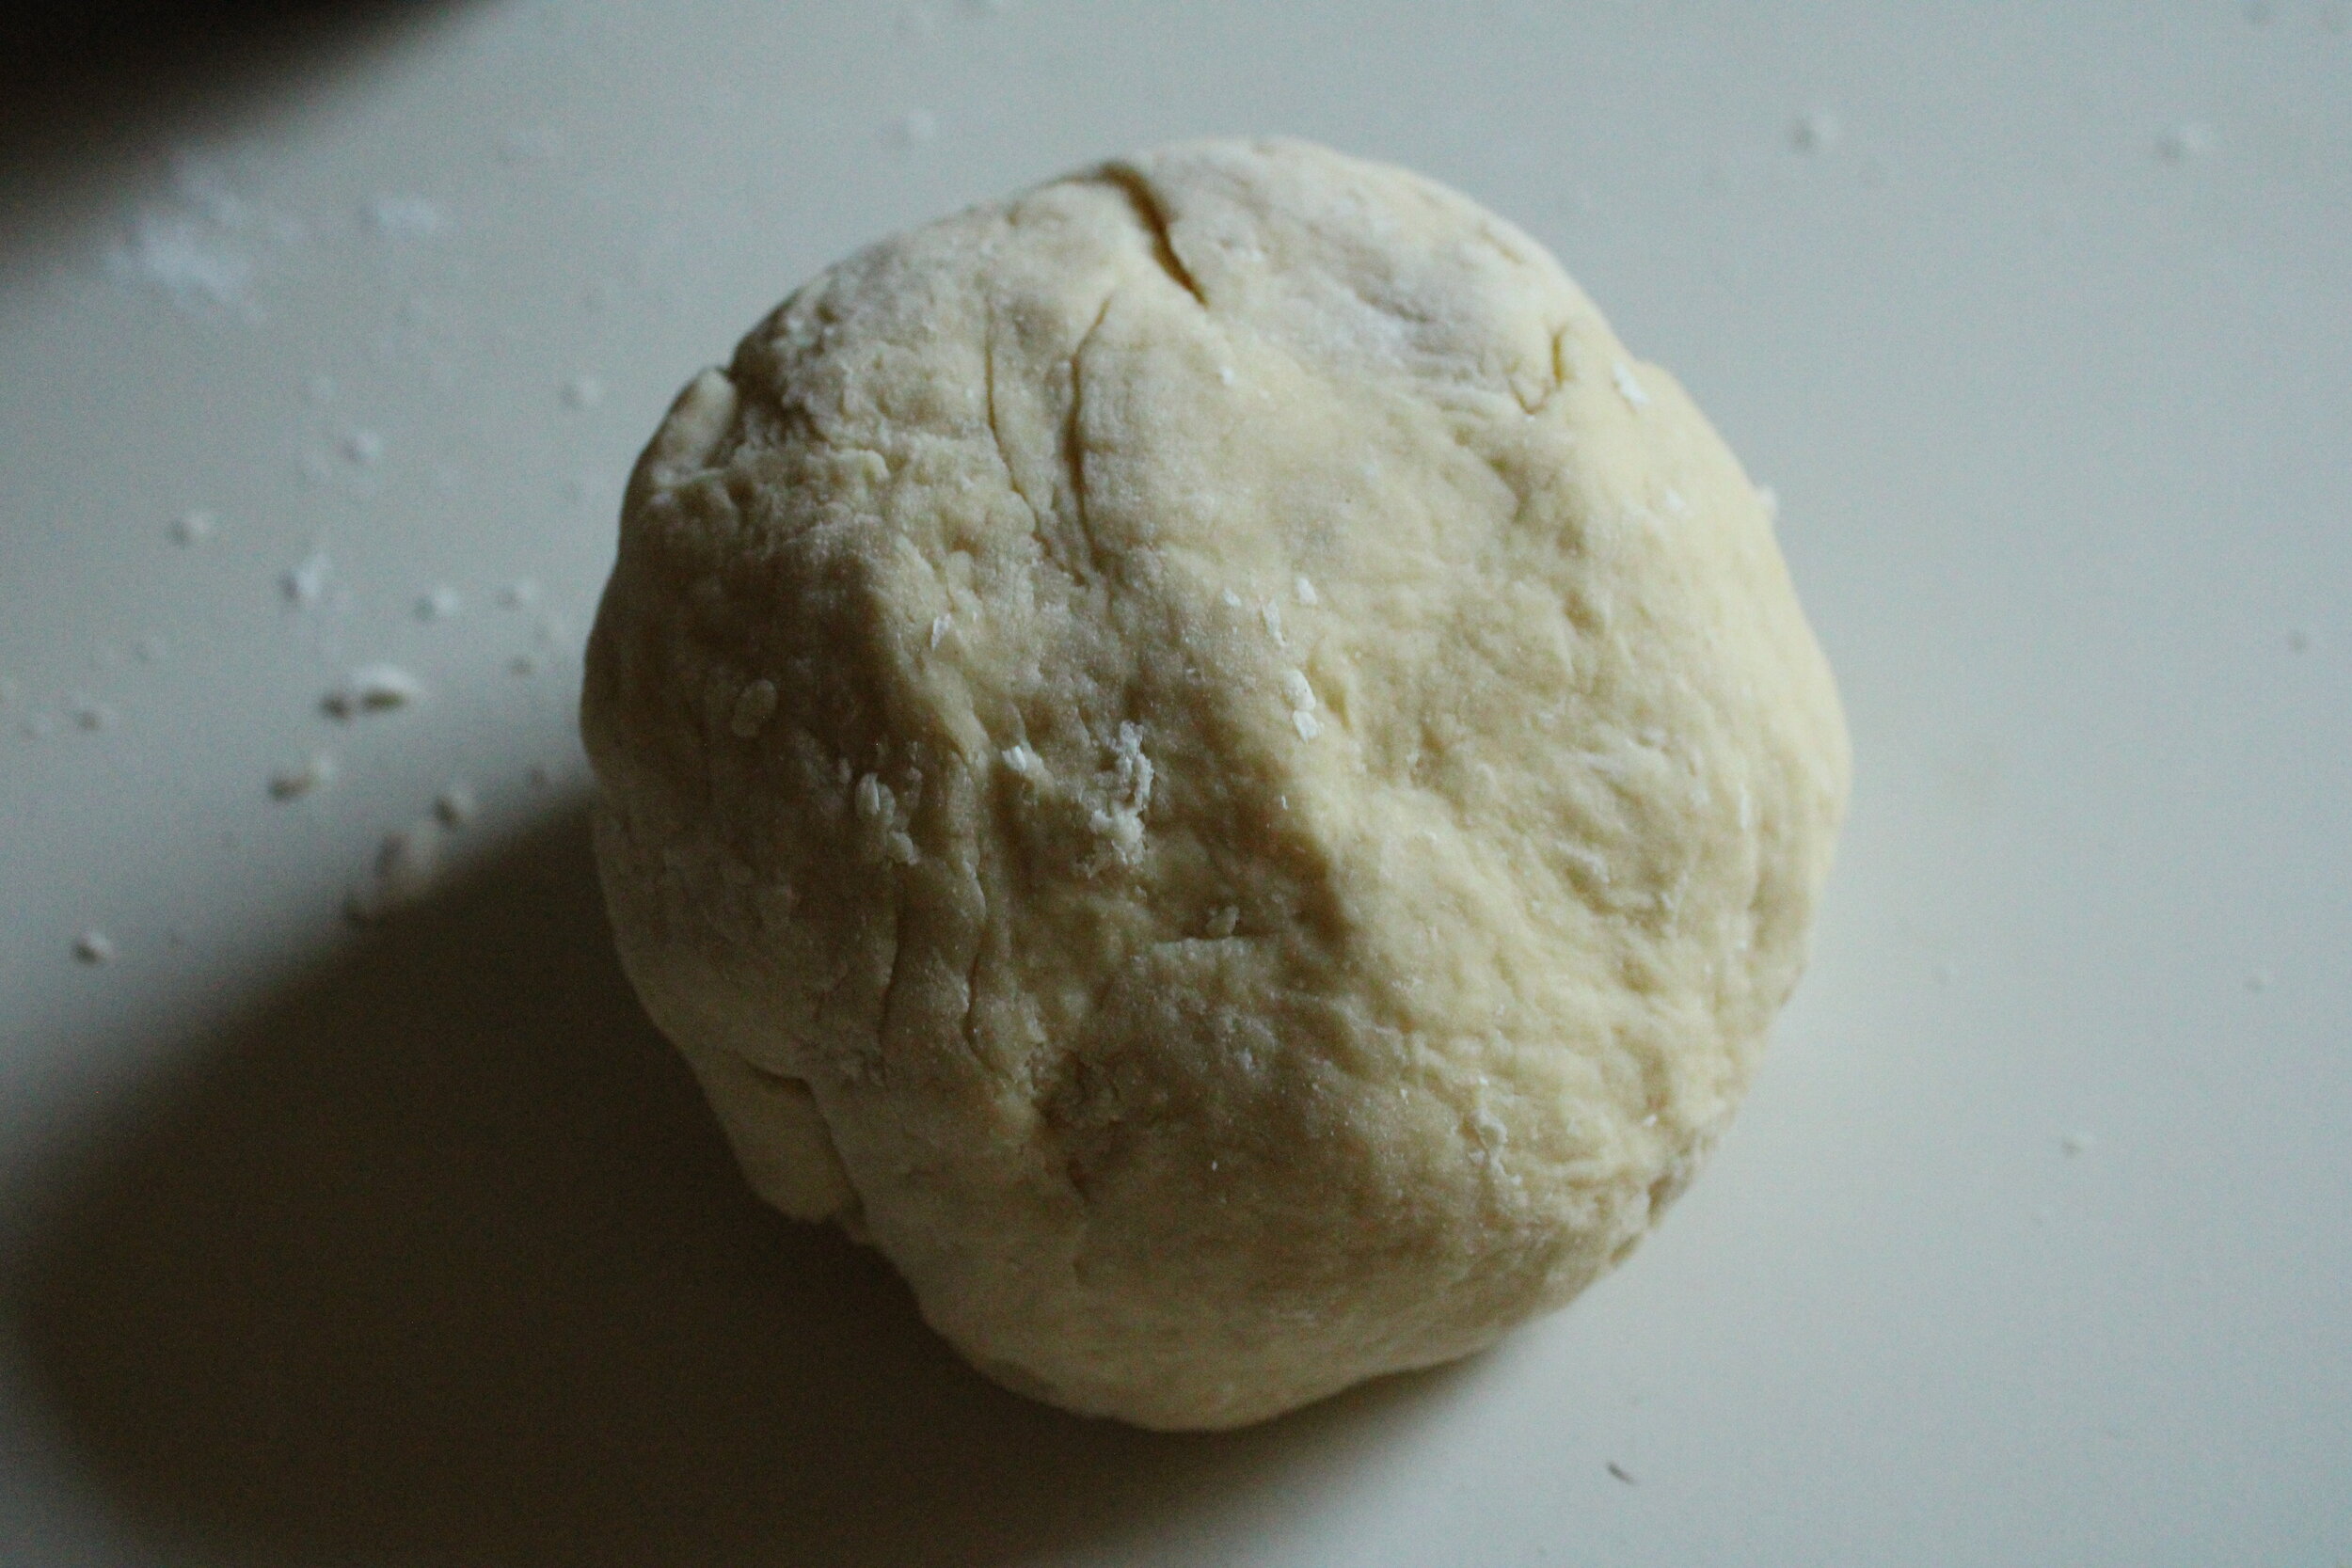
Pour egg mixture into the center of the flour and use a chopstick or fork to slowly whisk in the flour. After about 5-8 minutes of whisking the eggs with the flour the mixture will begin to get thicker and paler, at this point you can start to stir it normally or switch to using your hands to combine it. When the dough begins to take shape place it on the counter and begin to need for about 15 minutes. Then either place it in a zip bag or wrap it in plastic to let it rest in the fridge.
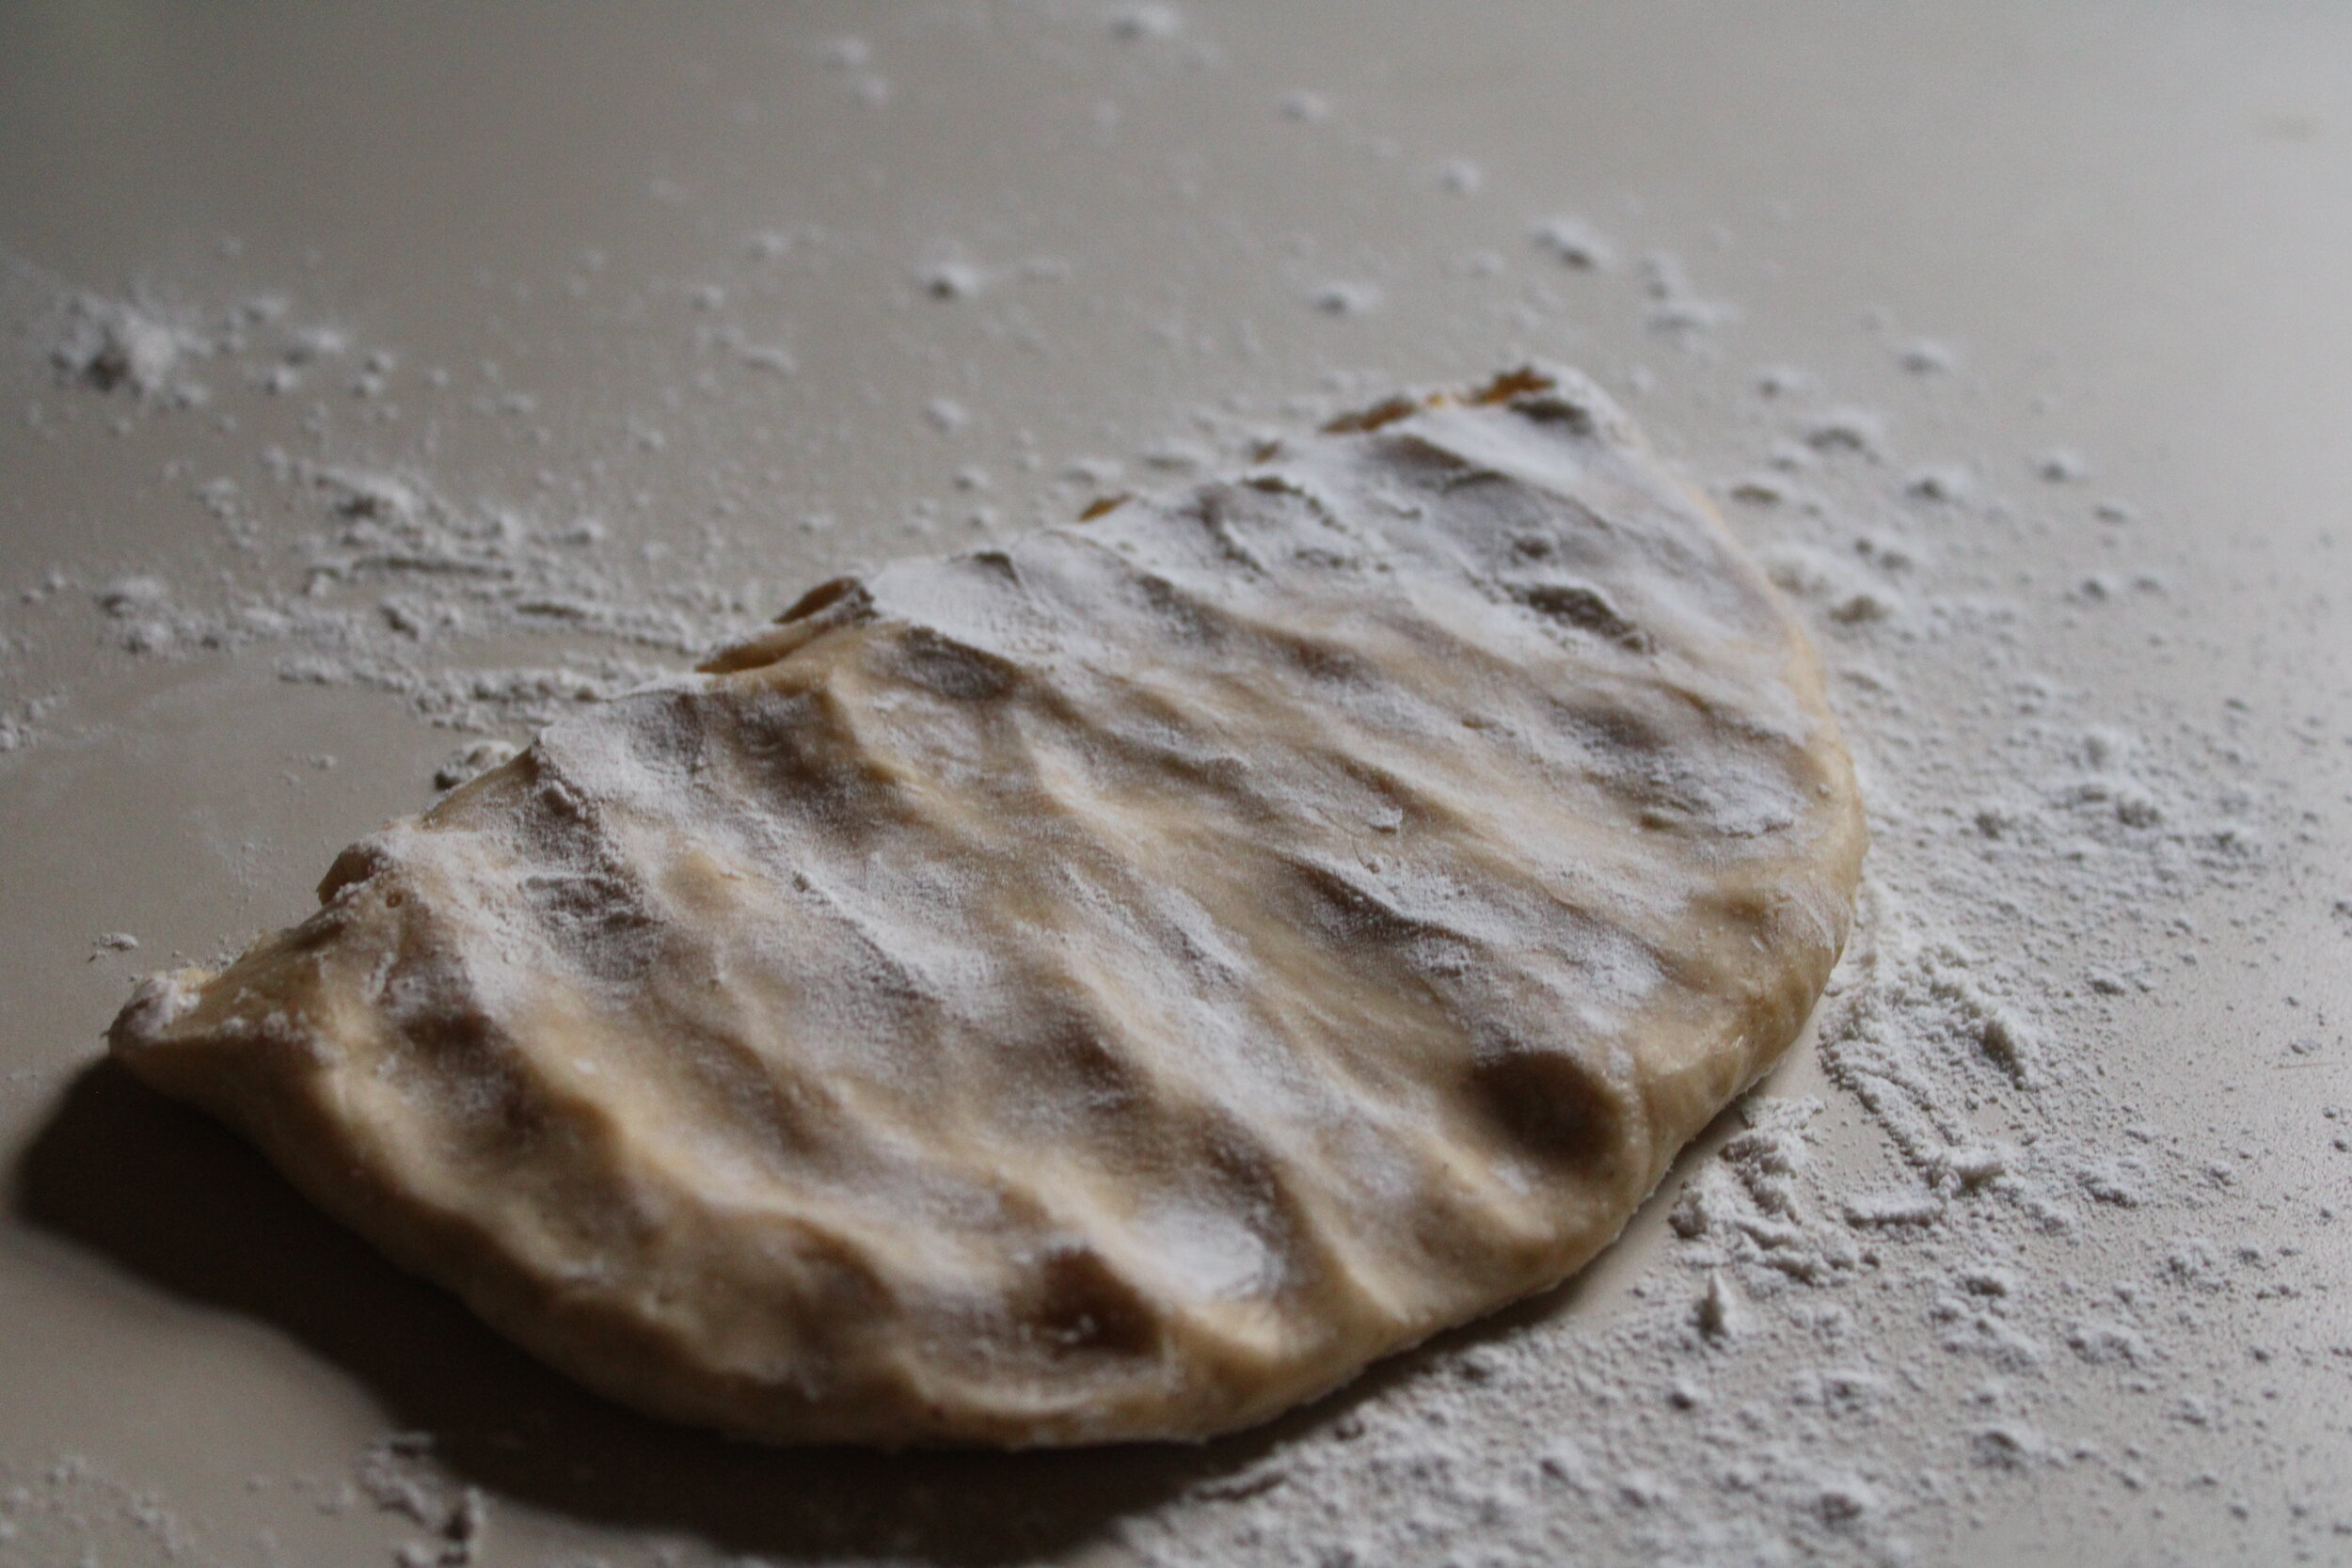
After about 30 minutes, remove the dough from the fridge and split it in half, you can reserve some of the dough to use for later, but the dough’s really only good for about a week maximum in the fridge, and maybe a few months in the freezer.
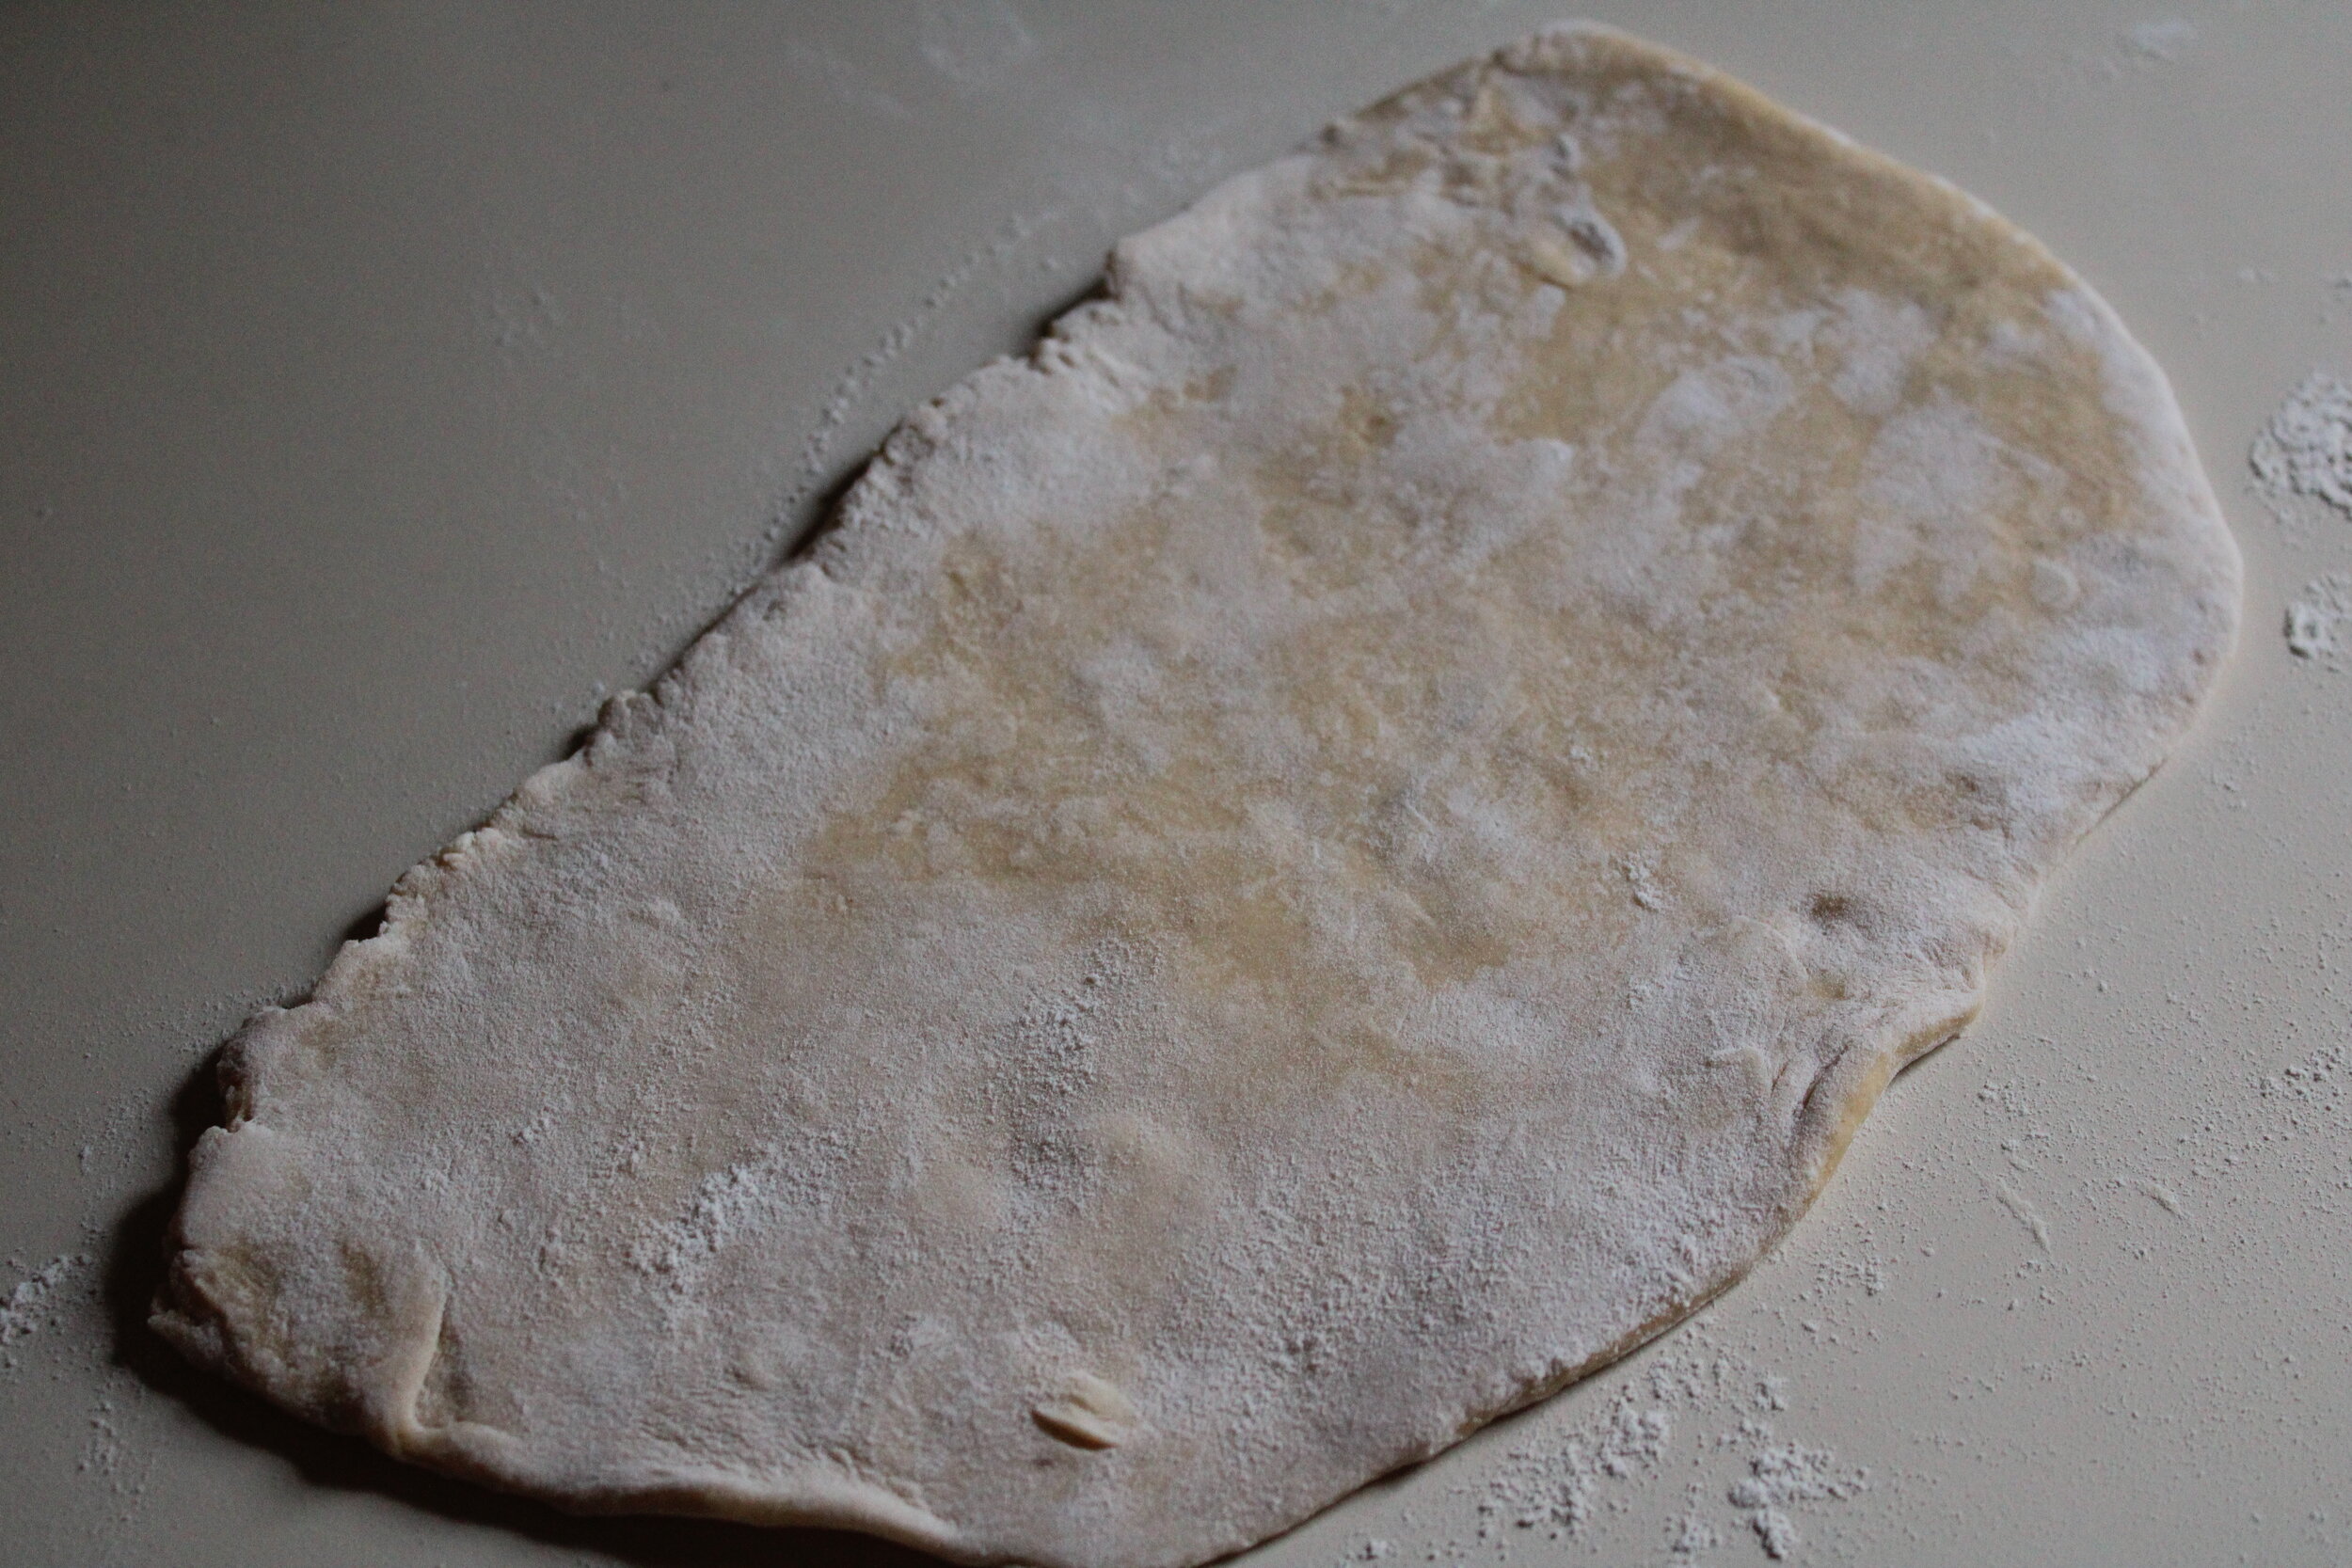
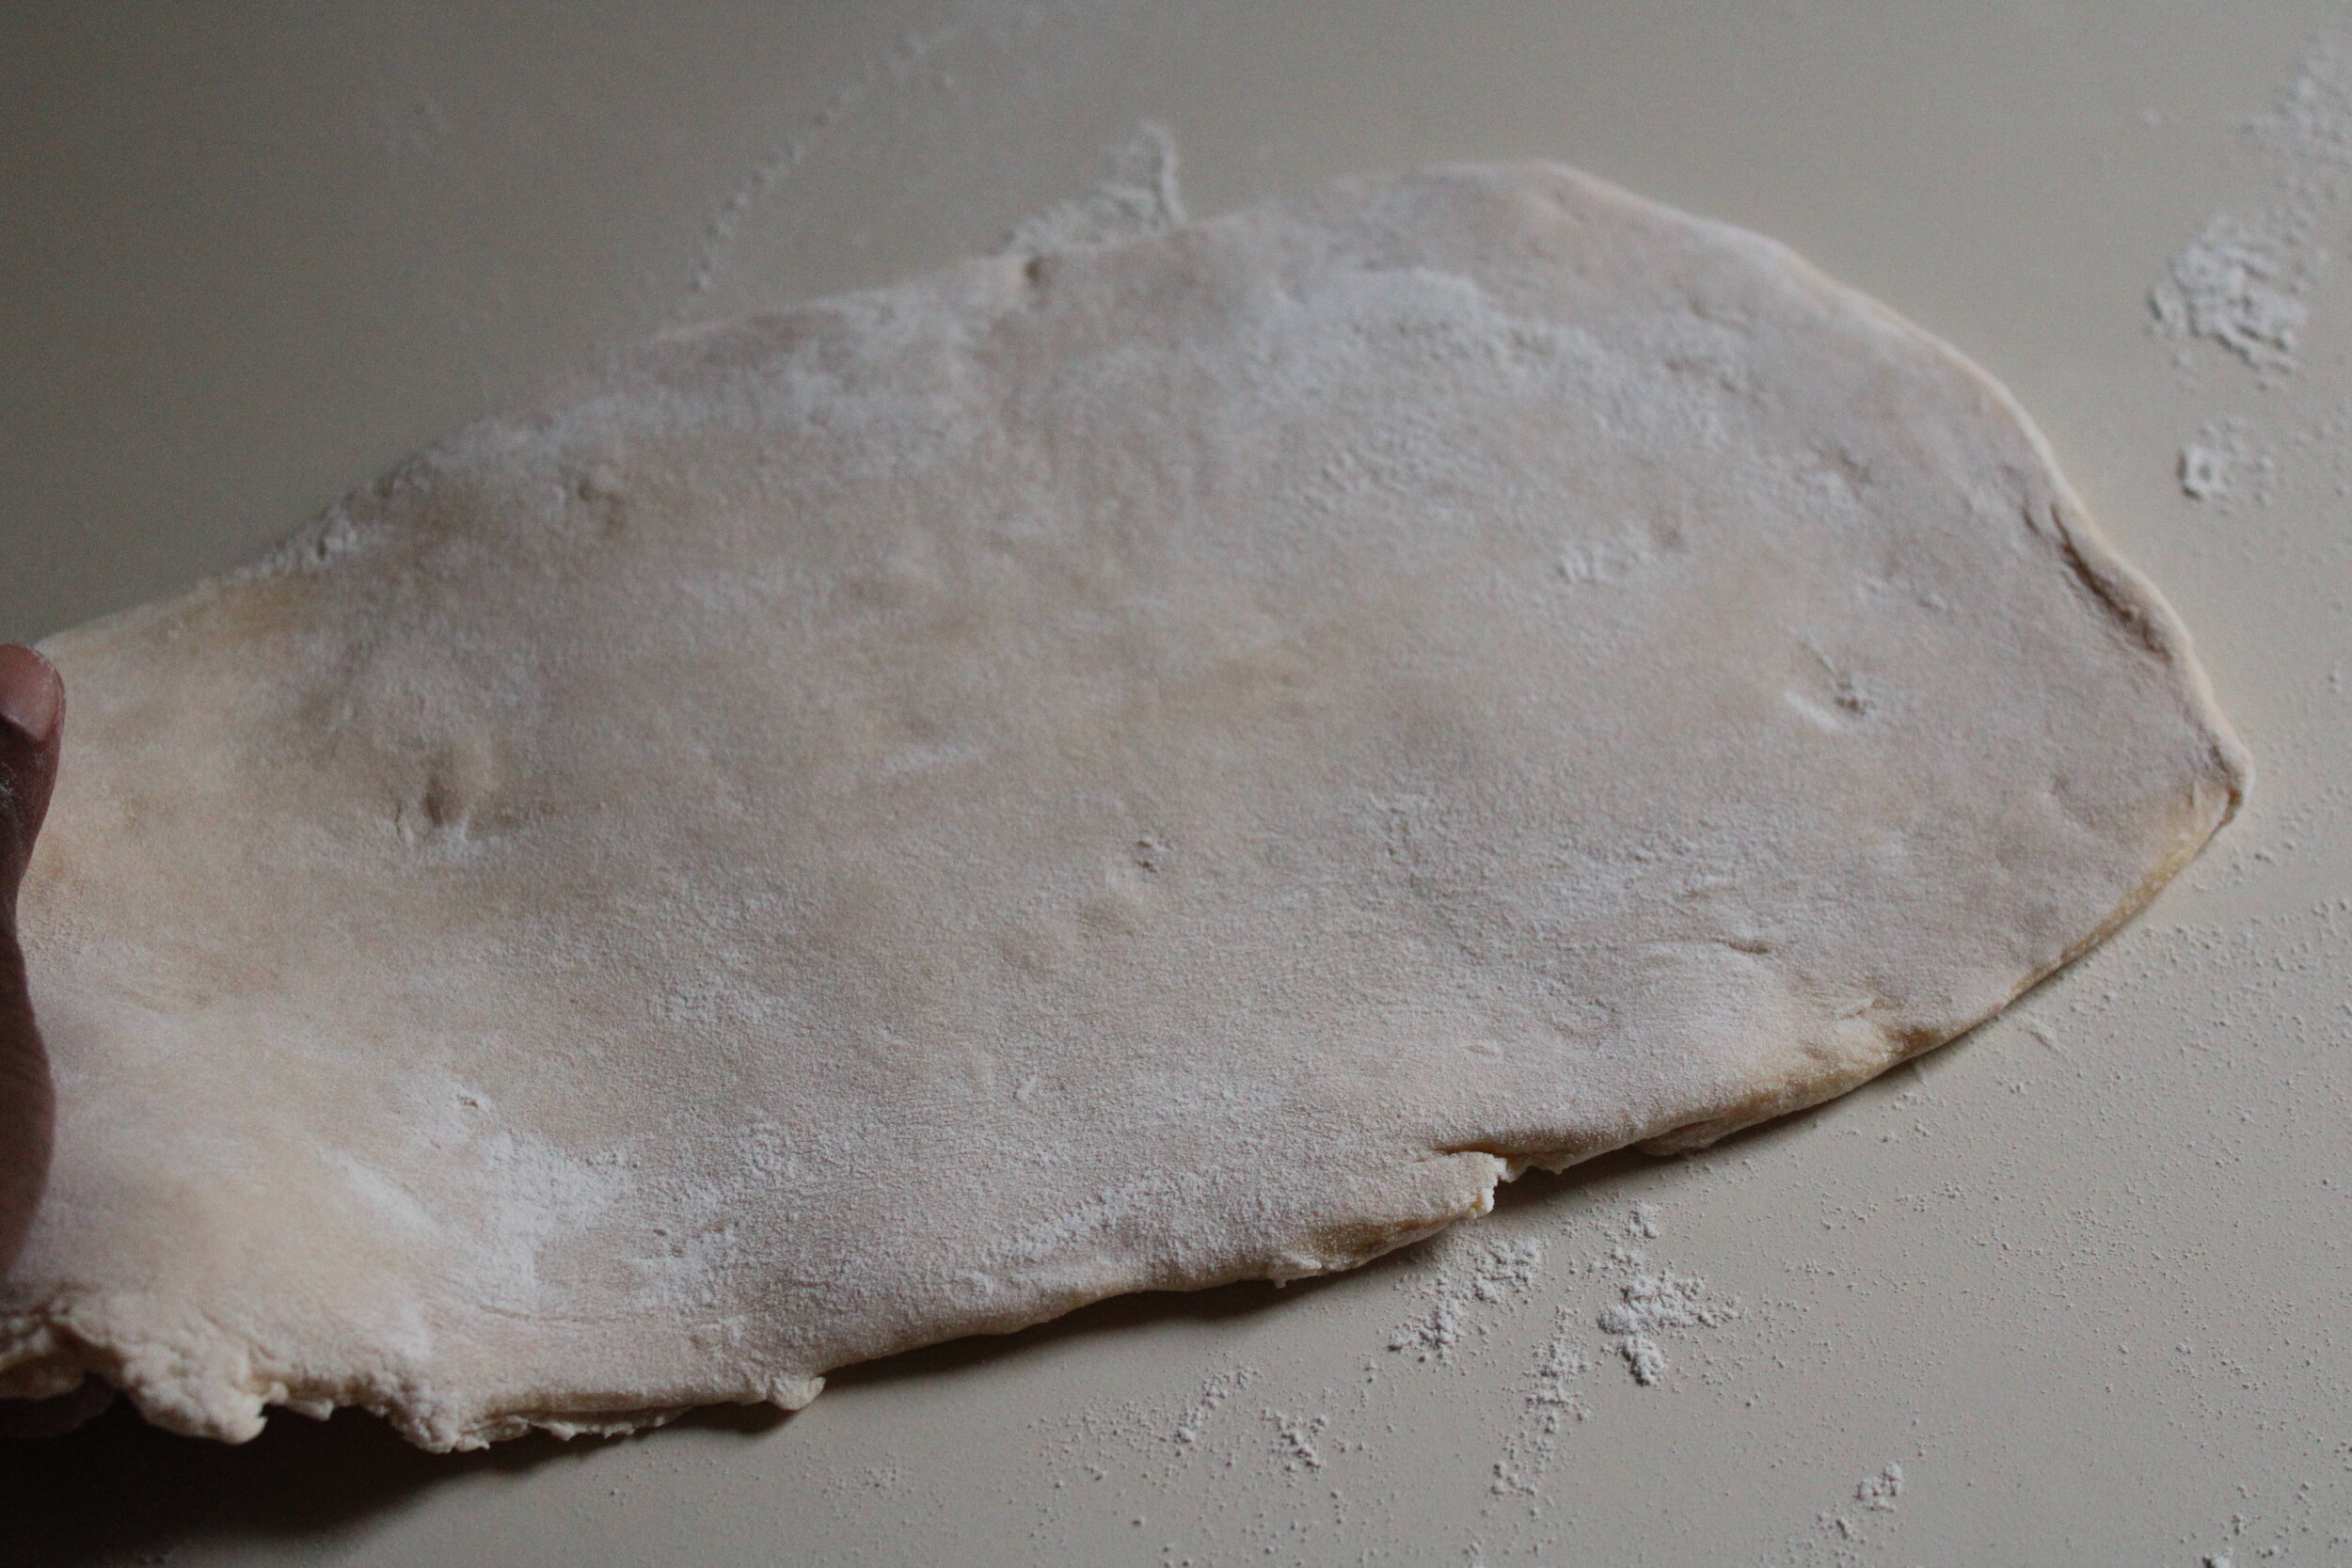
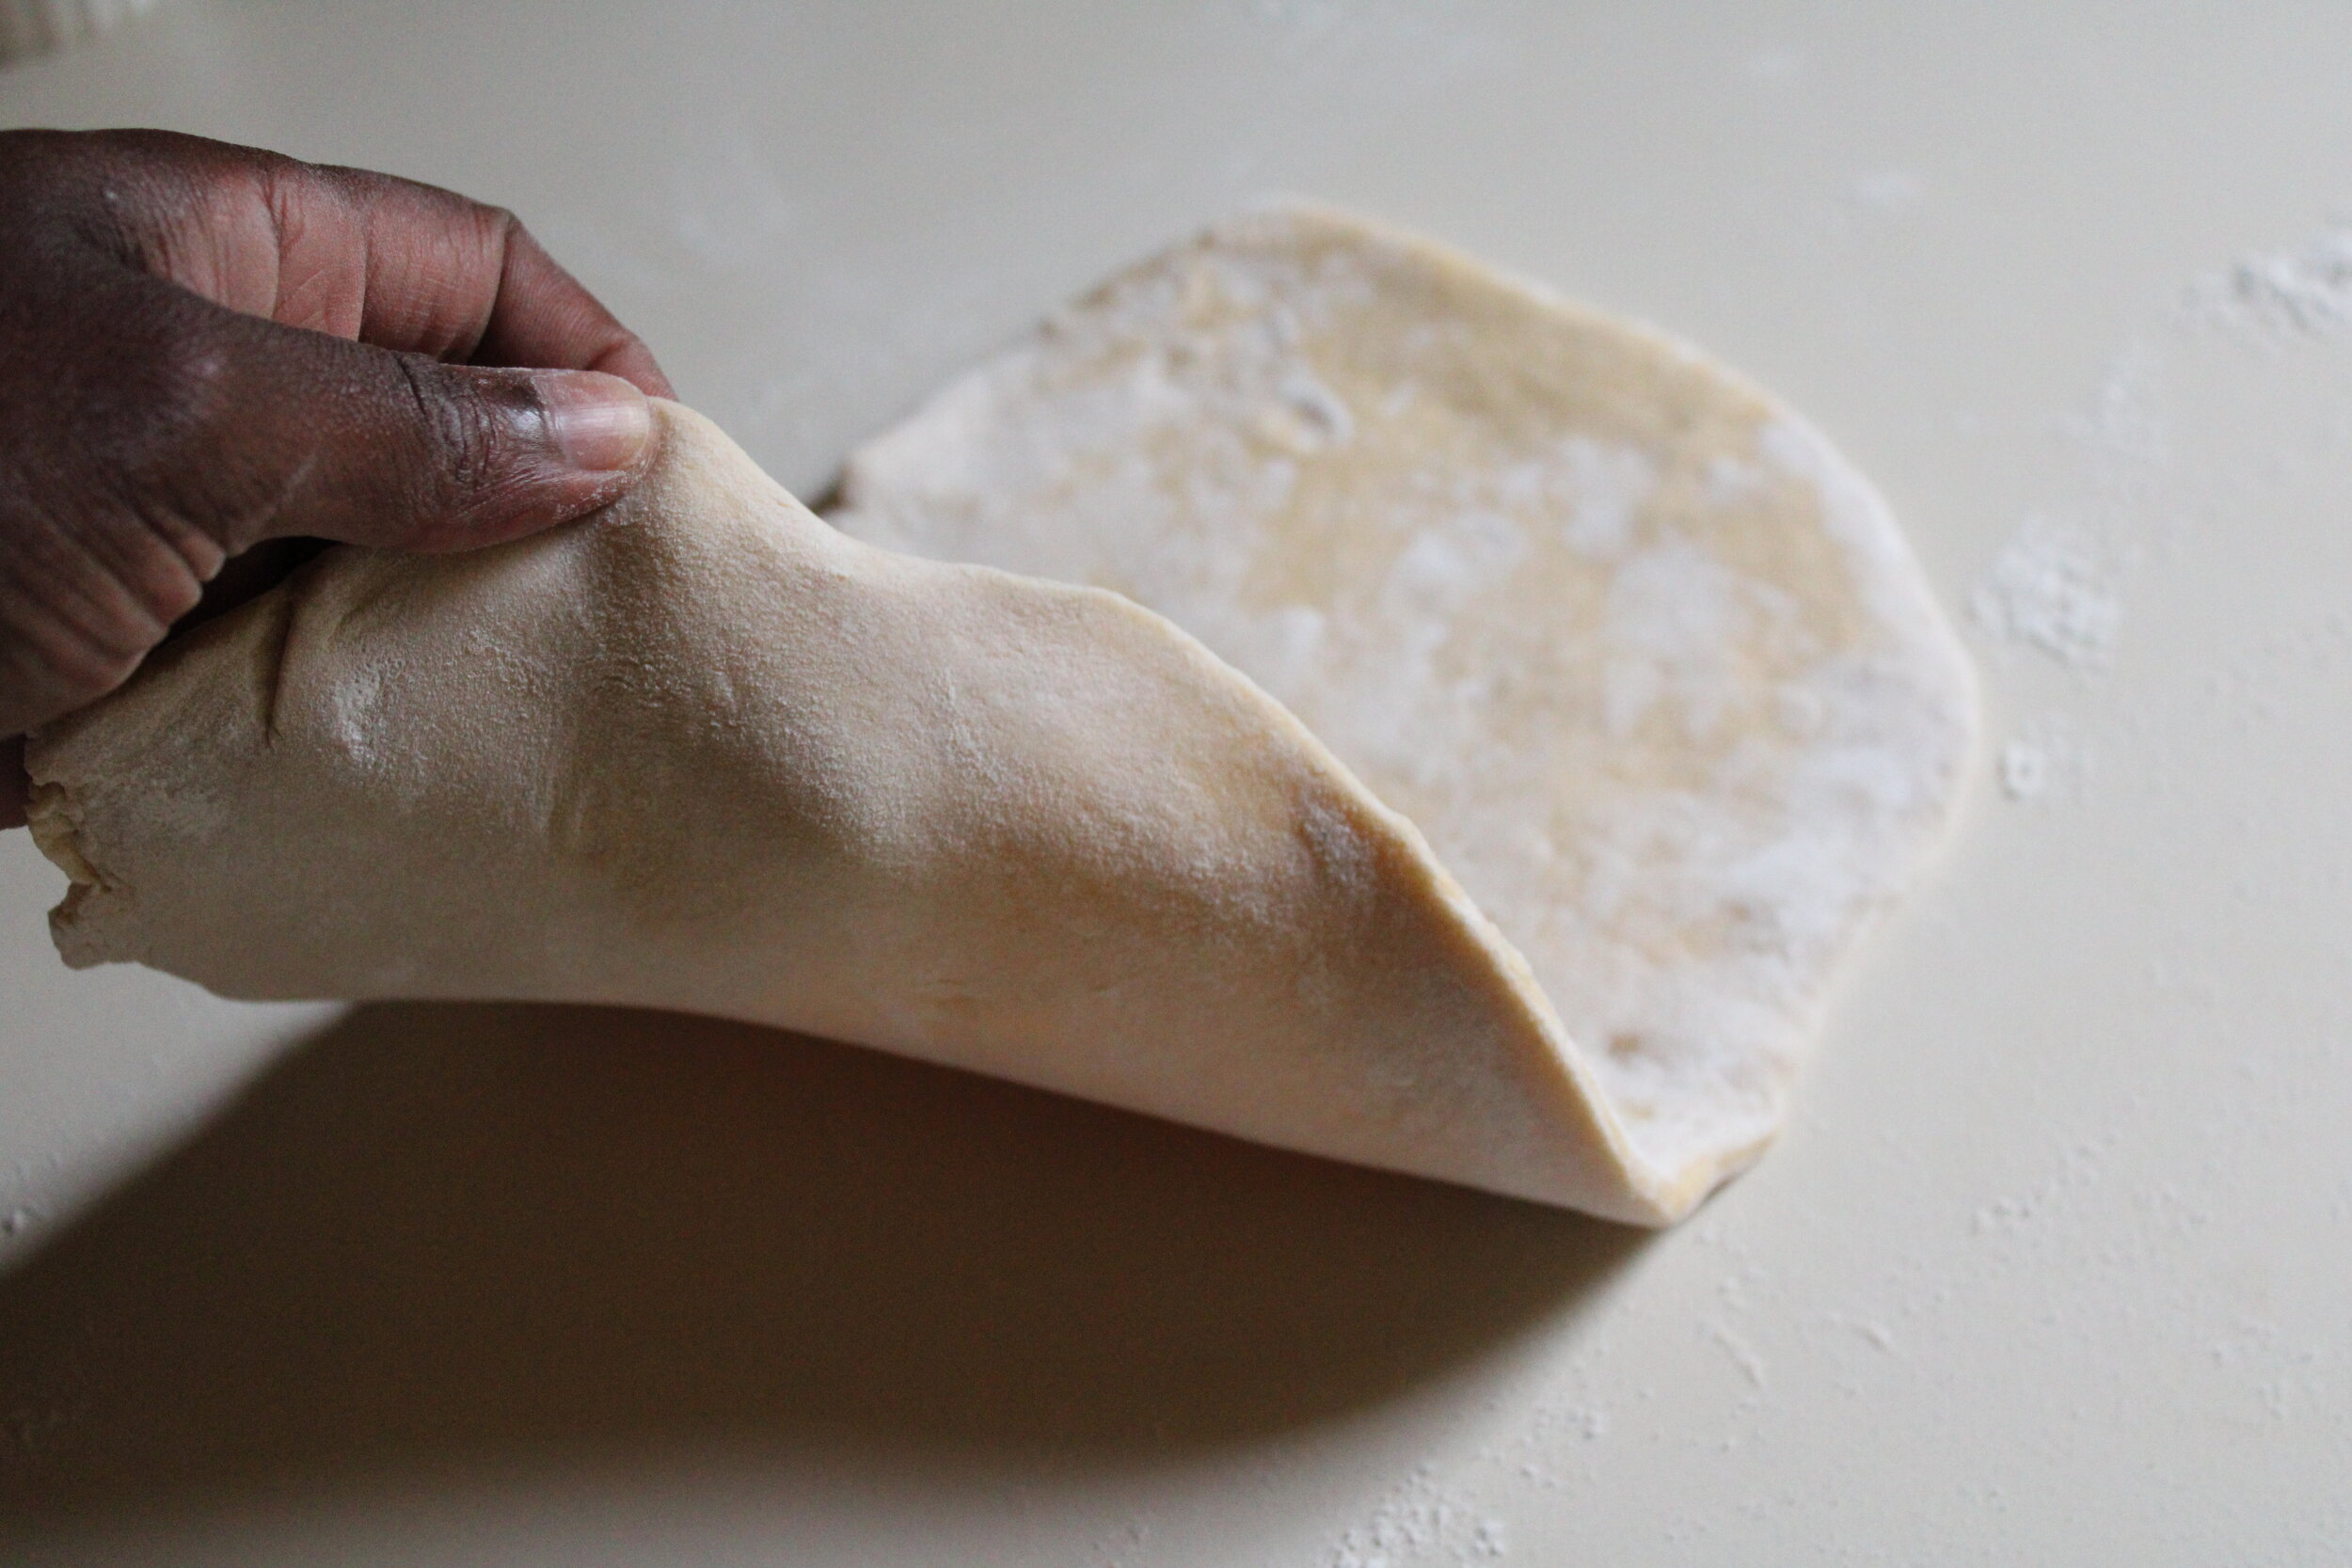
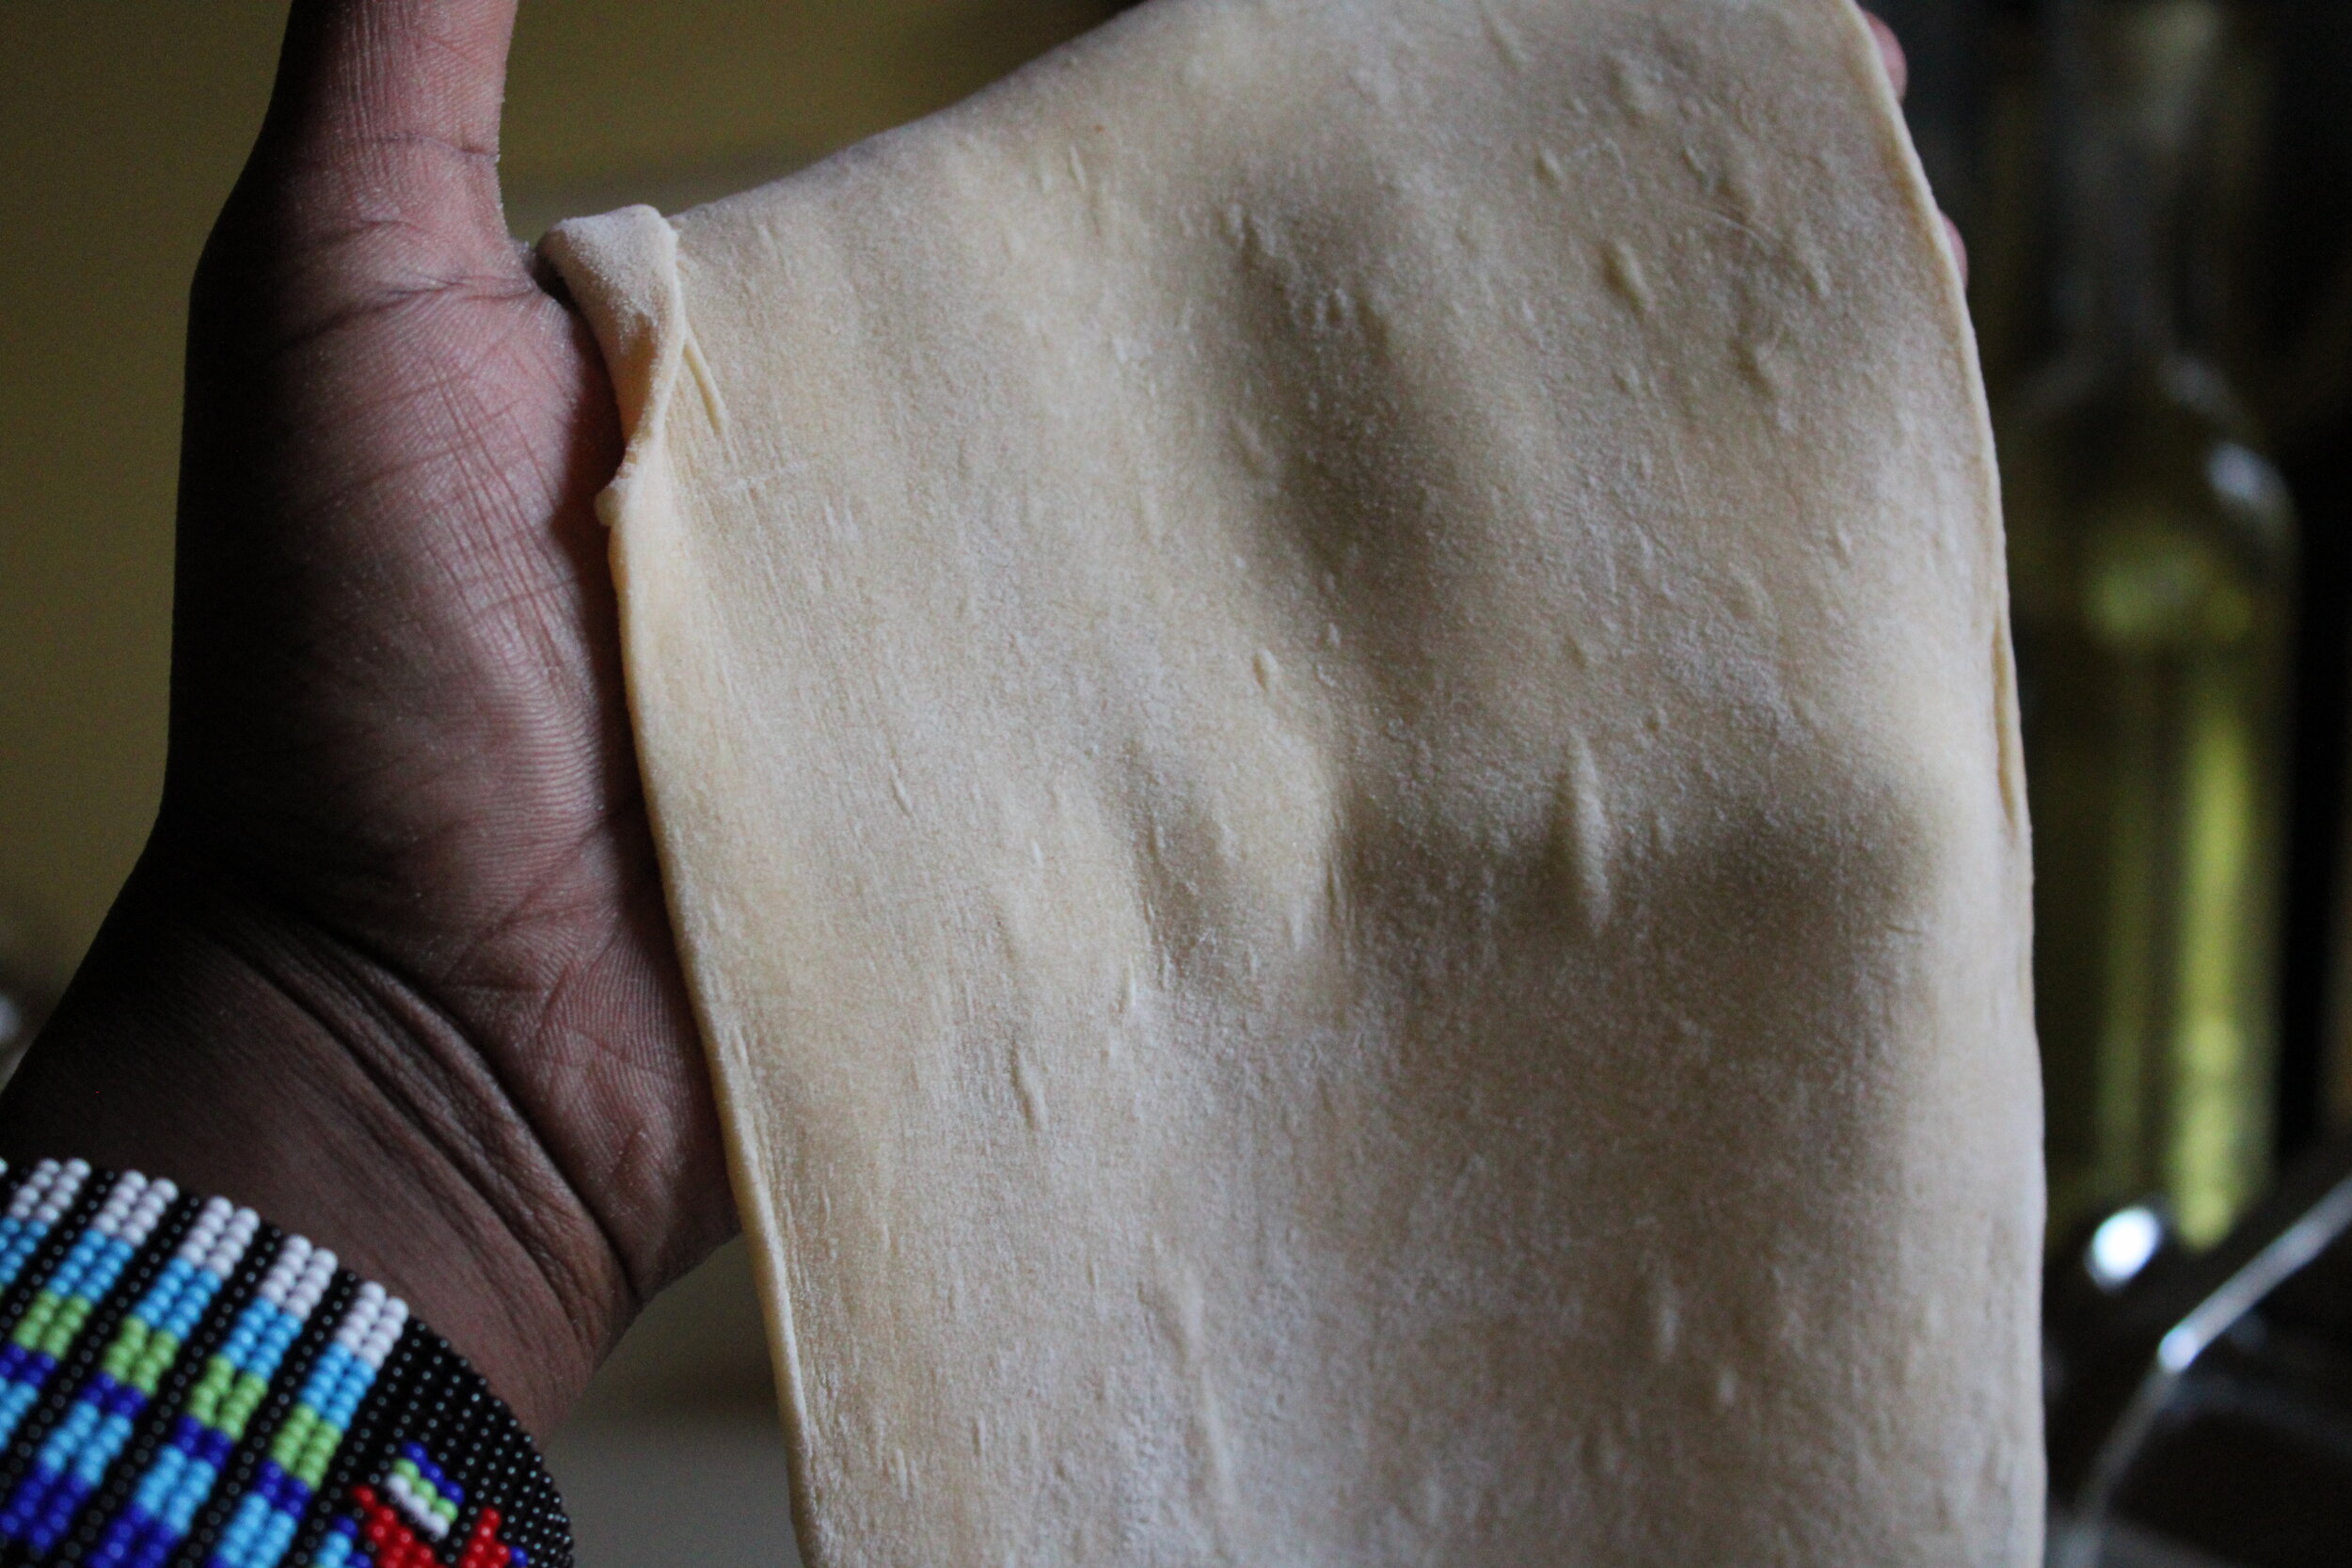
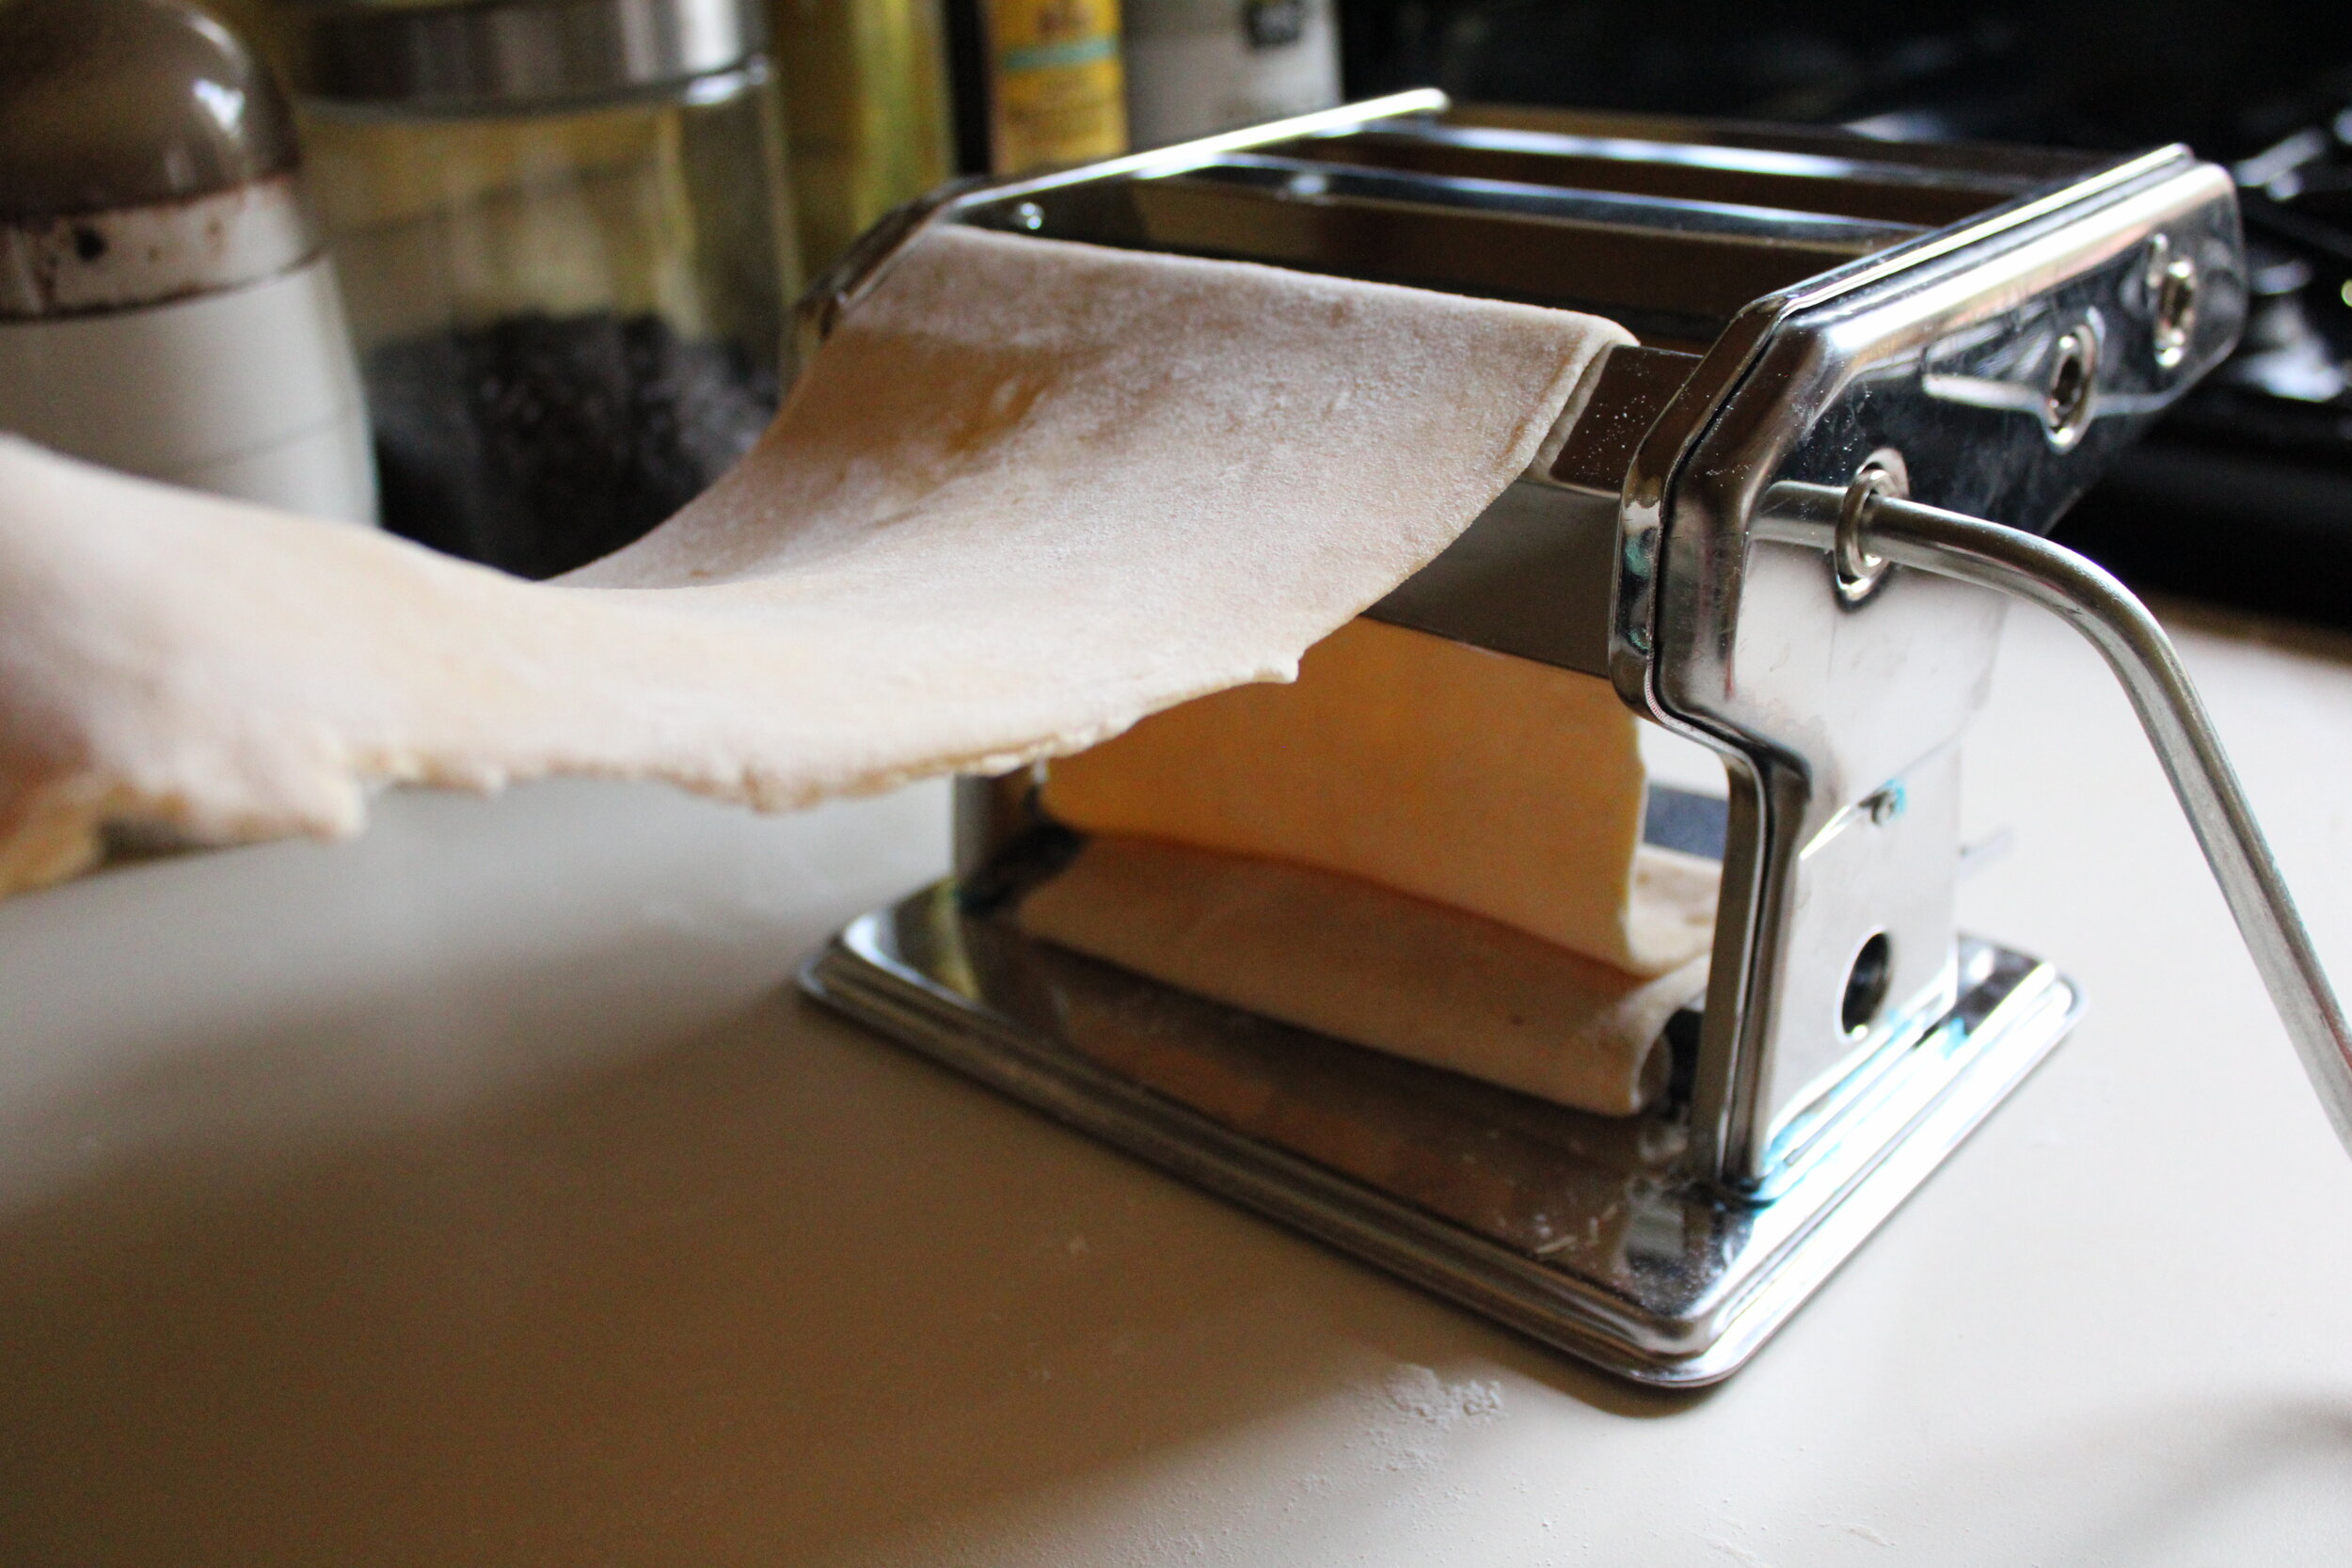
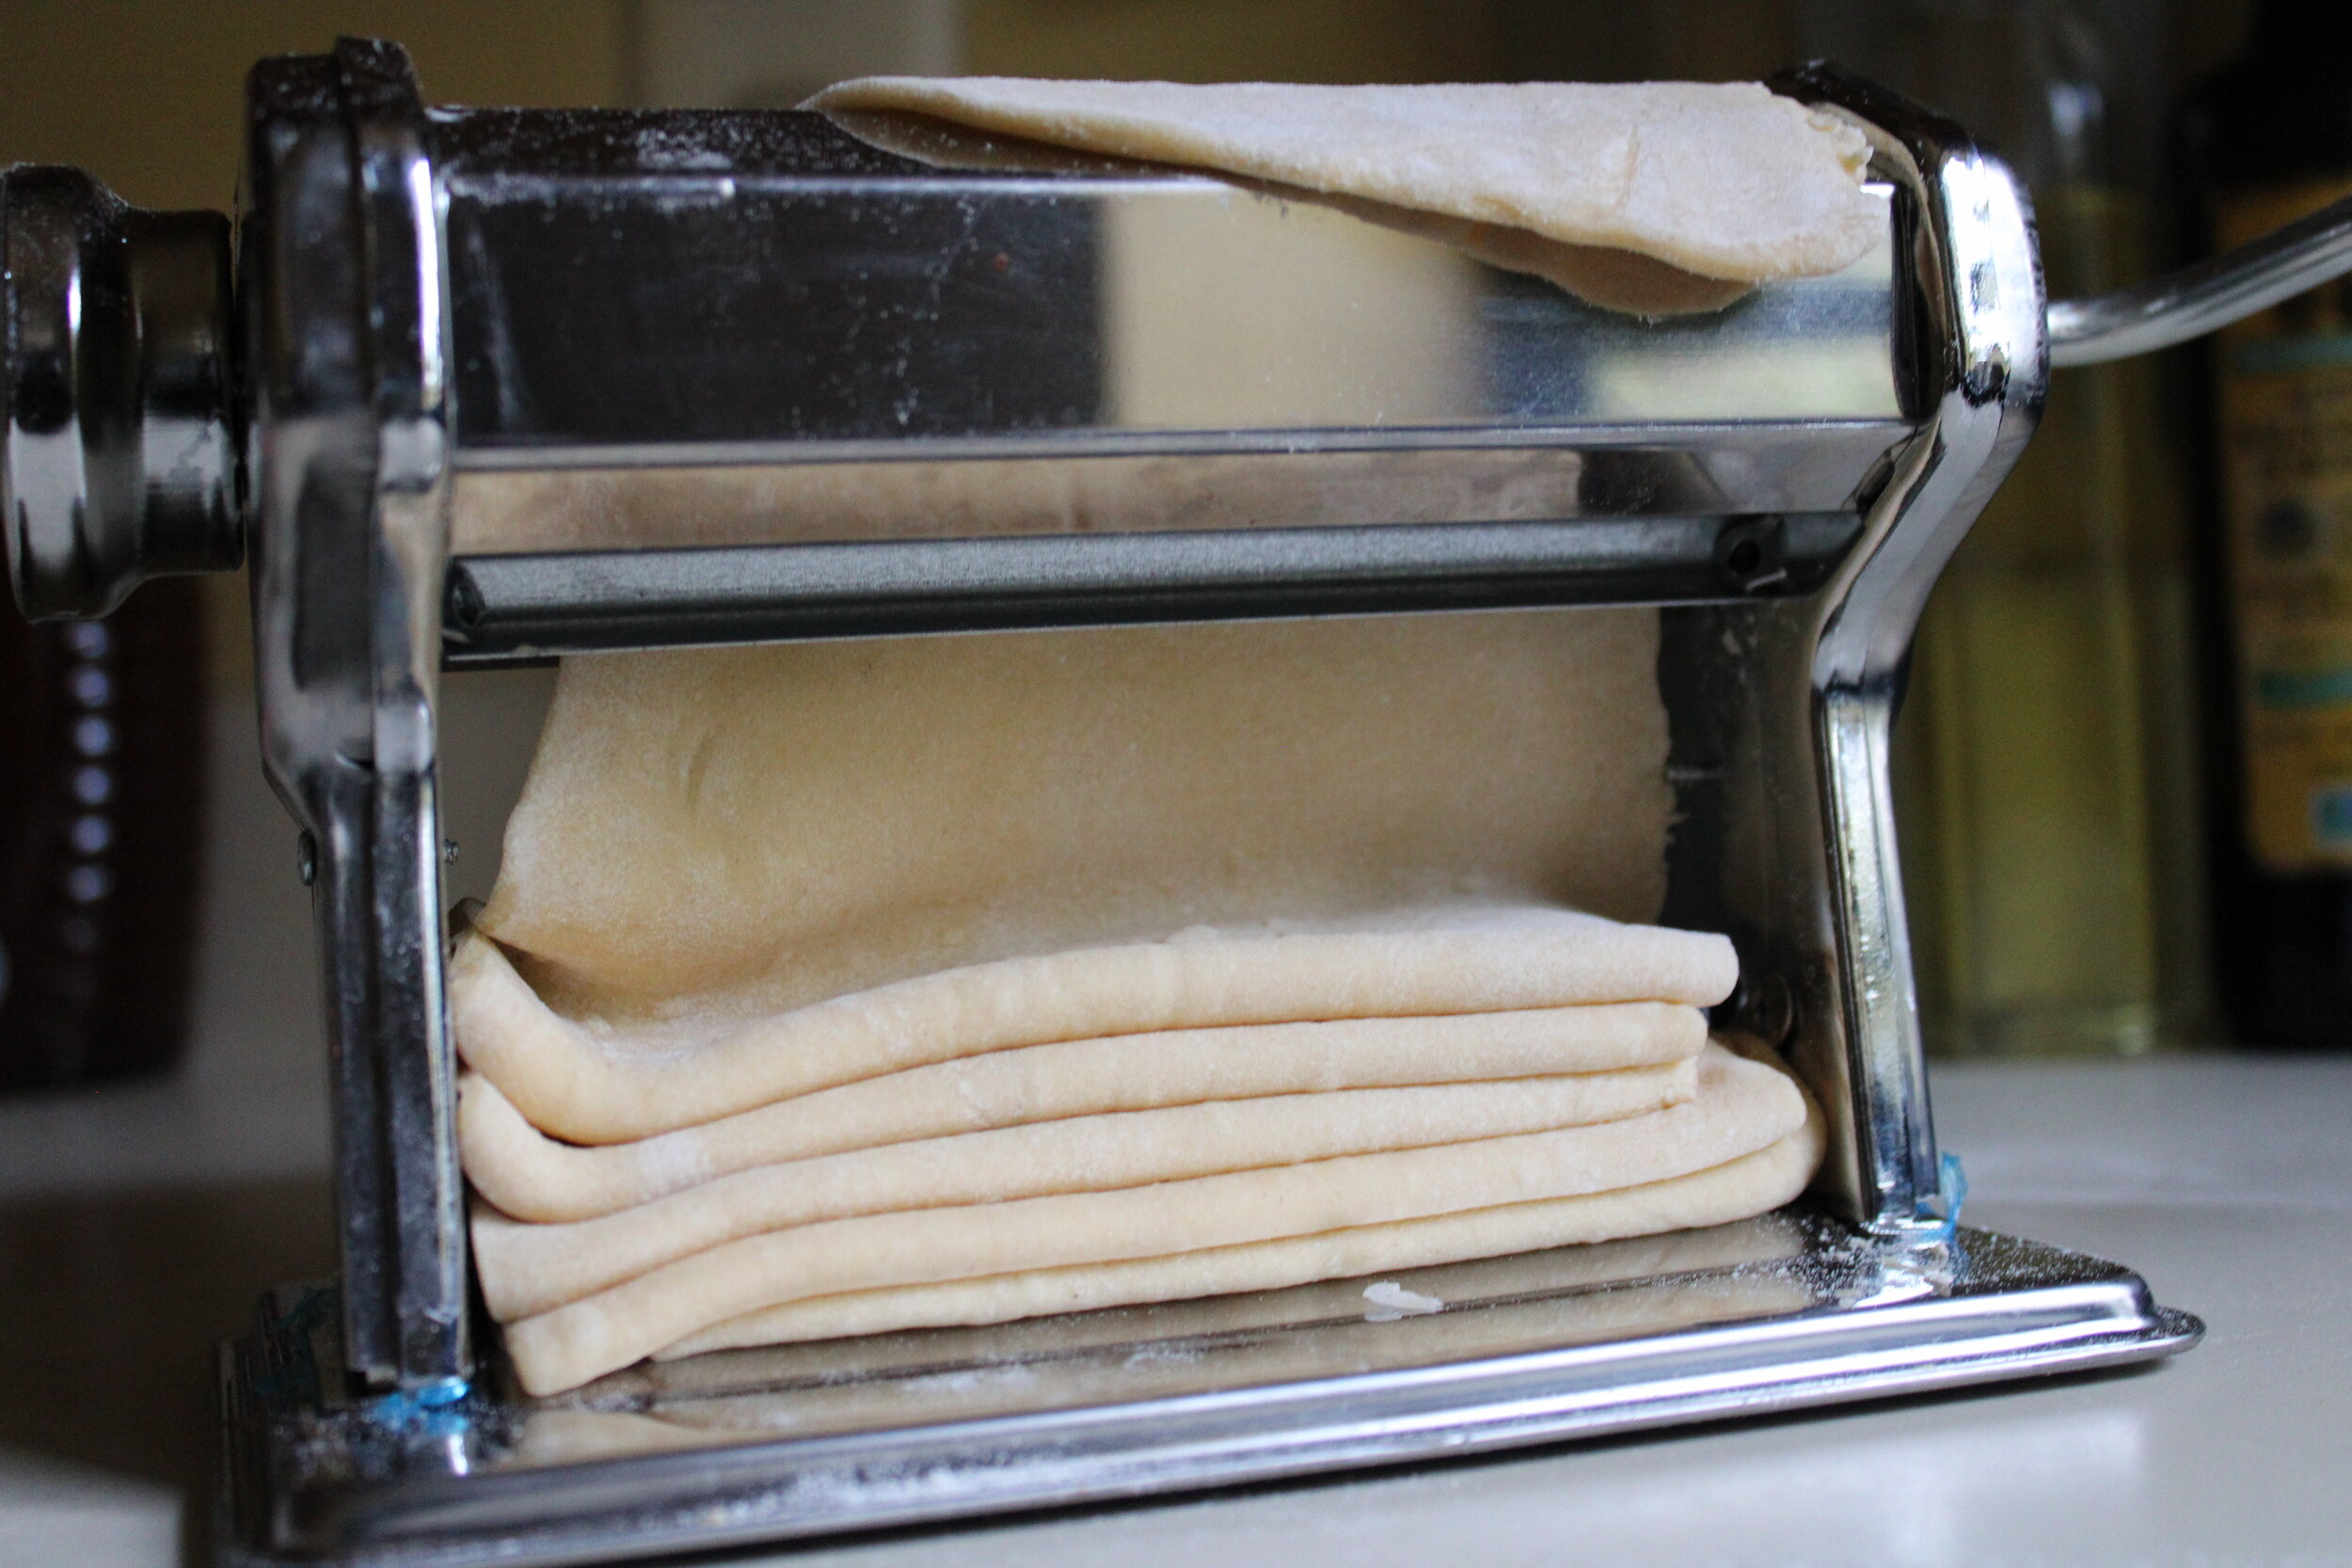
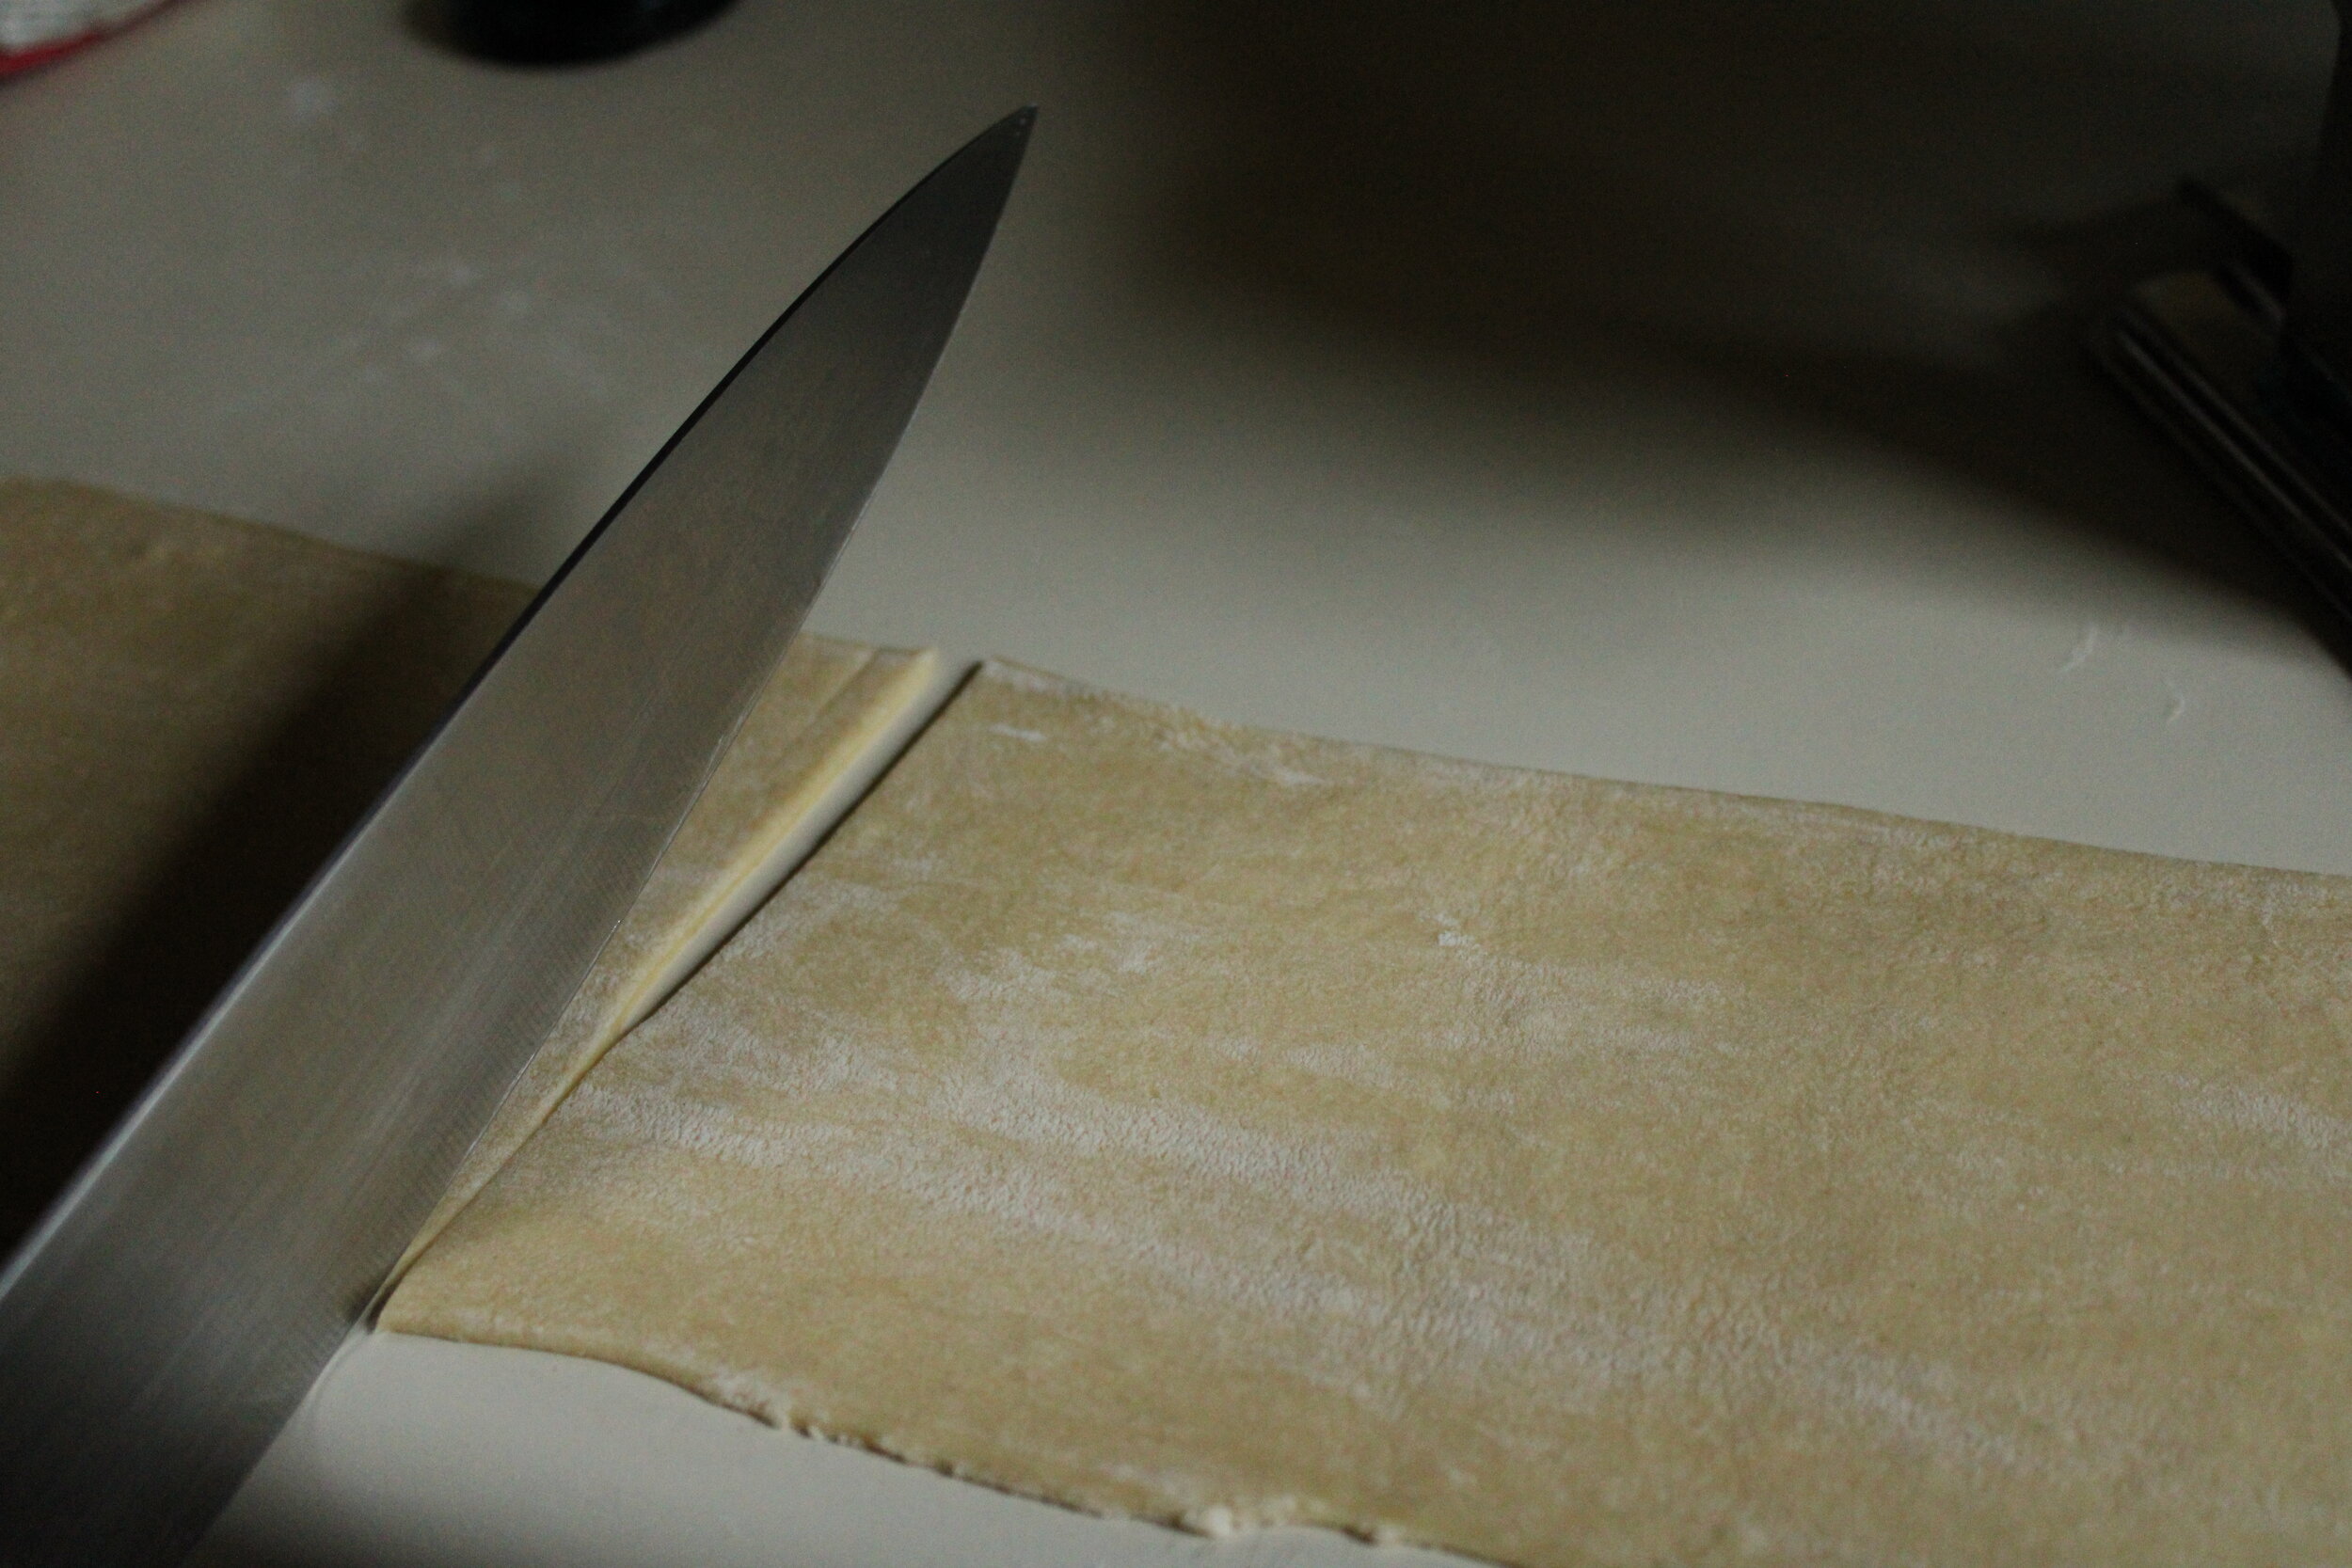
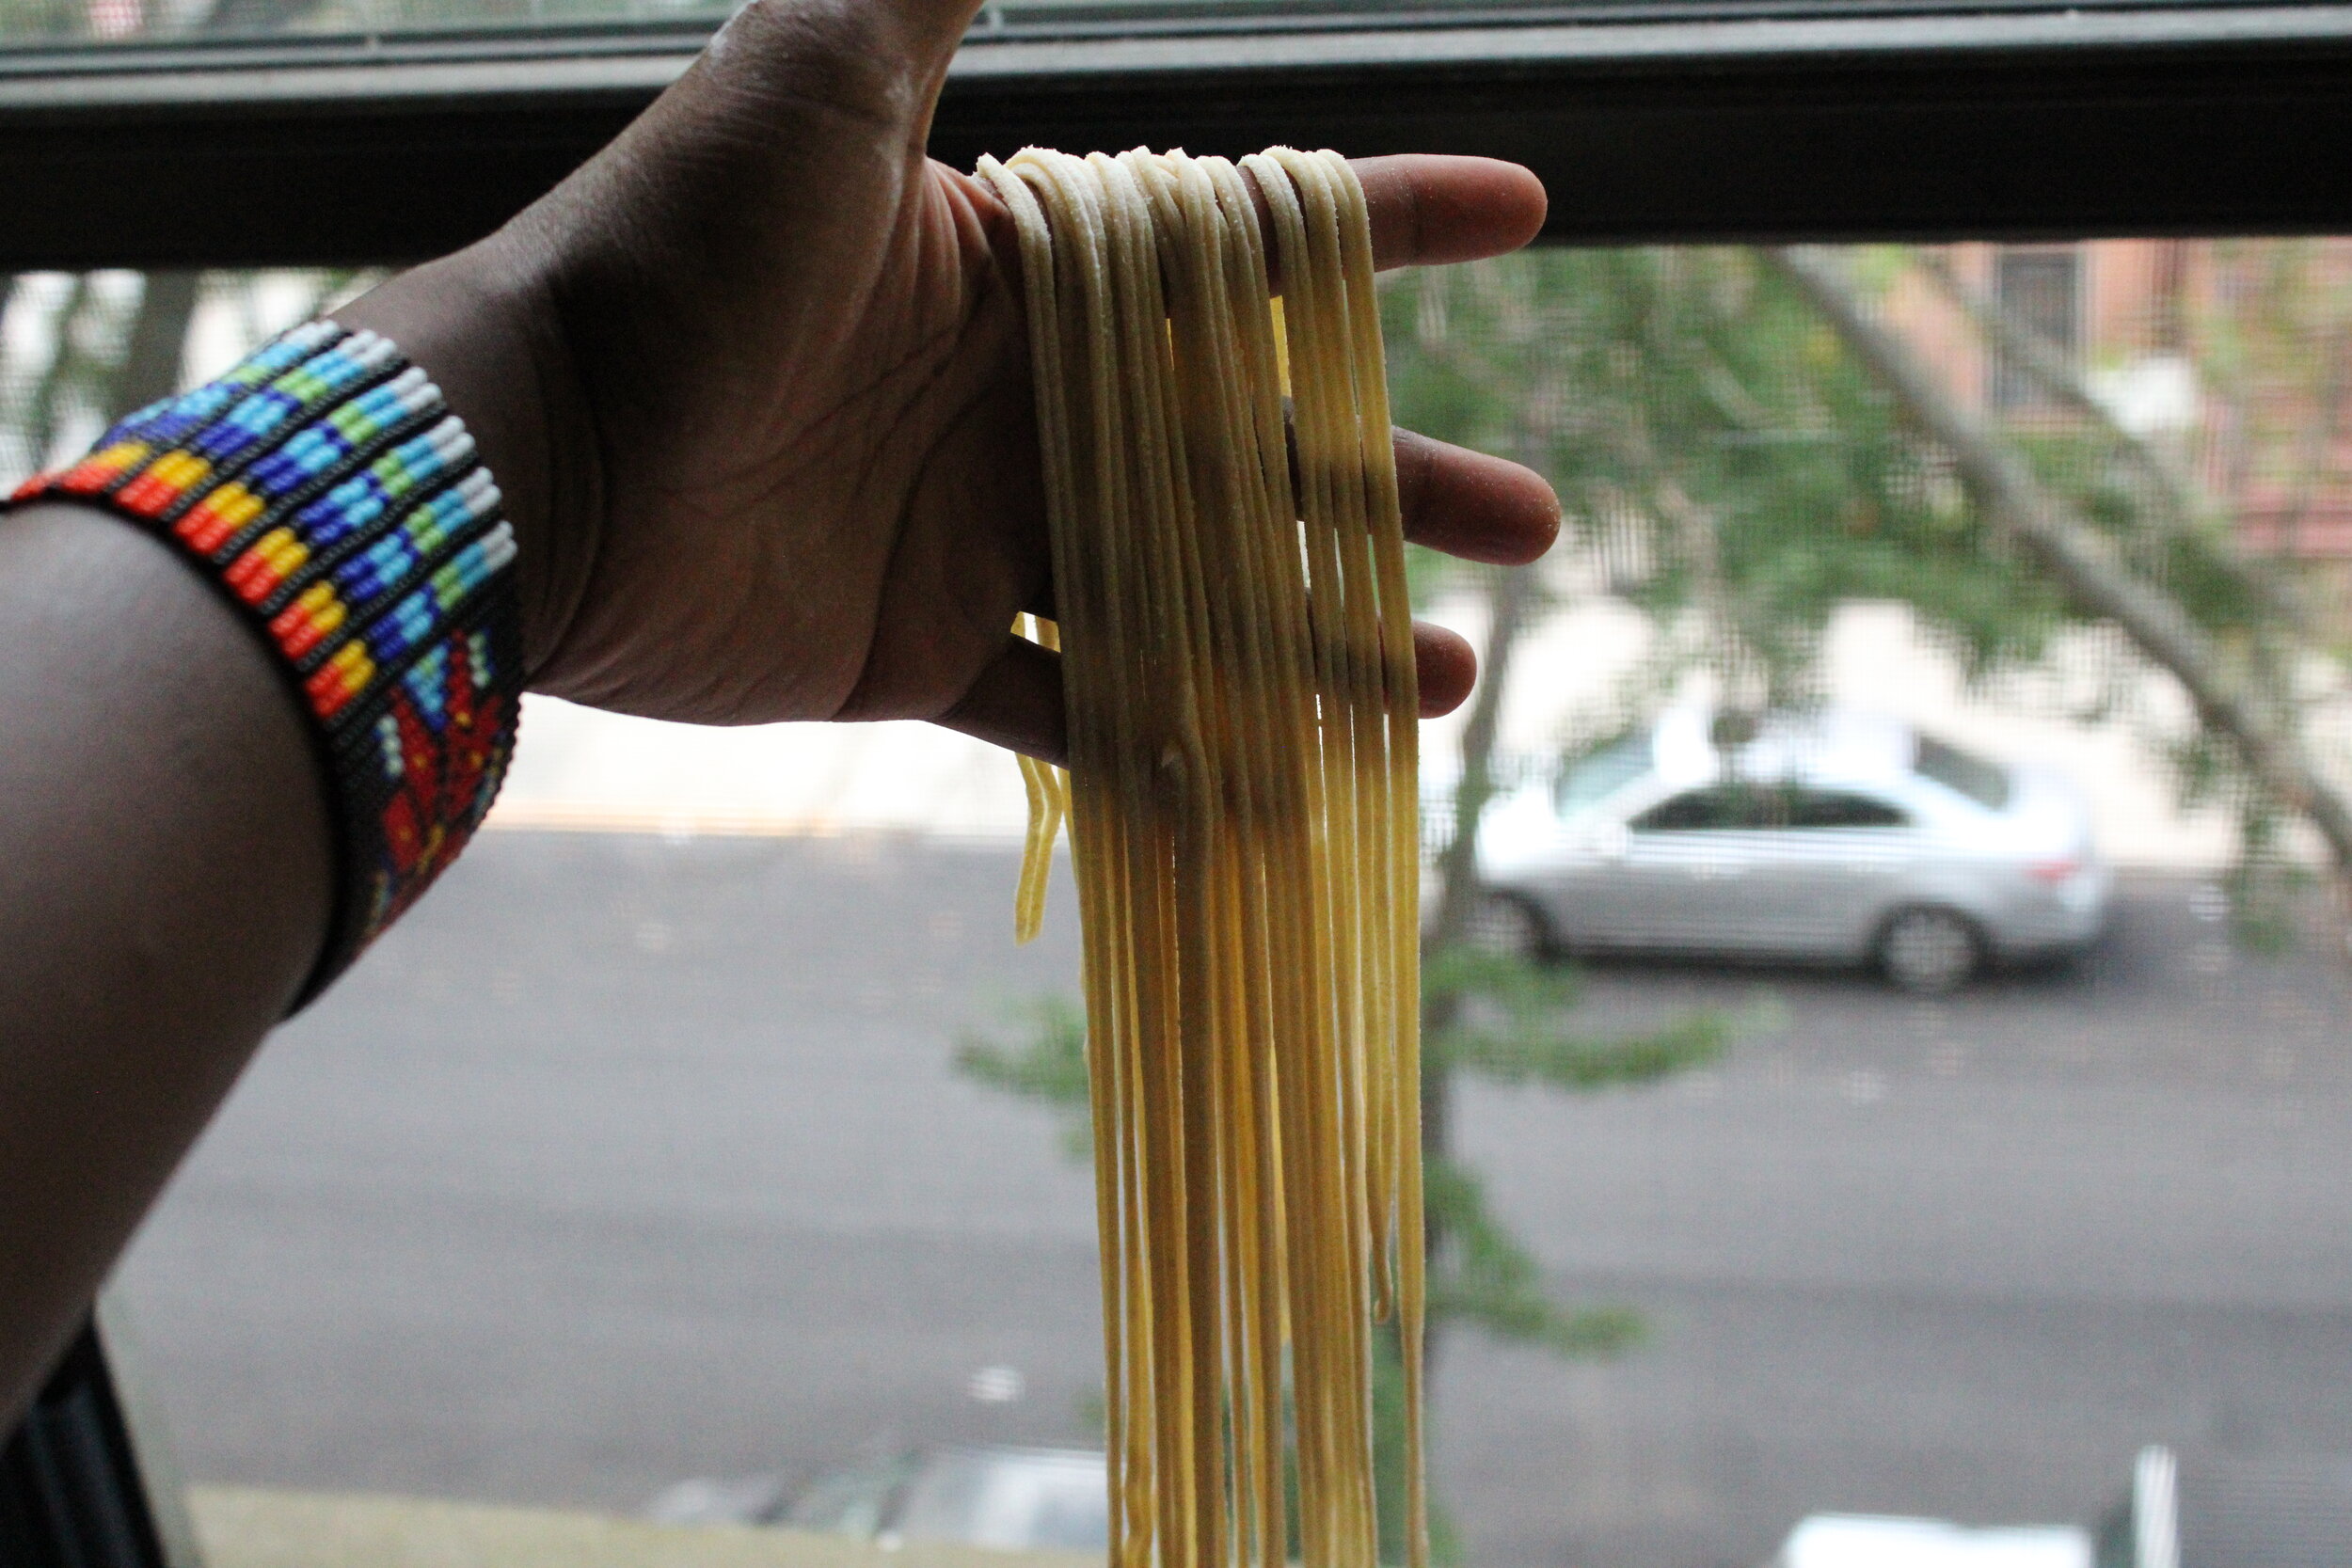
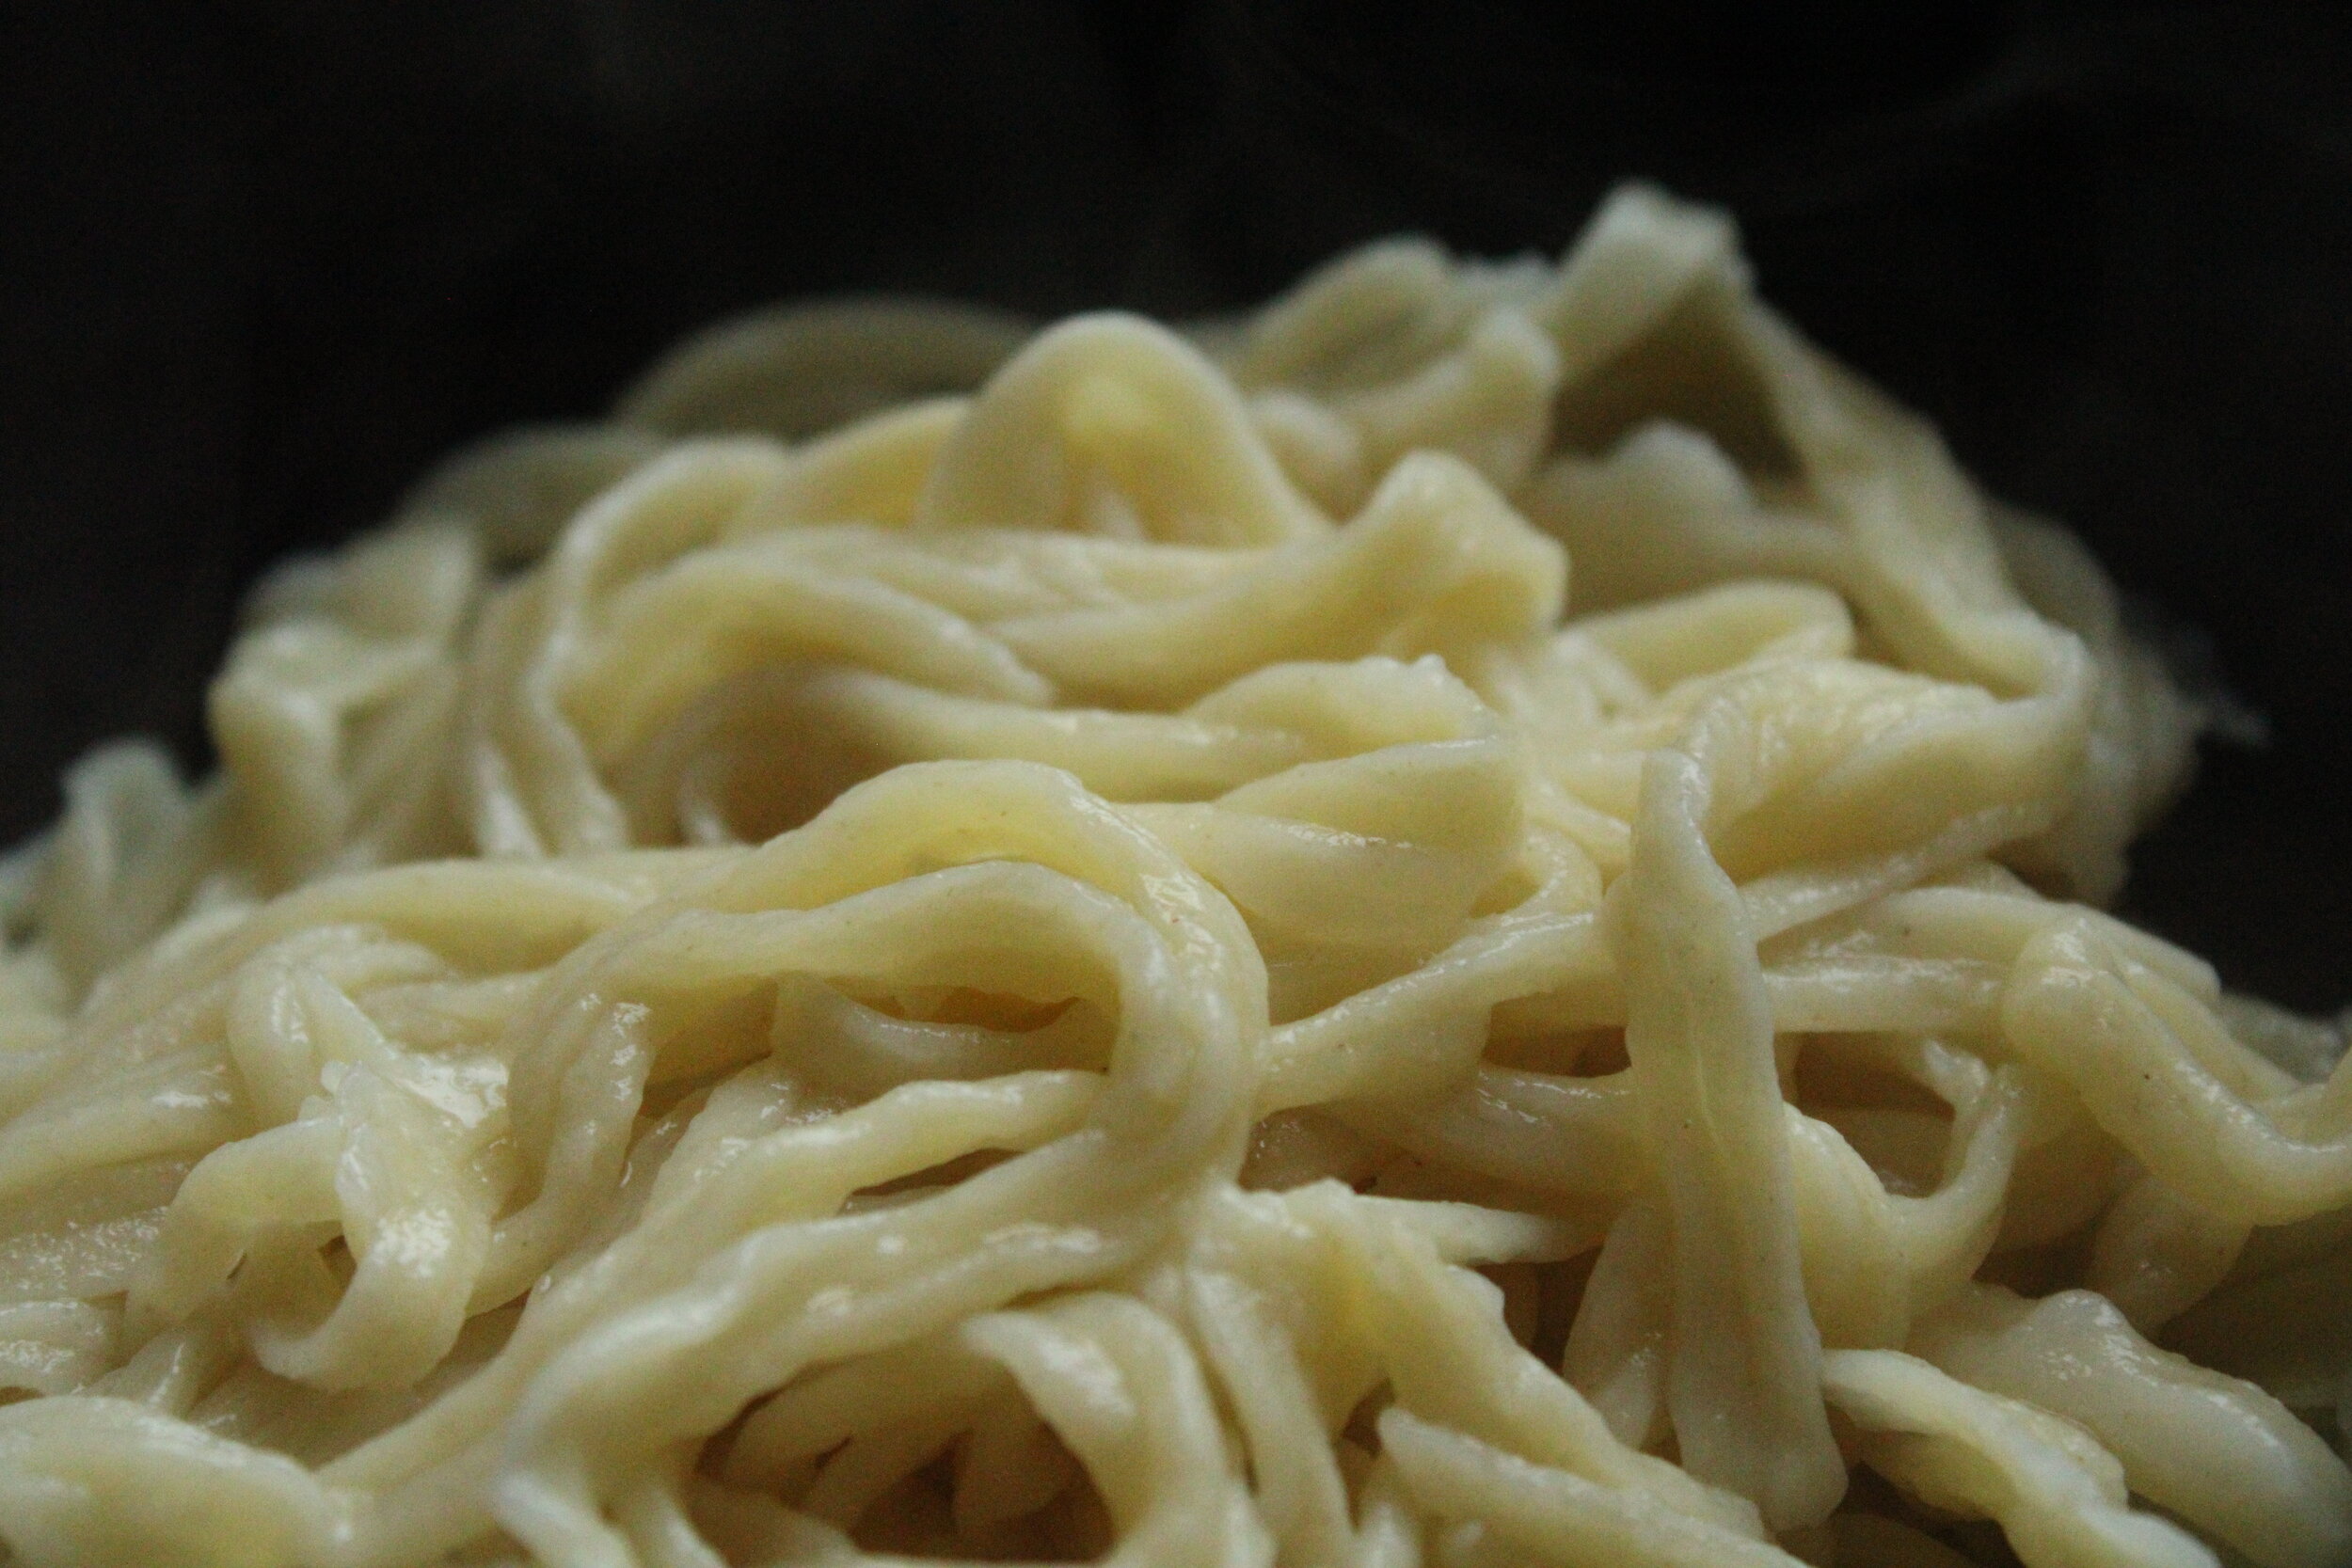
With your selected half of dough, roll it out flat and narrow so that it can be run through the pasta maker. Use the pasta maker to make the dough the desired thickness you’d like for your noodles, I went with a 1/8” thickness which was the lowest setting on my pasta maker. Next you might need to cut the dough in half to the length you’d like your noodles to be. I wanted mine about 12” long.
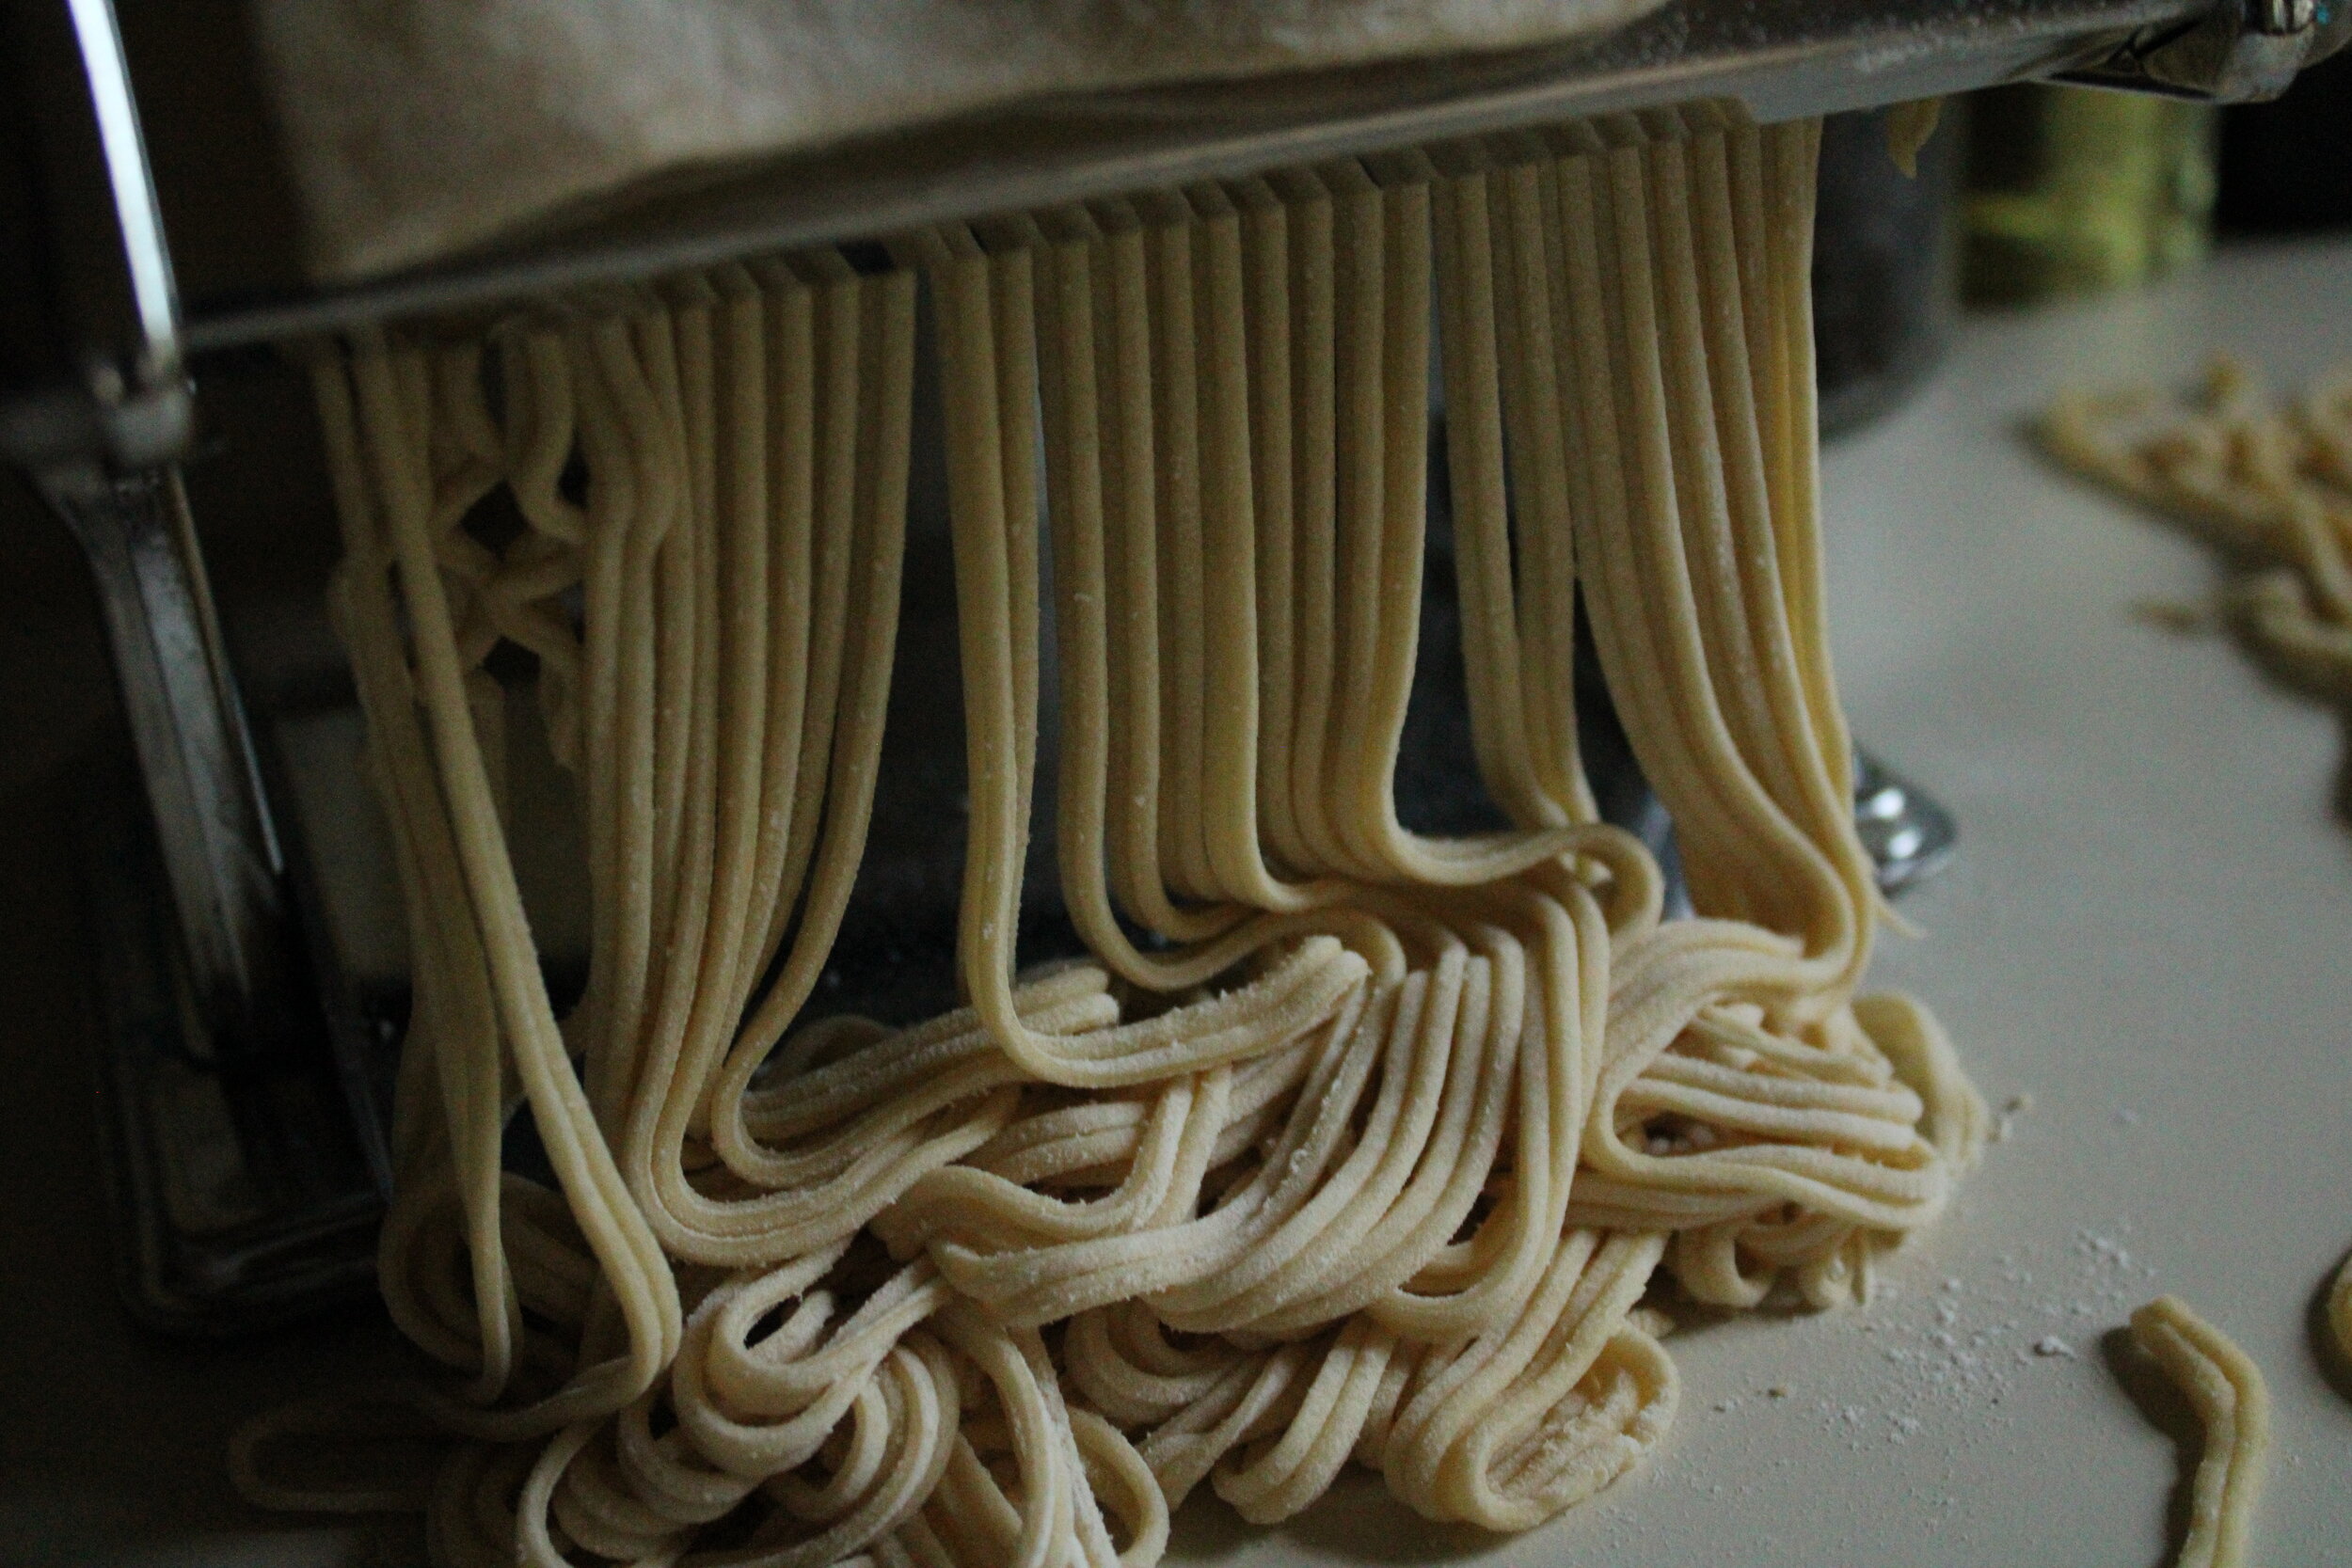
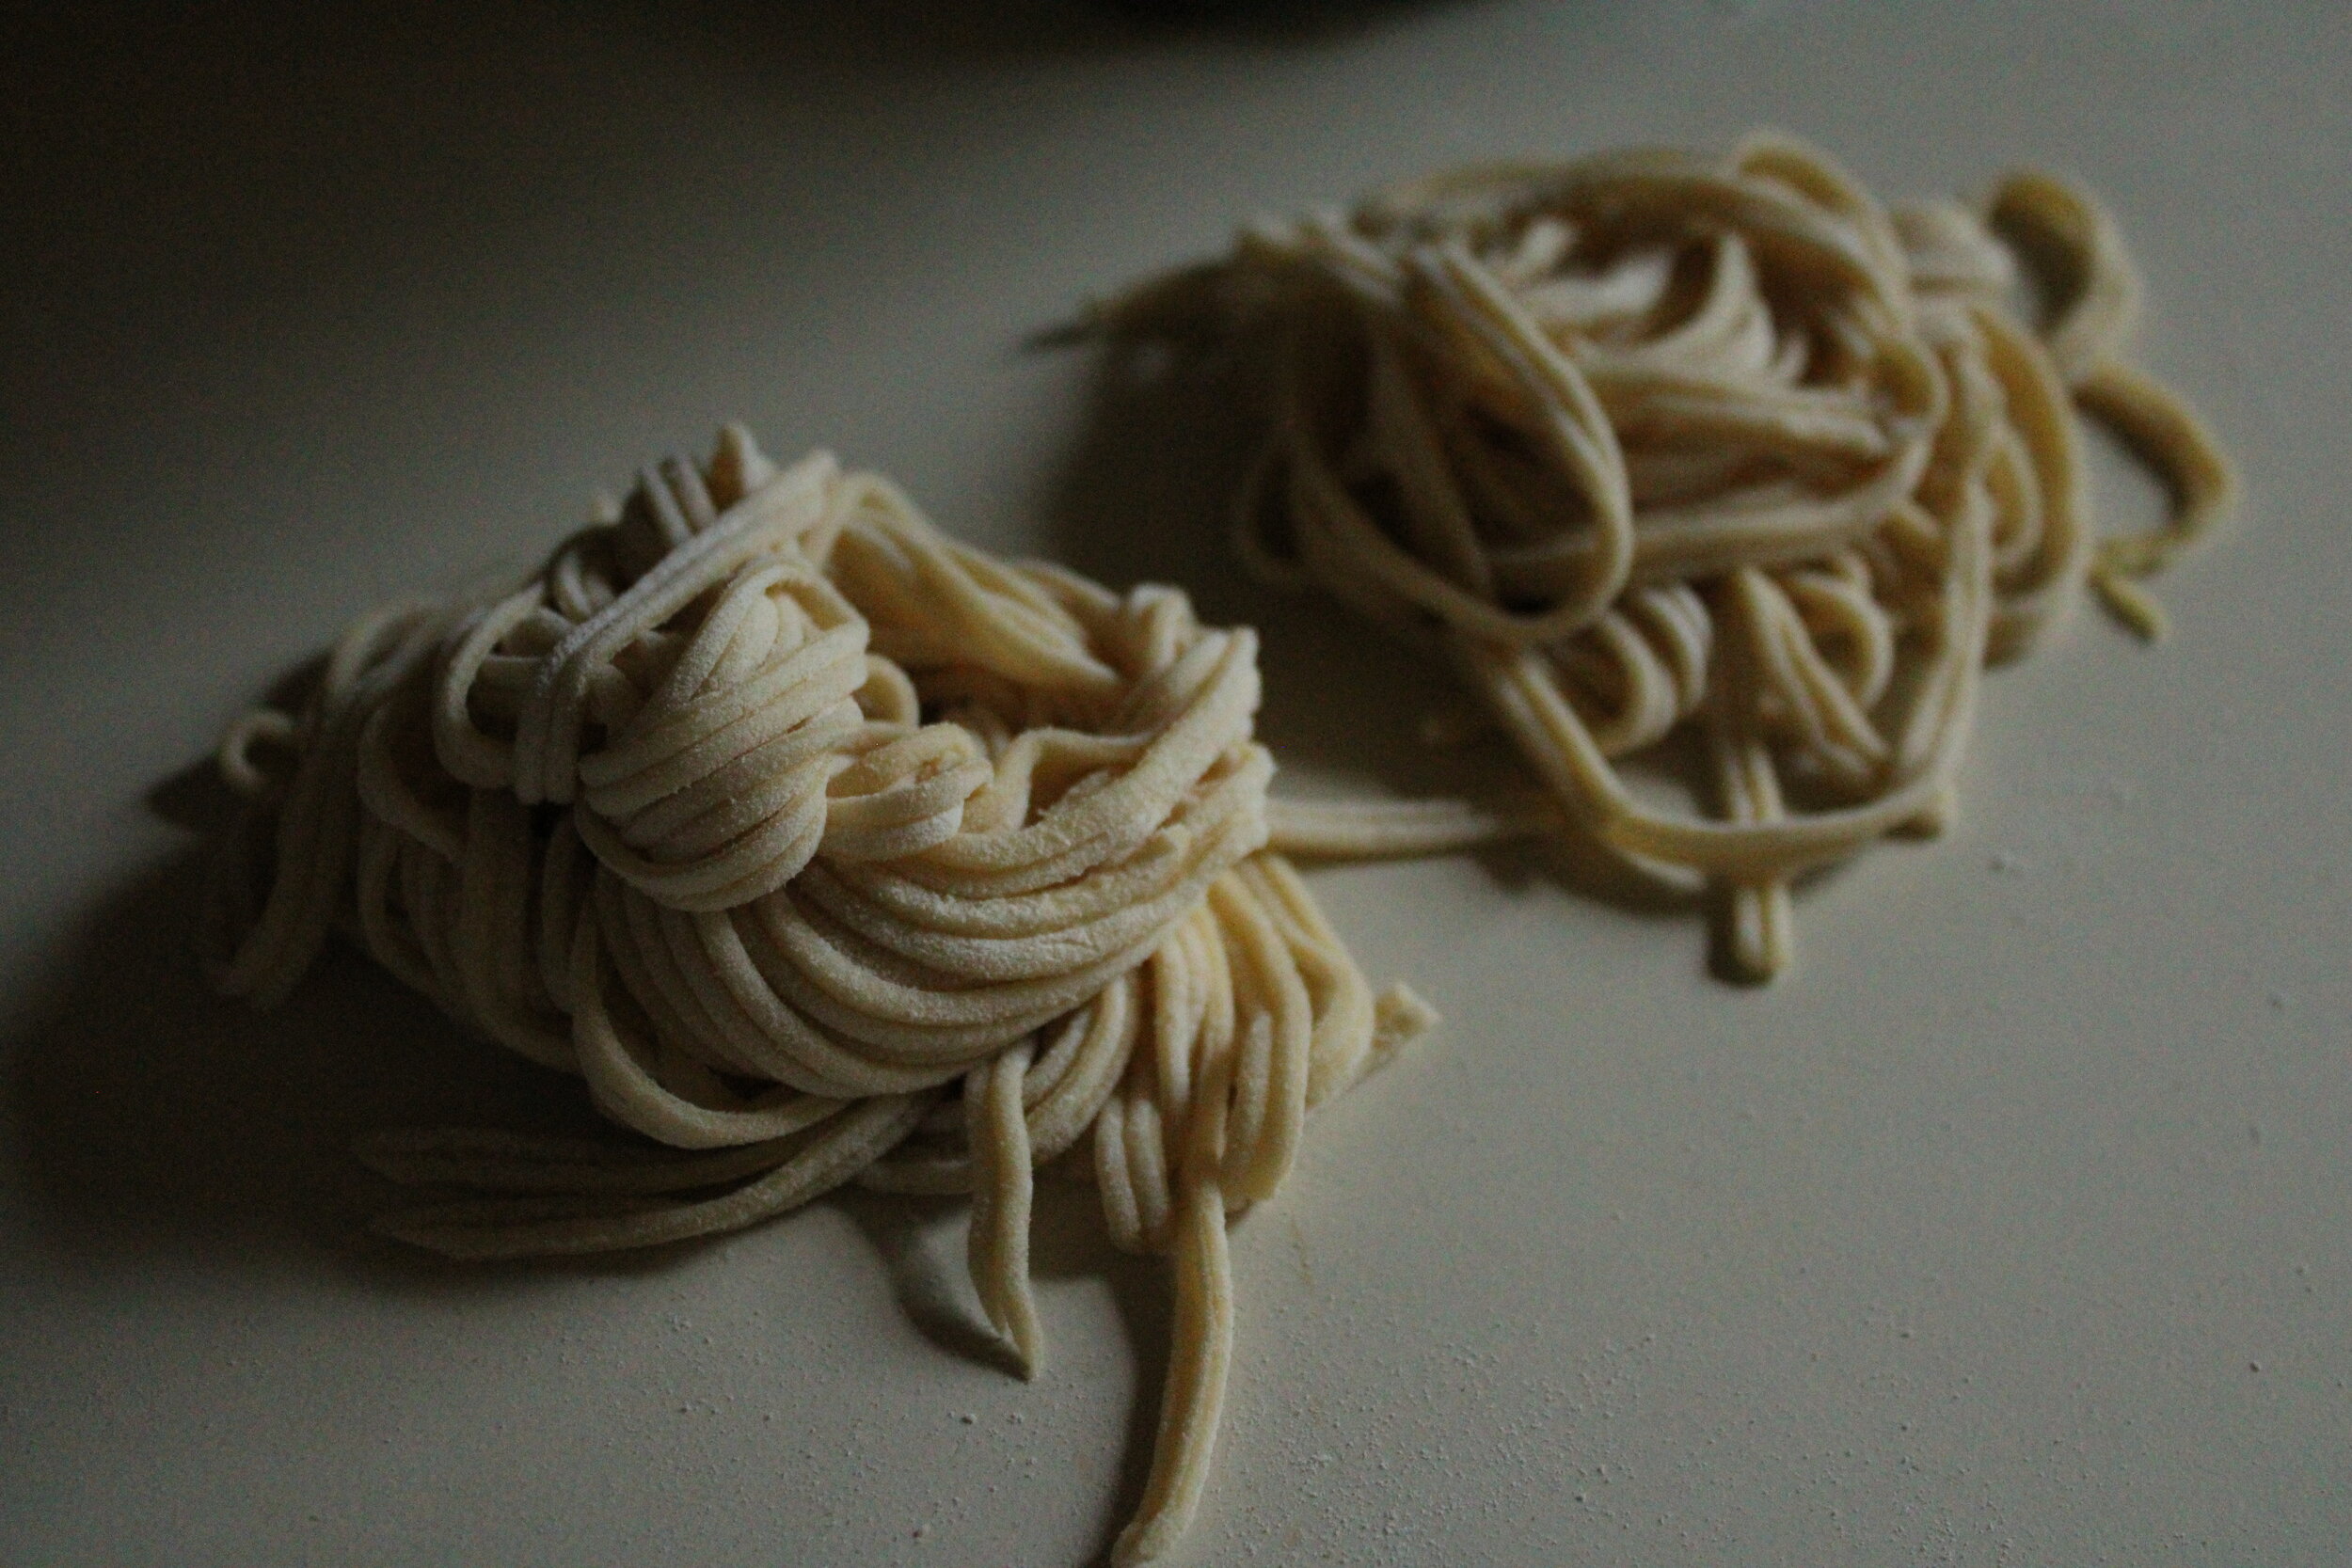
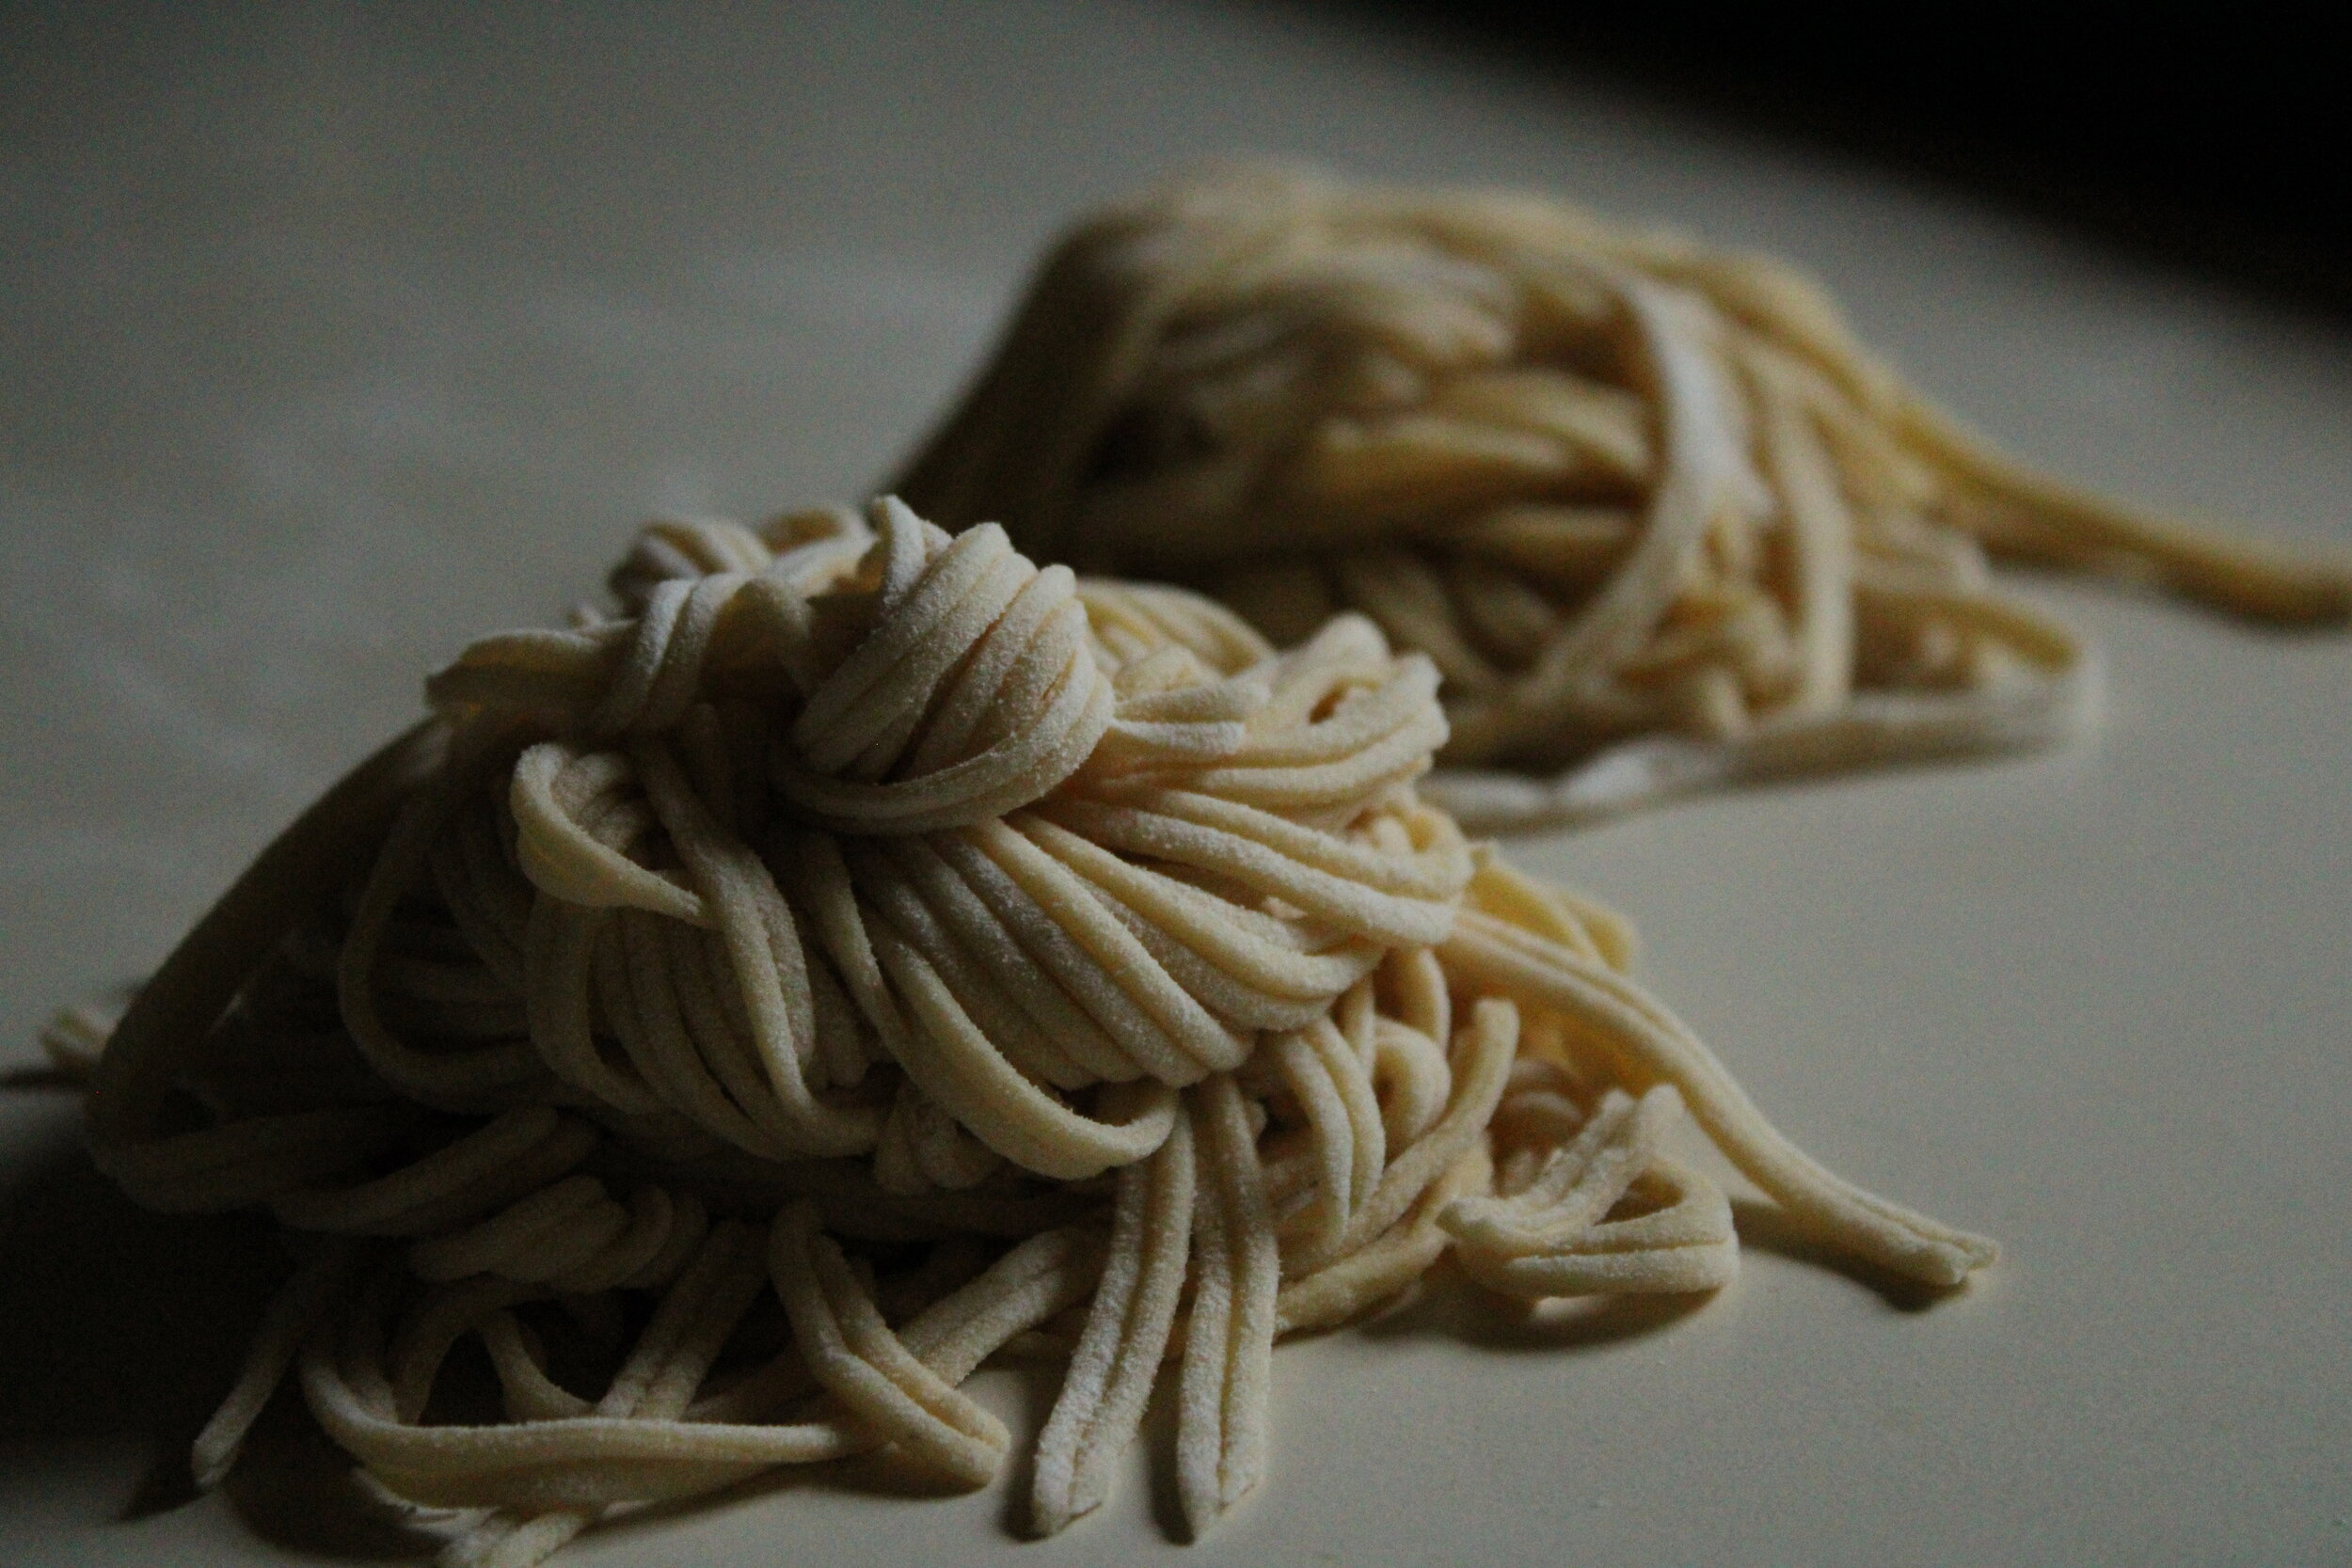
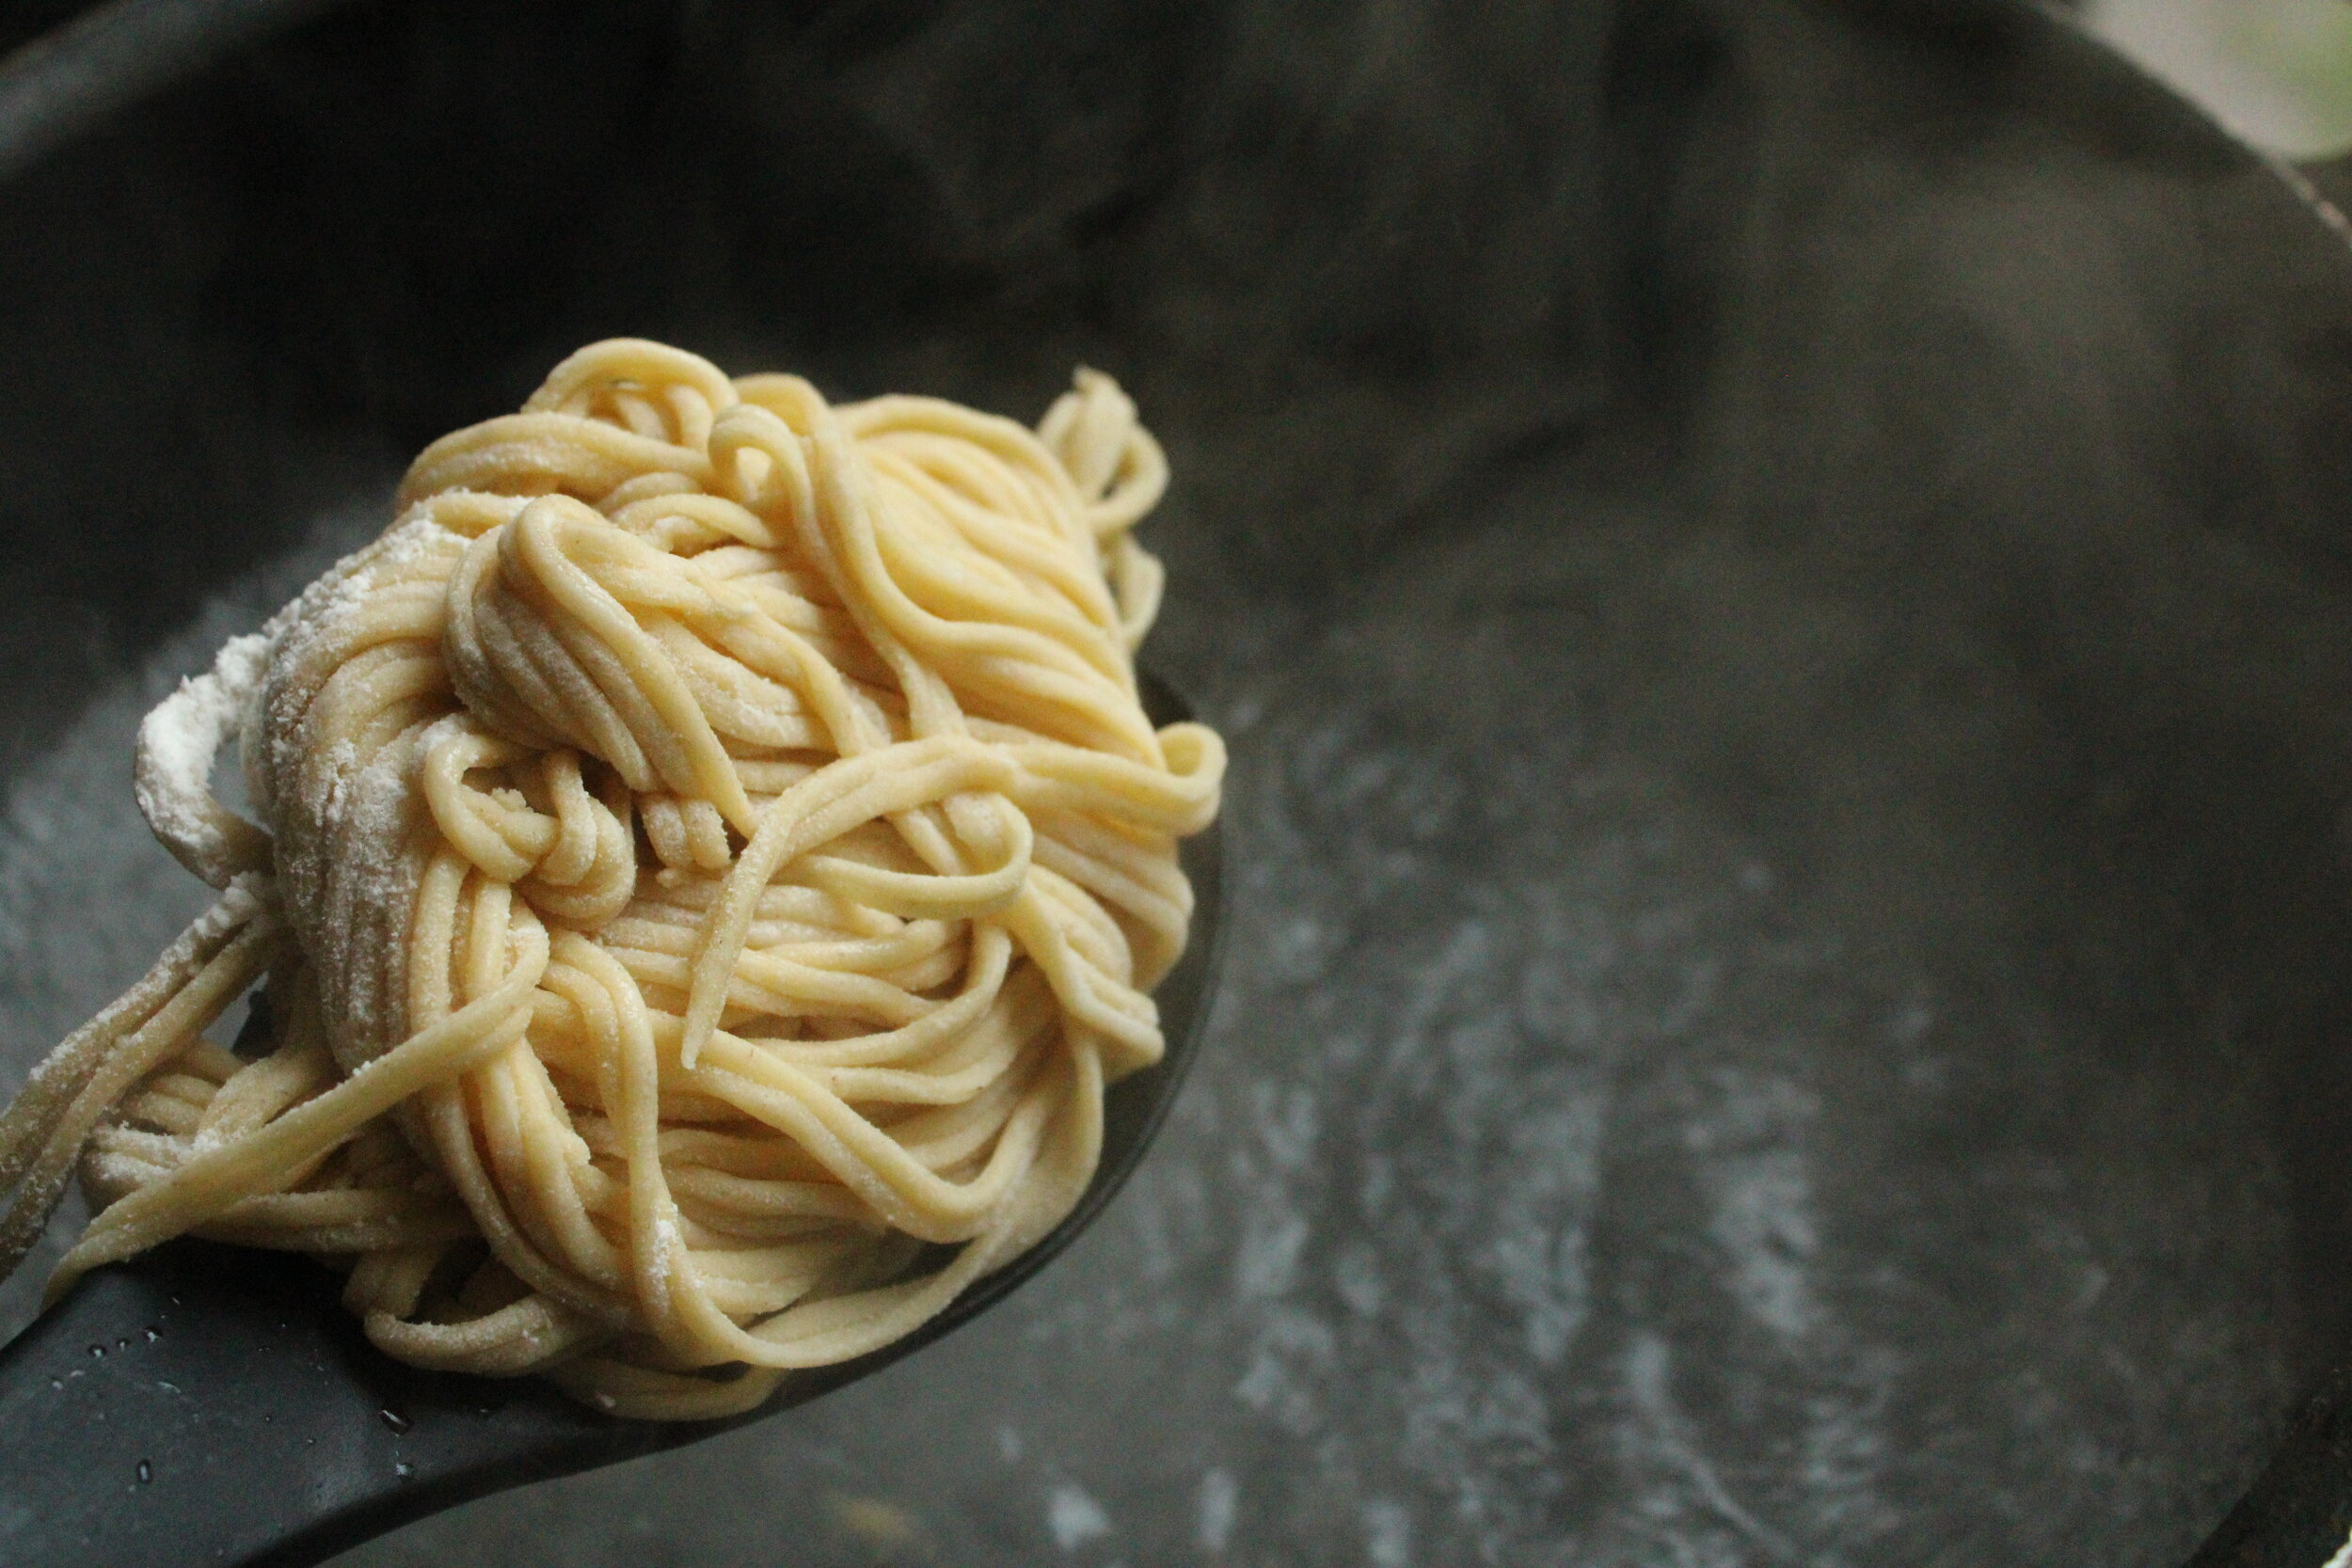
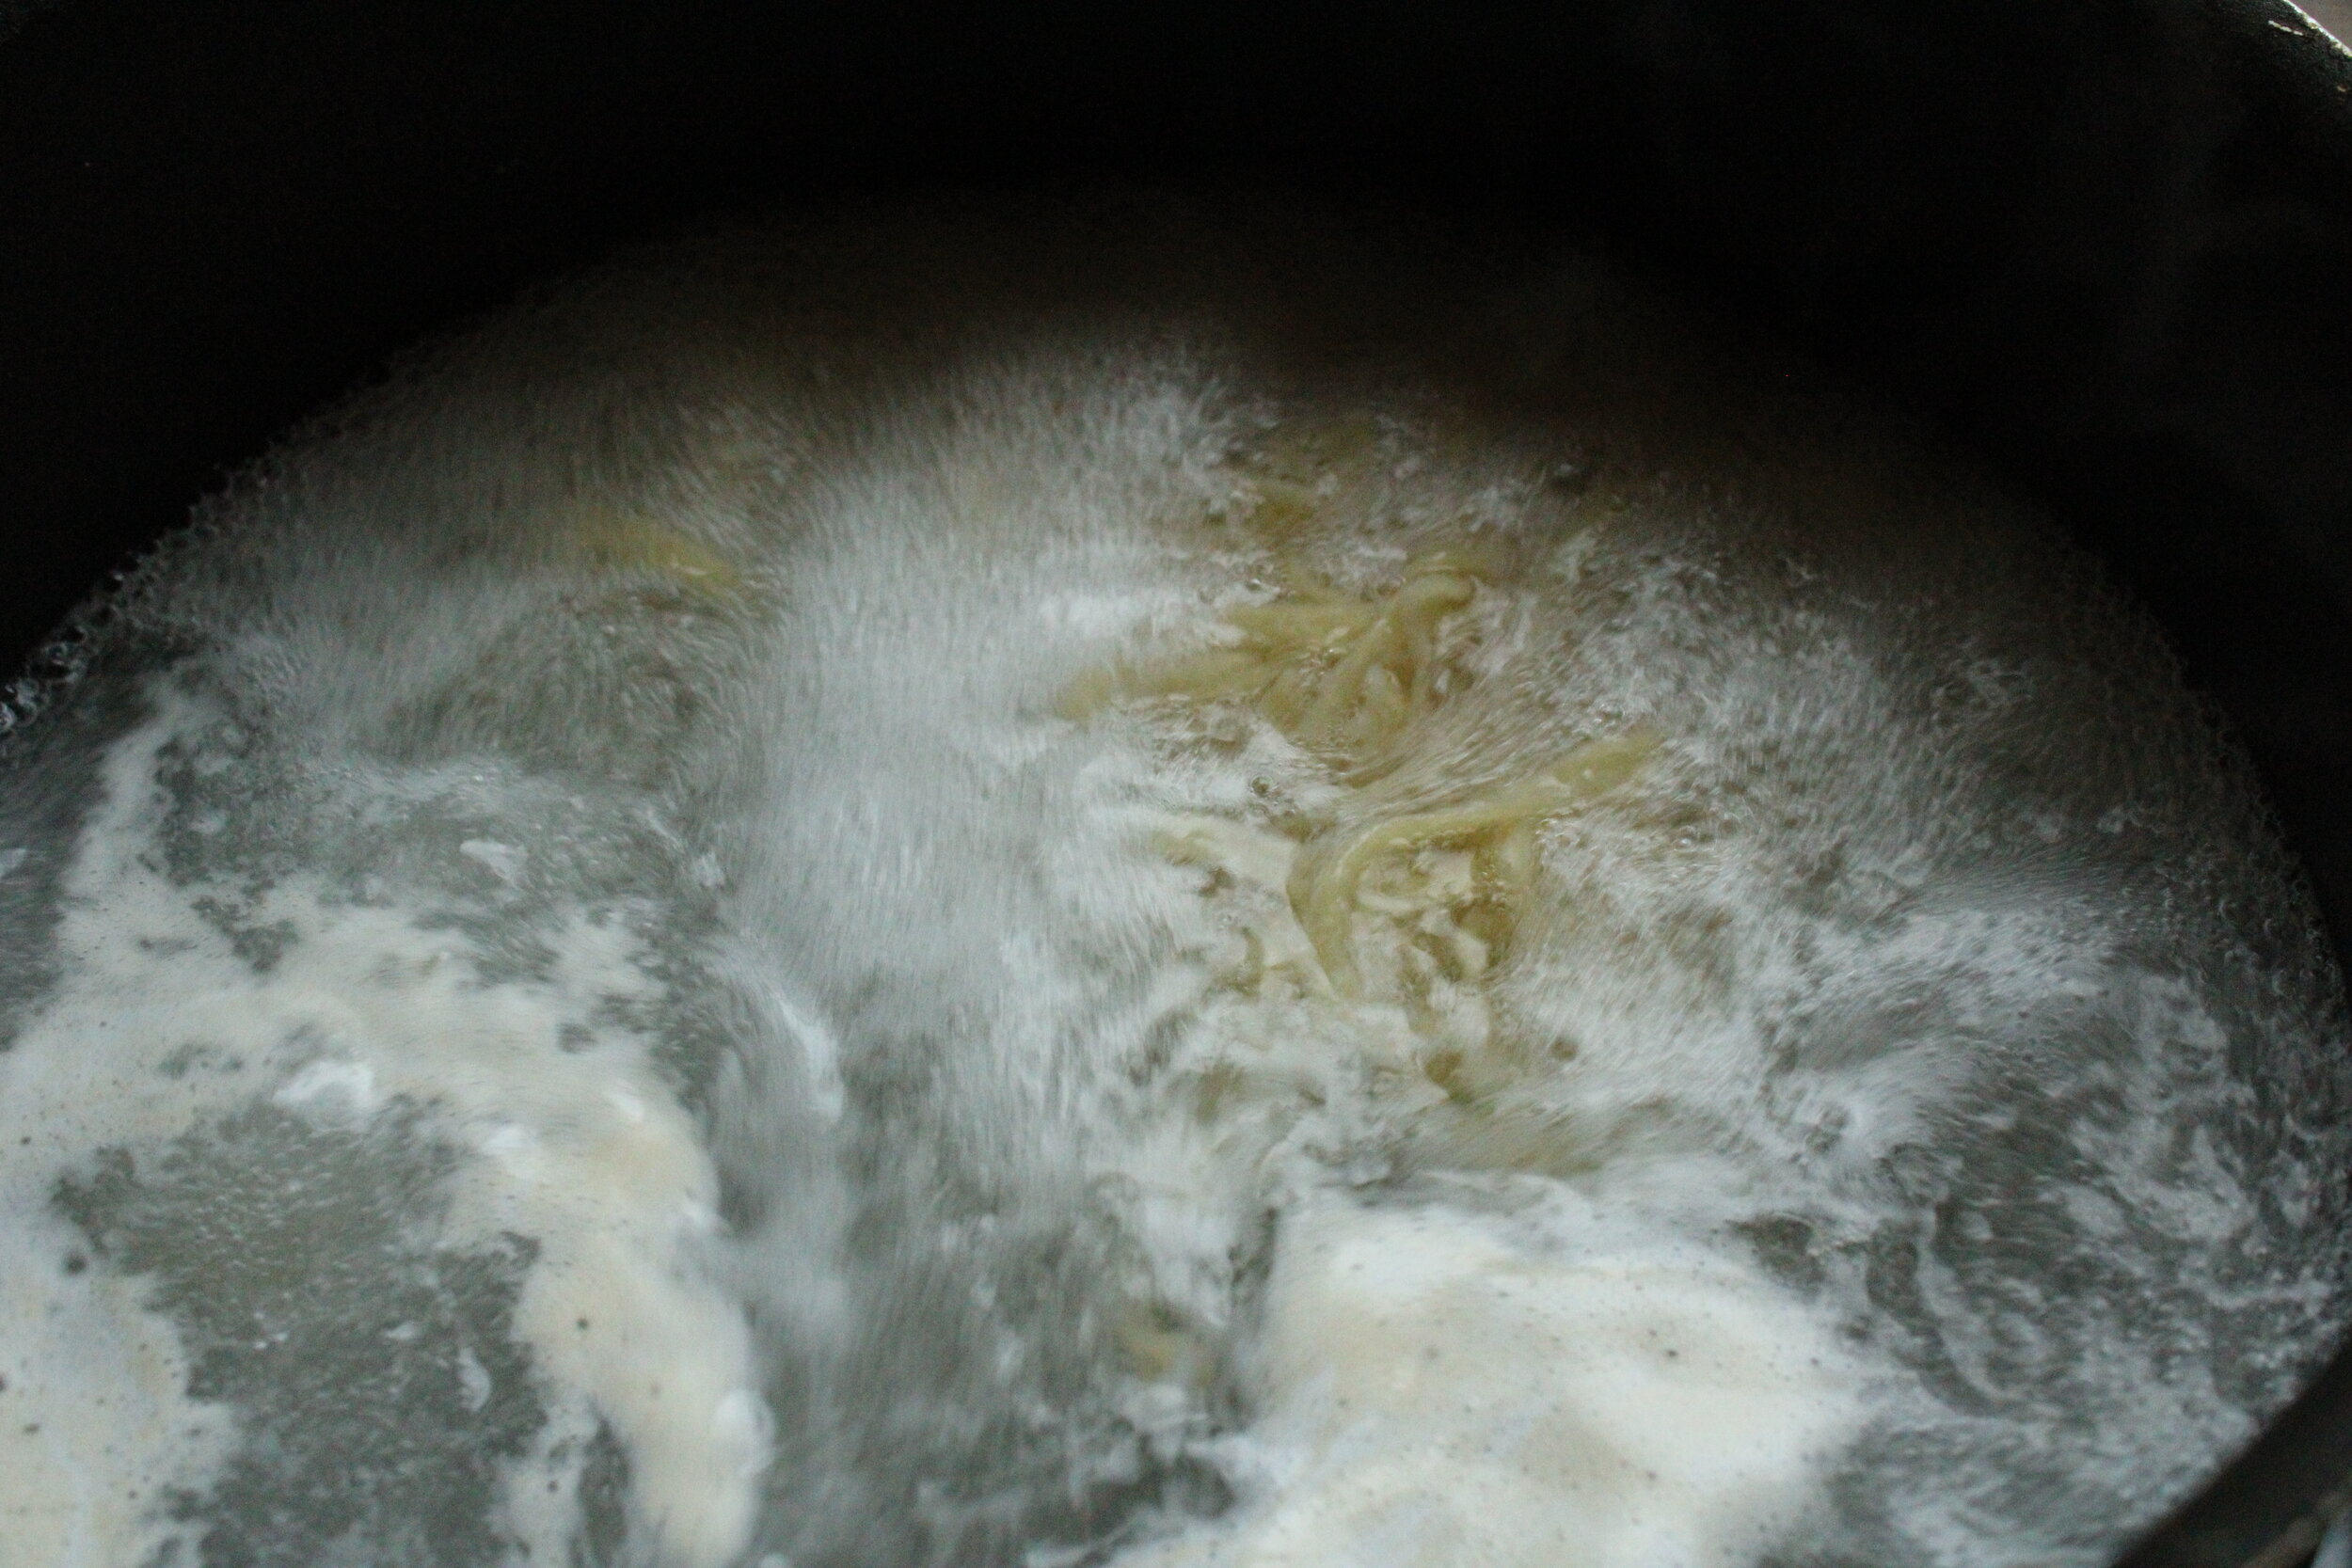
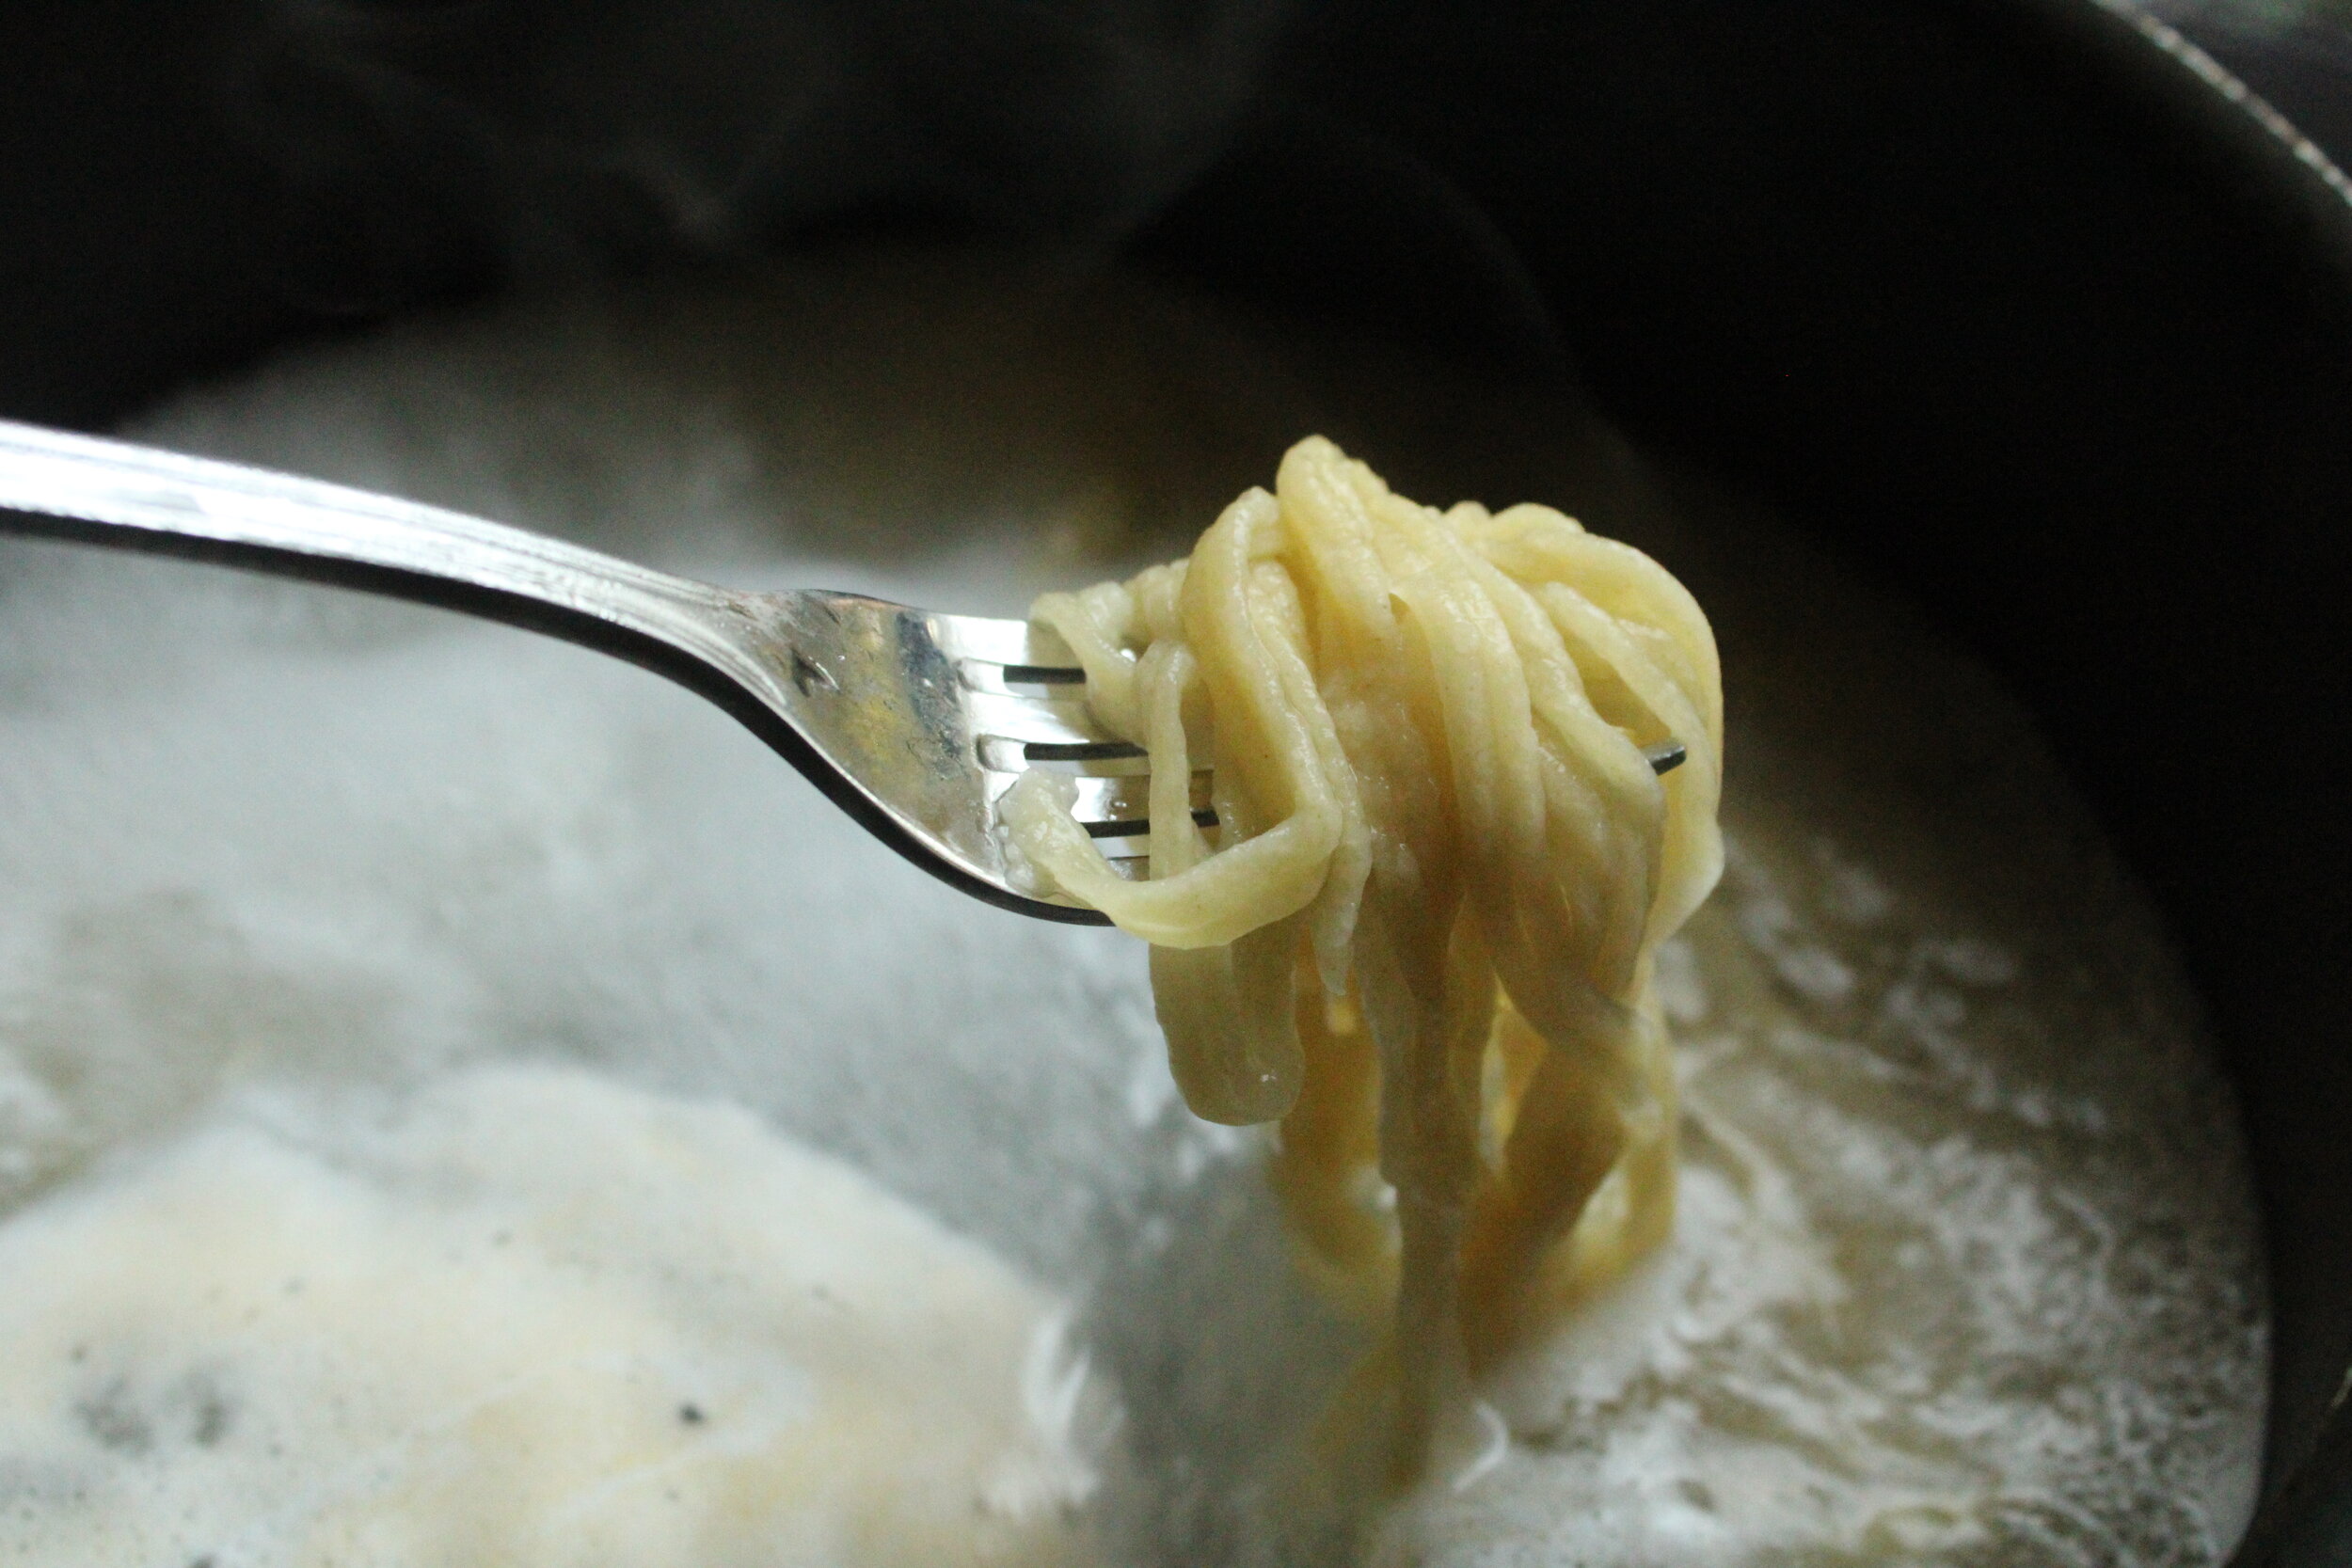
Once you have your length and thickness finished you can set the pasta maker to the cut size you want and run the dough through it to get your noodles cut. Make sure to flour the noodles excessively if your dough is on the more moist side, that way the noodles come out fully separated. Set the noodles aside for cooking later, or bring a pot of slightly salted water to a boil and cook the noodles for about 2-5 minutes, until they’re slightly puffed and more translucent. Use a slotted spoon or tongs to retrieve the noodles and place them into a serving bowl for later.
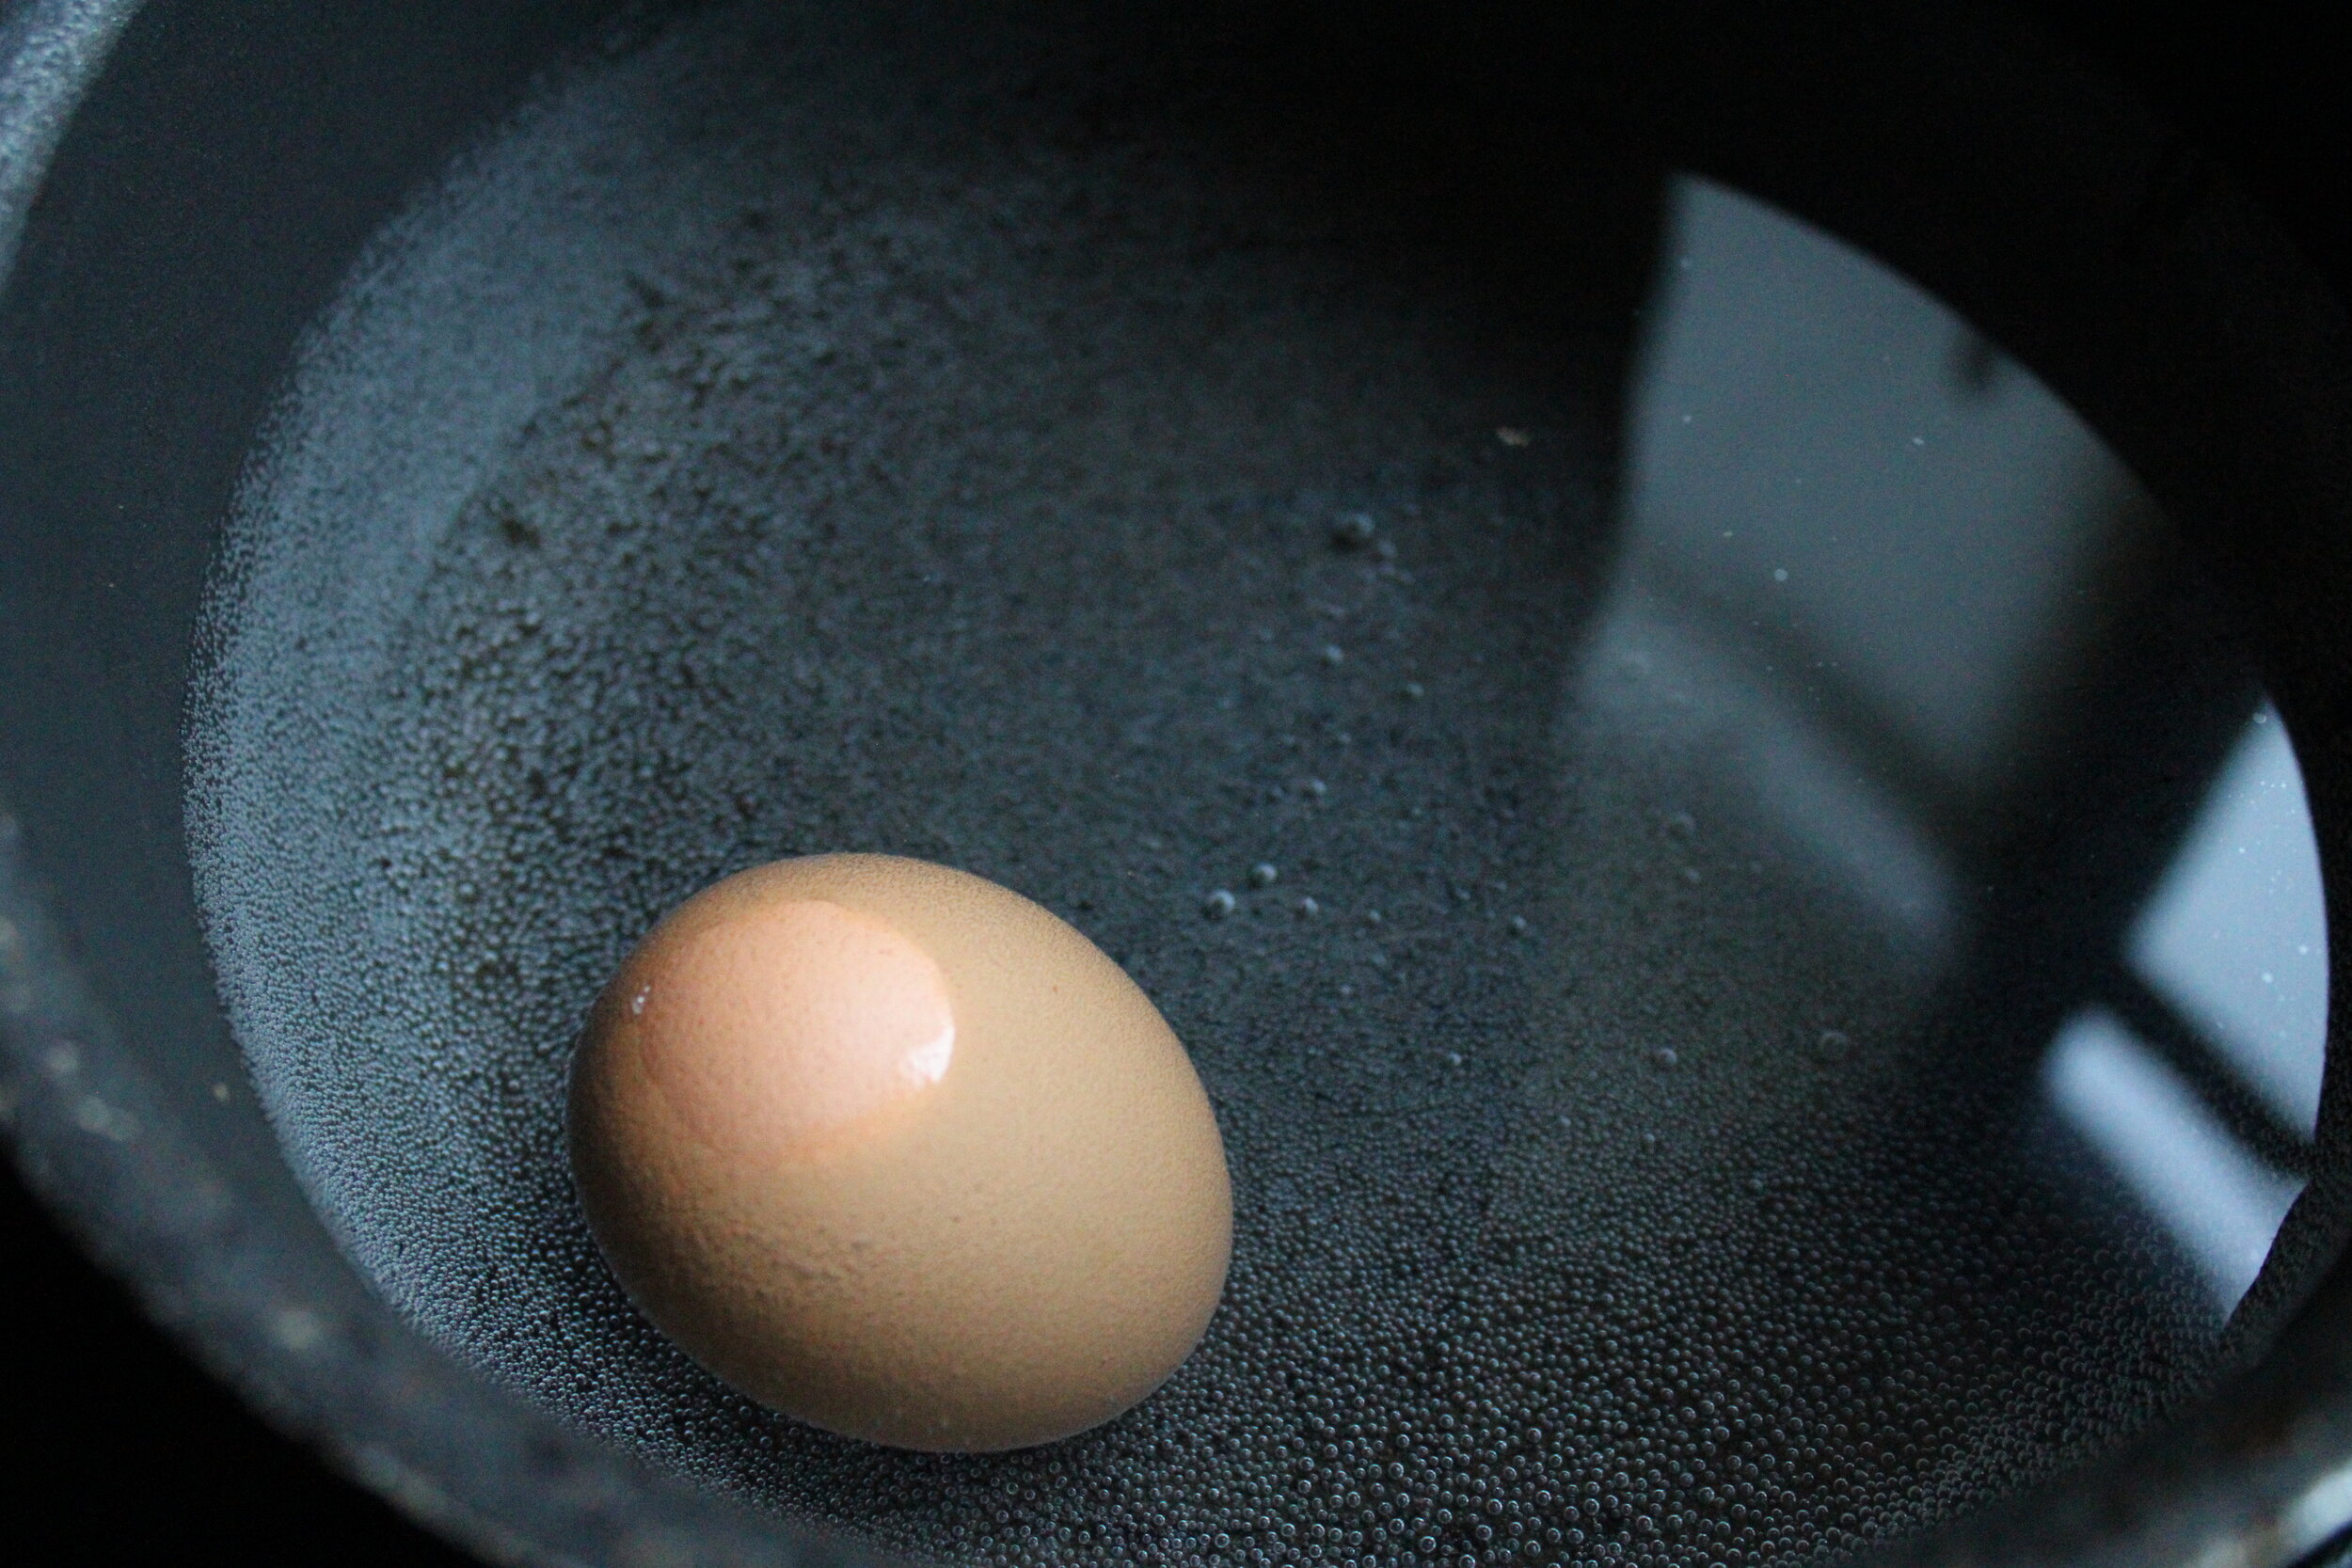
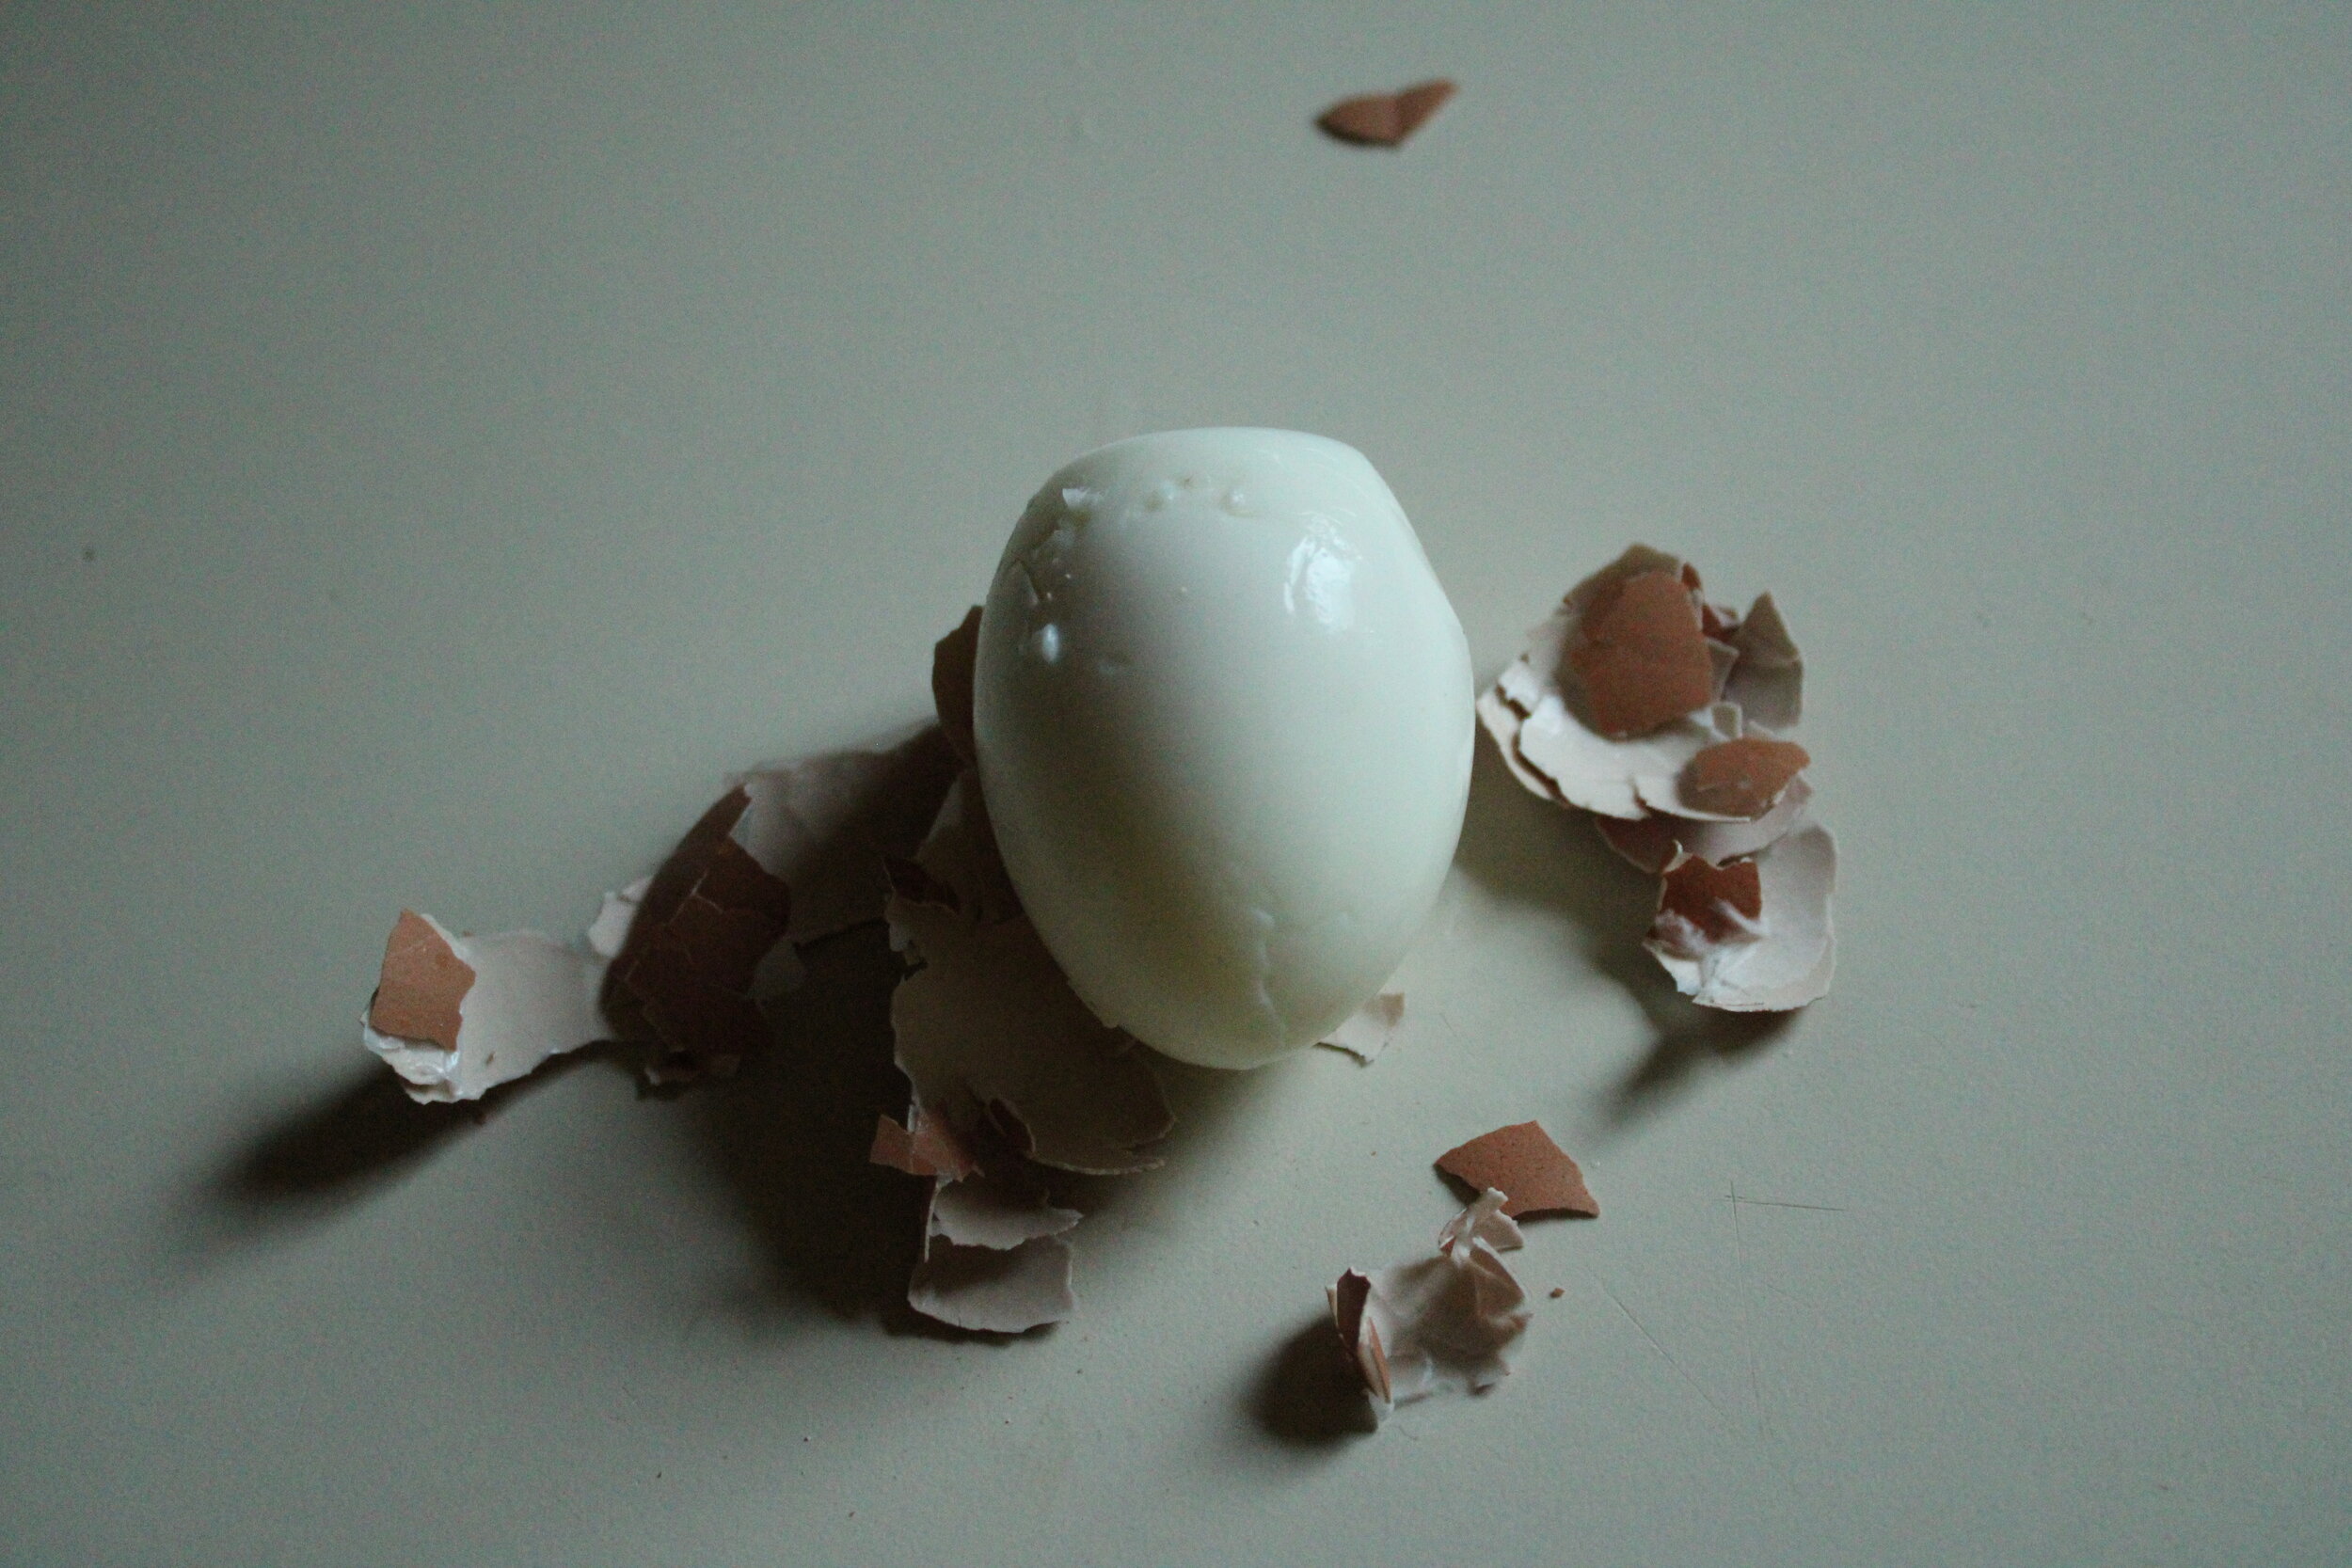
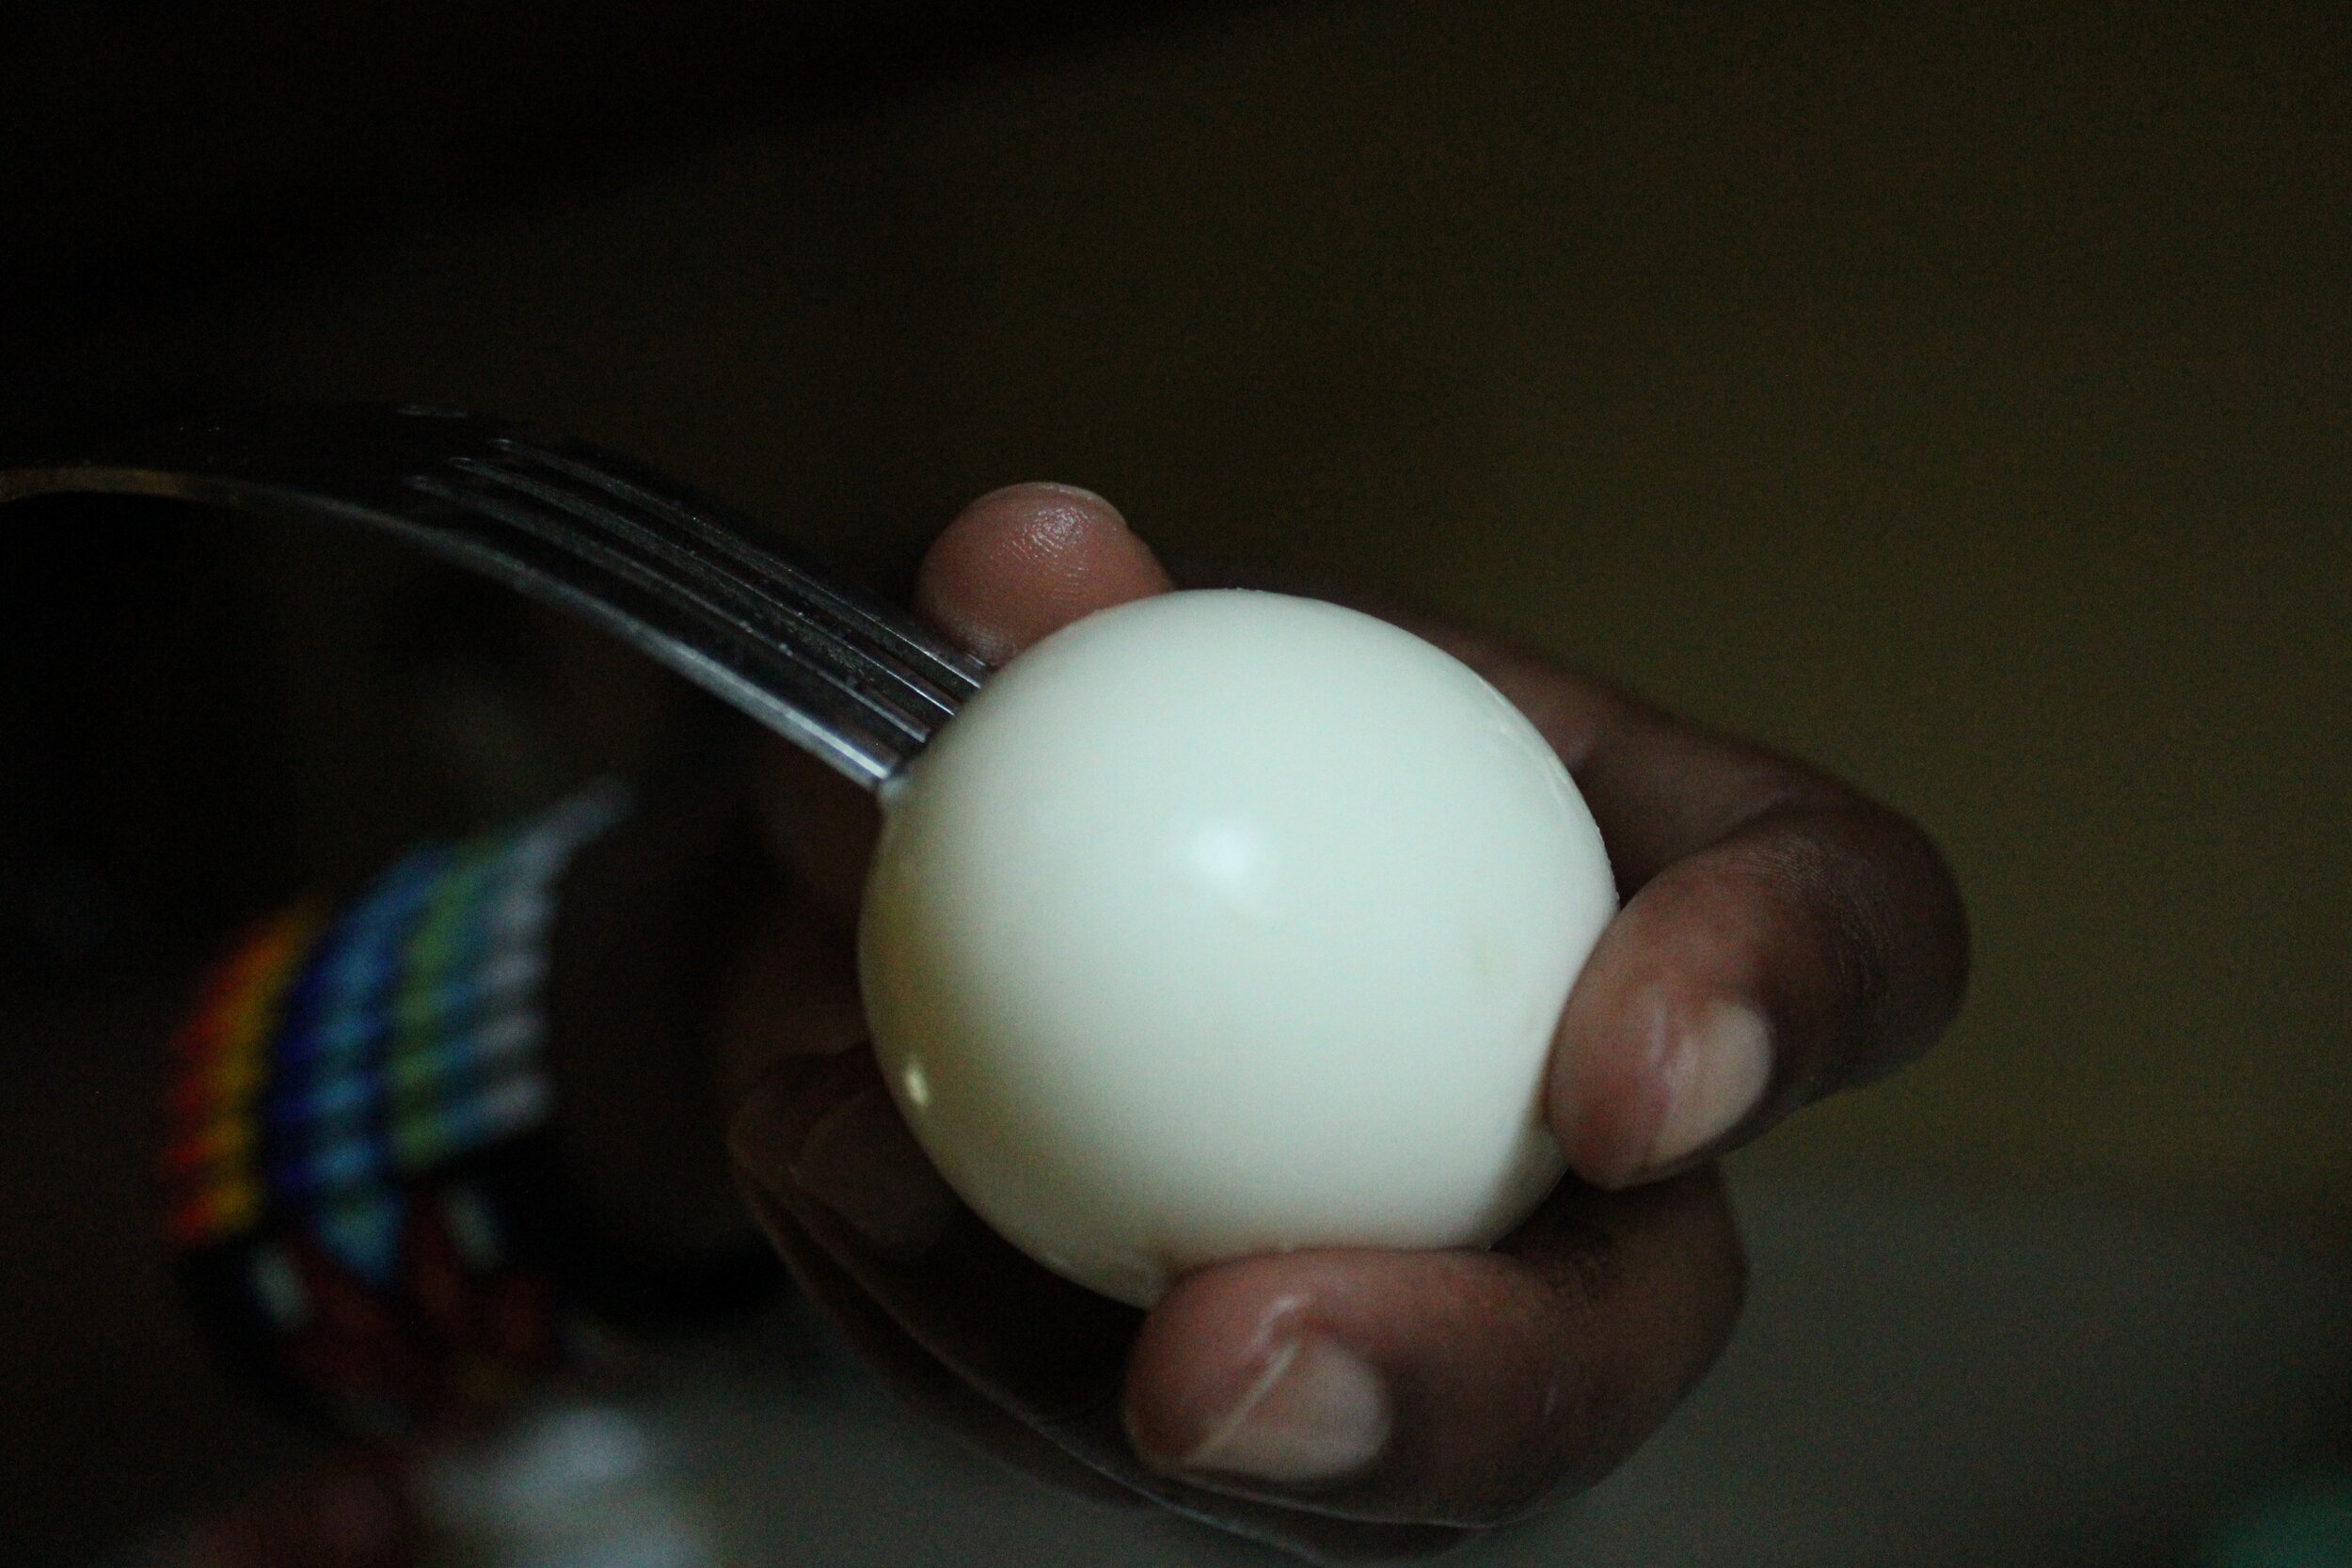
PREPARE YOUR EGGS: Boil your eggs in a medium sized pot to your desired length of time (I like mine hard-boiled so about 5-6 minutes if that’s also your thing). Once they’re cooked how you like them, peel off the skin and poke them with a fork.
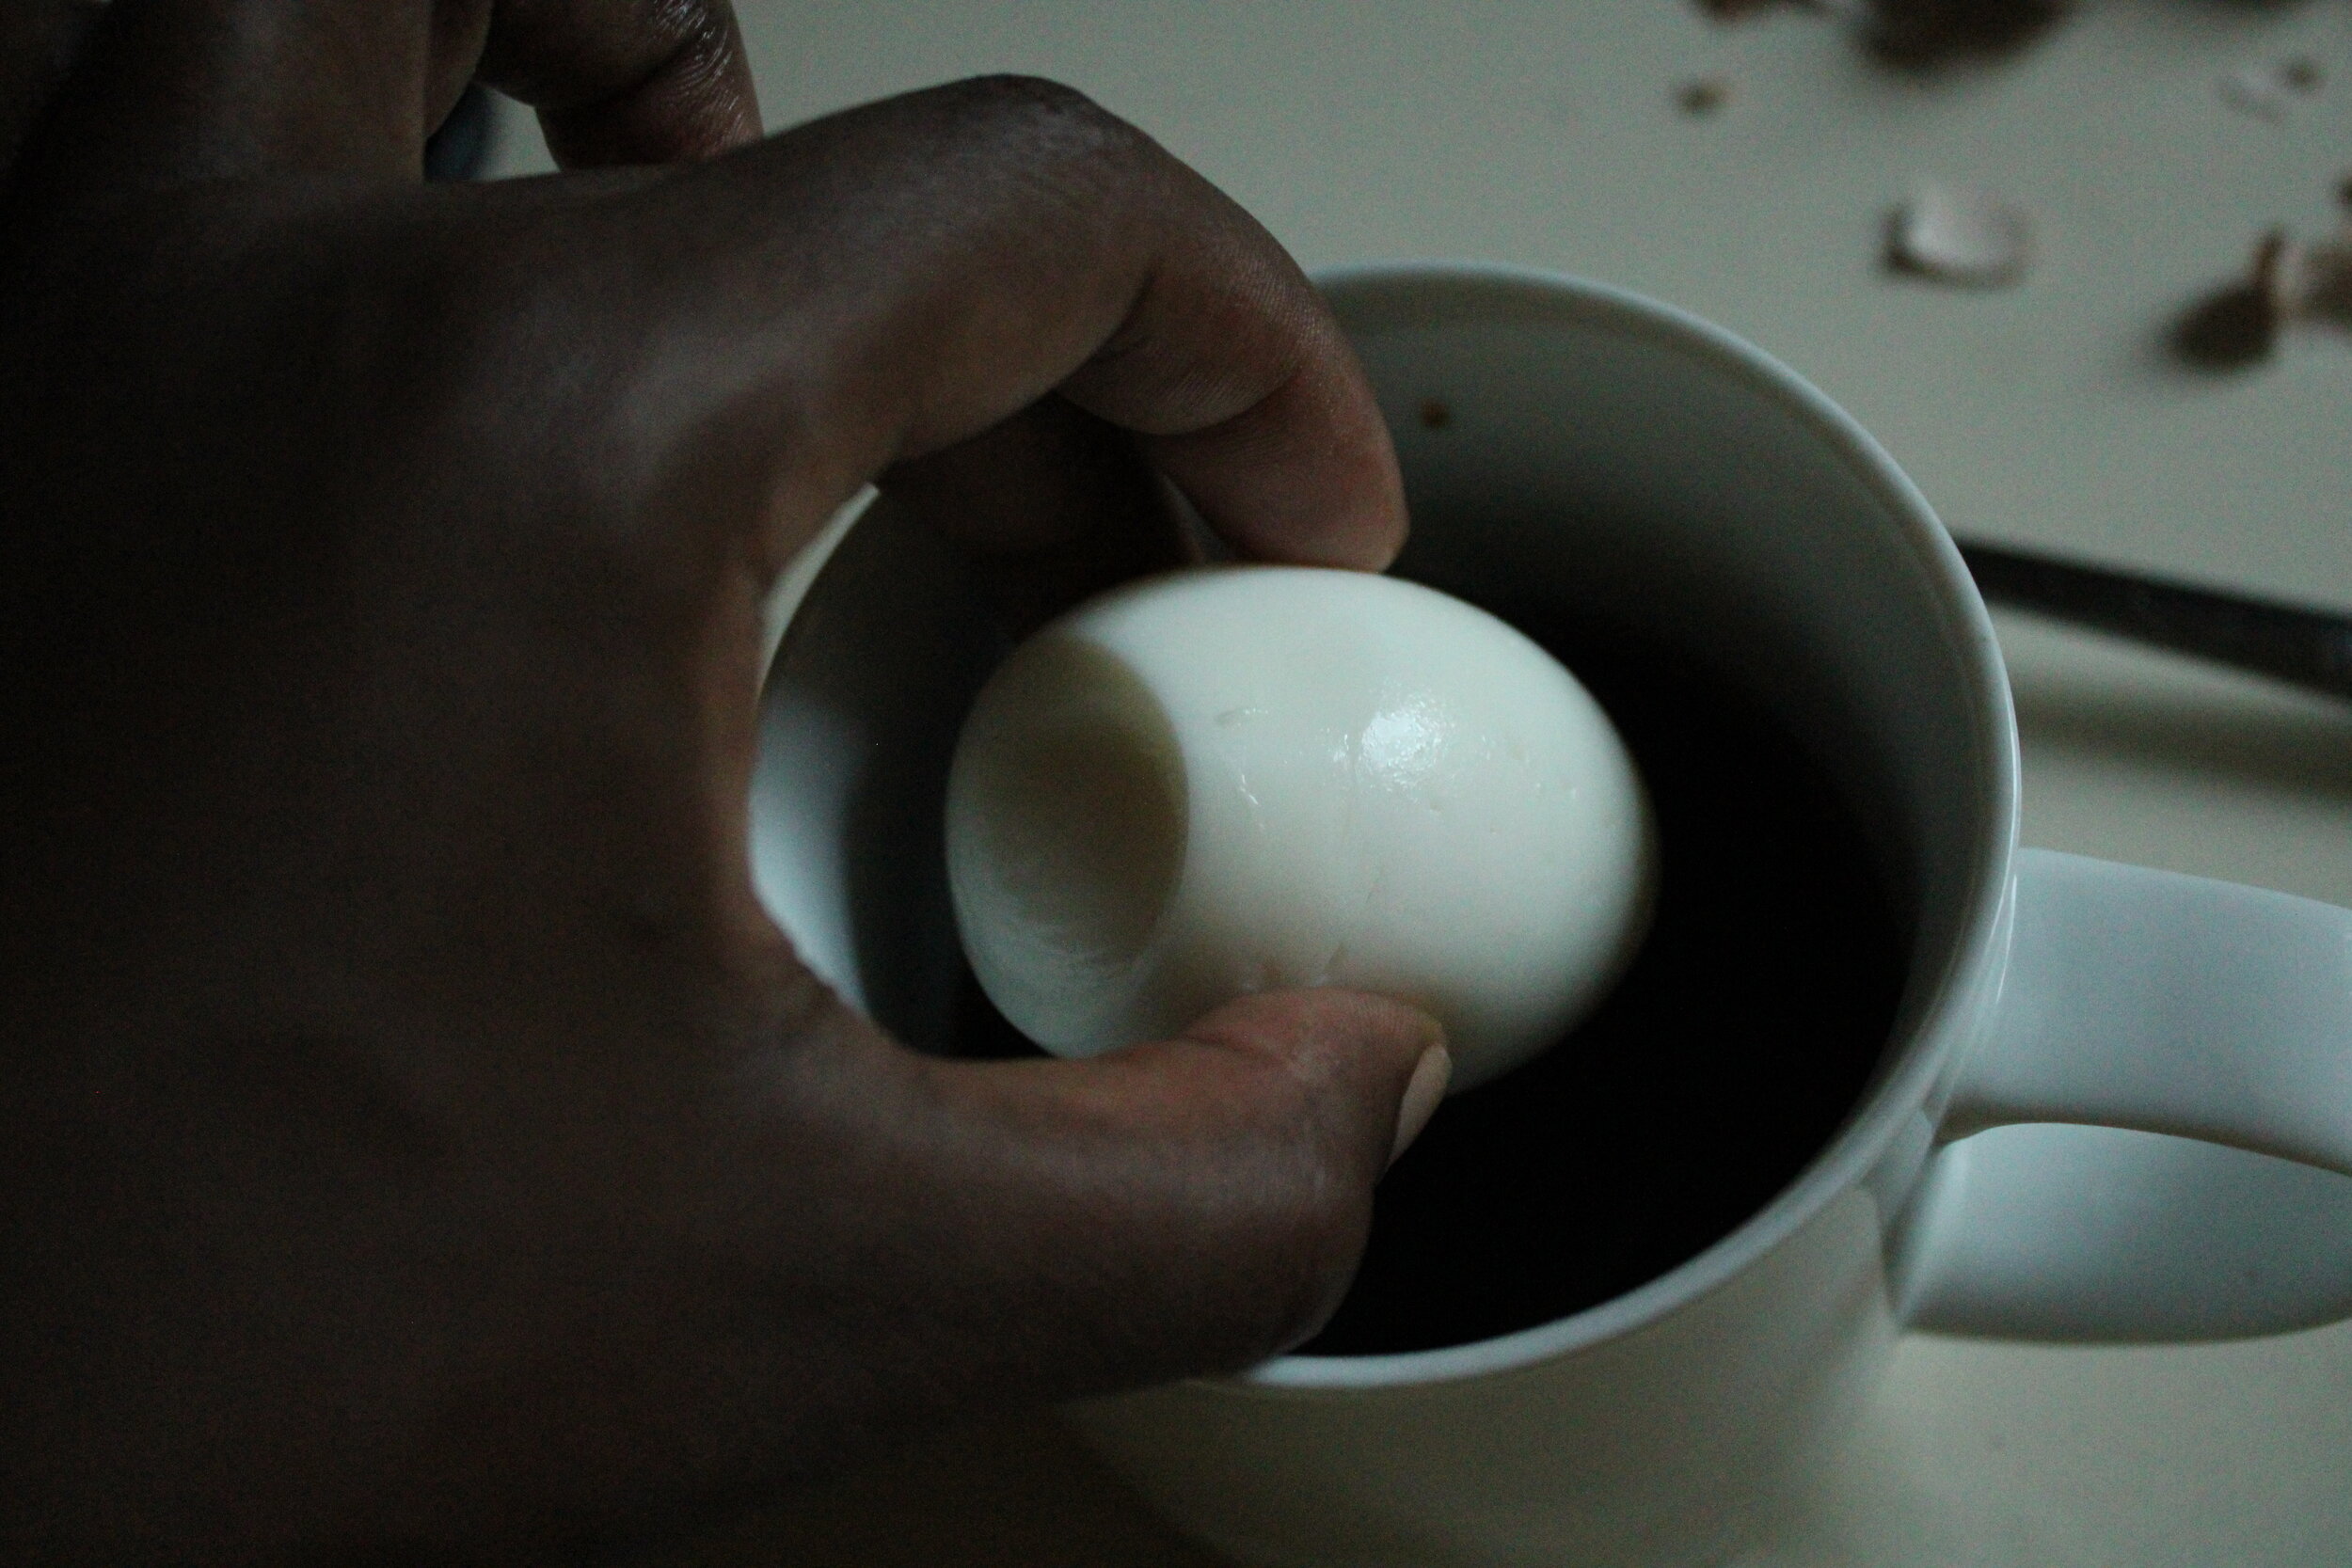
Whisk together the vinegar, soy sauce, and hot sauce in a small jar or bowl. Then add in your eggs and let them marinate for at least an hour.
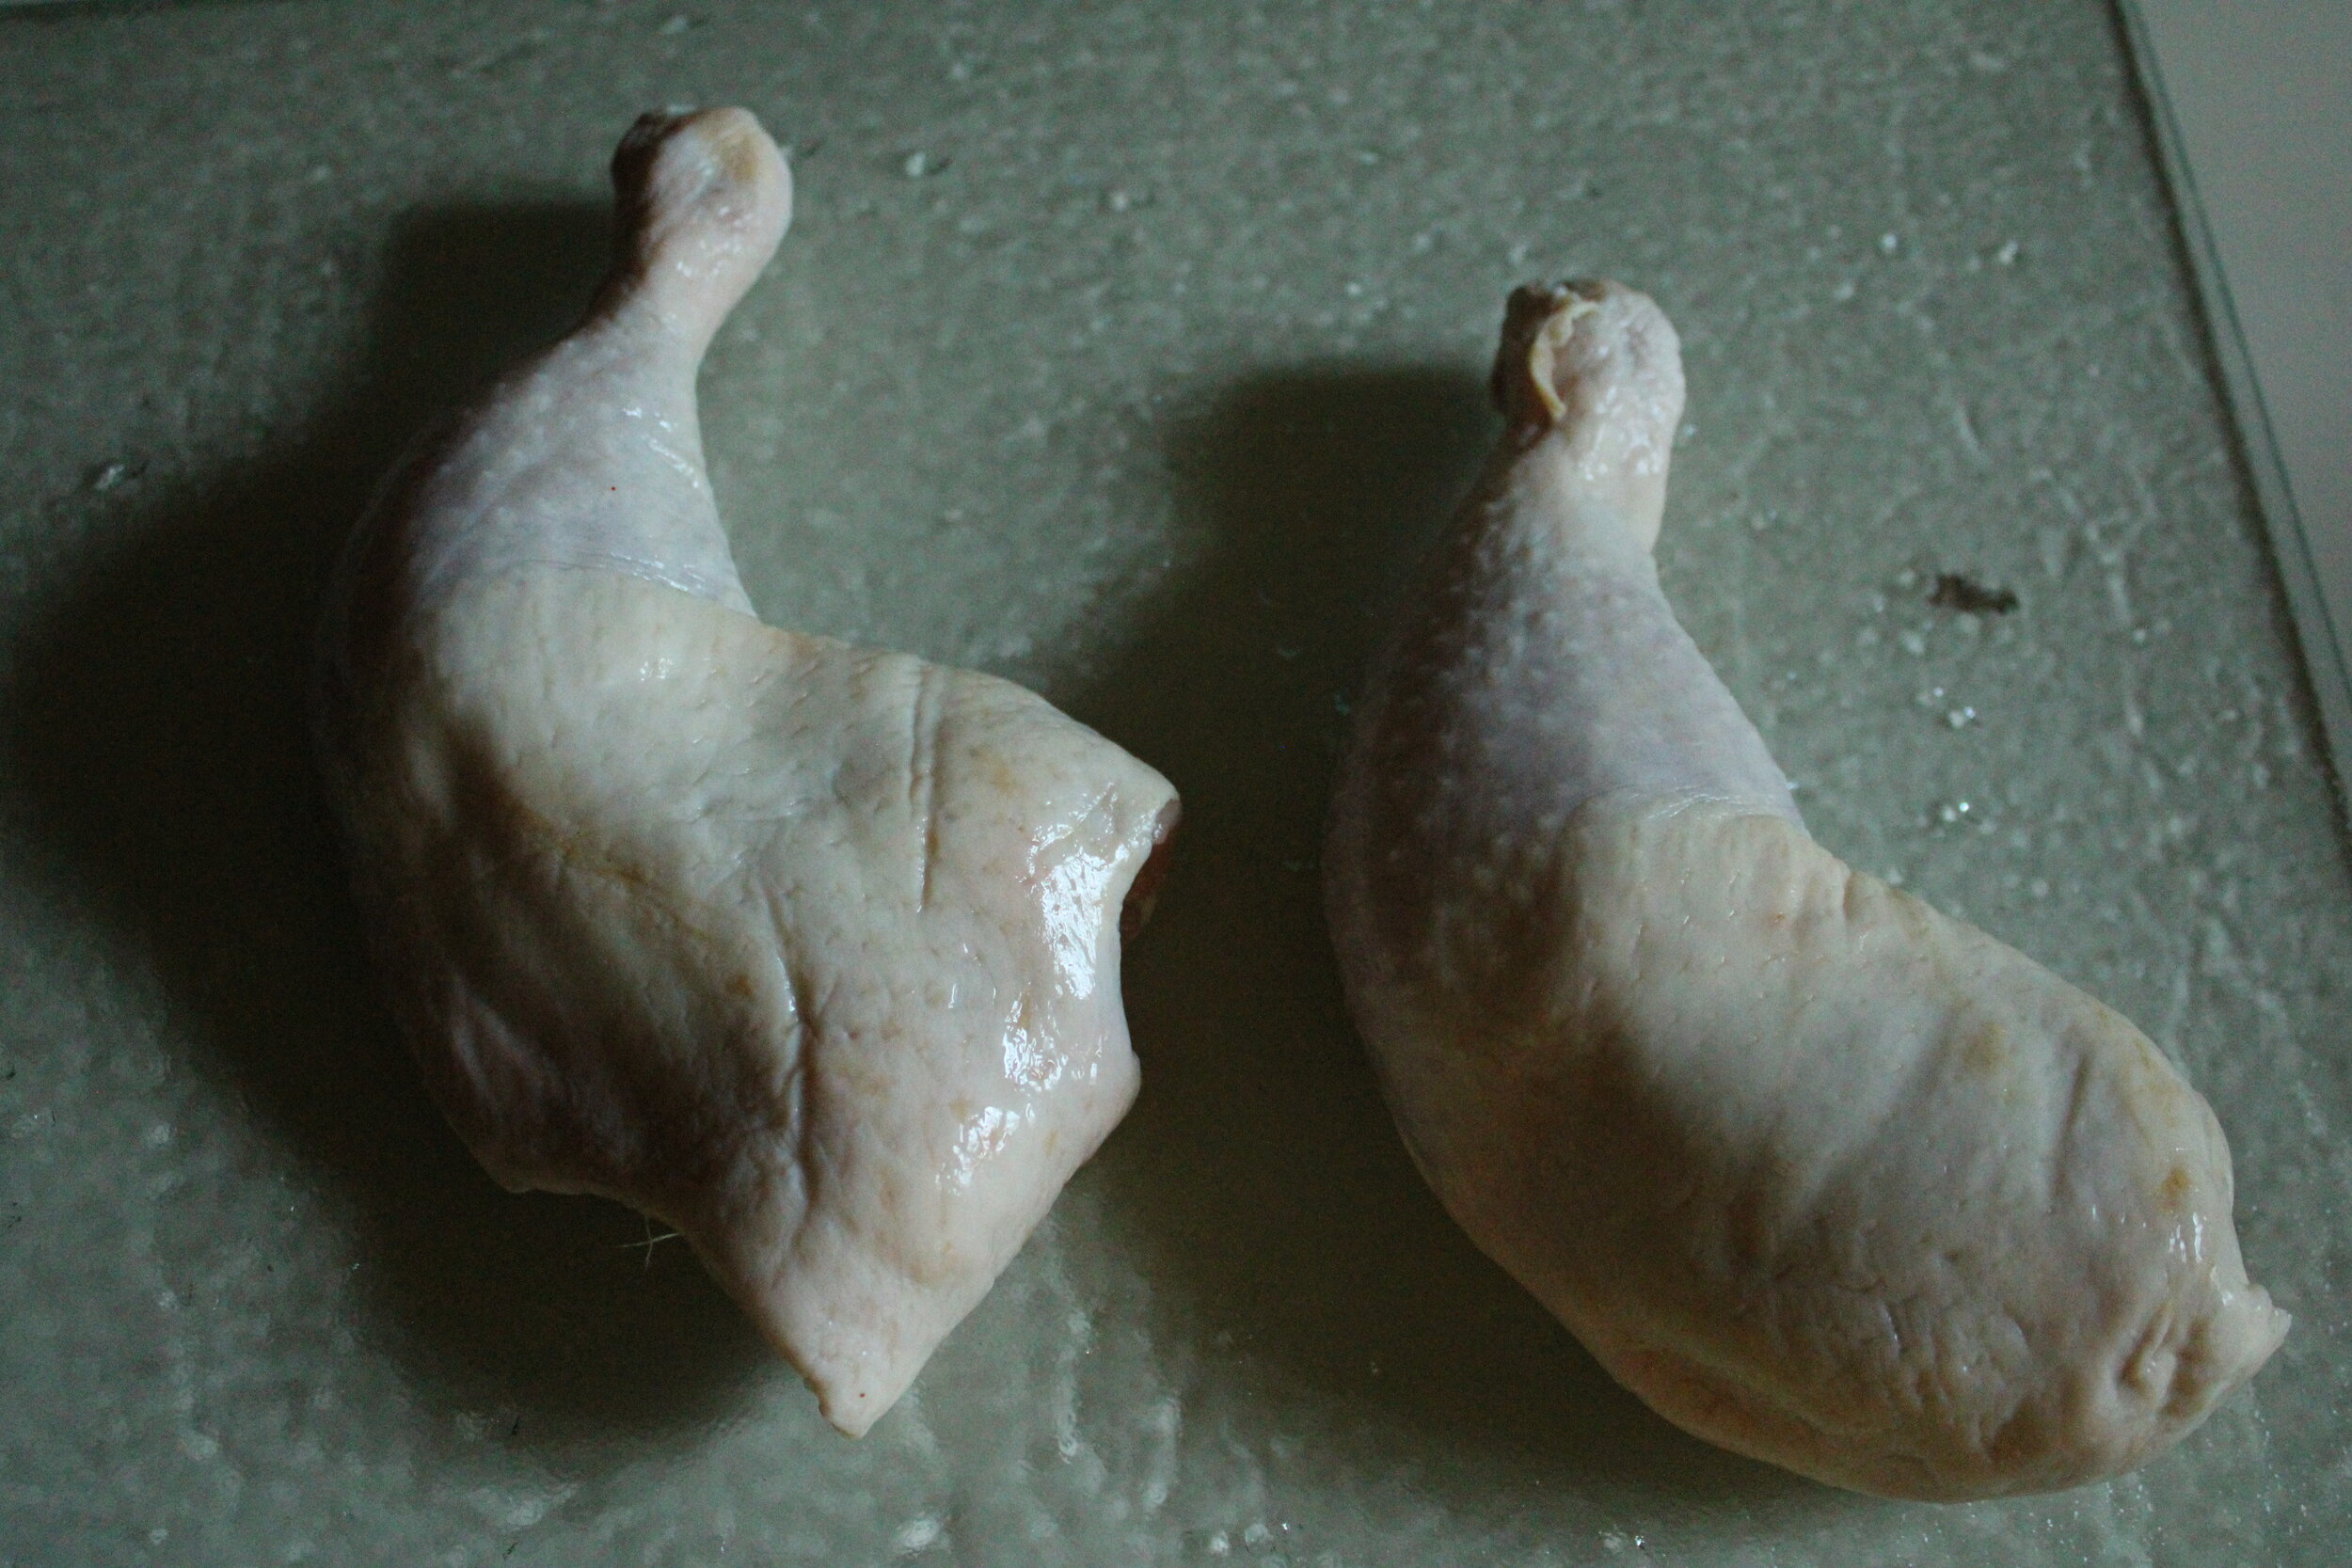
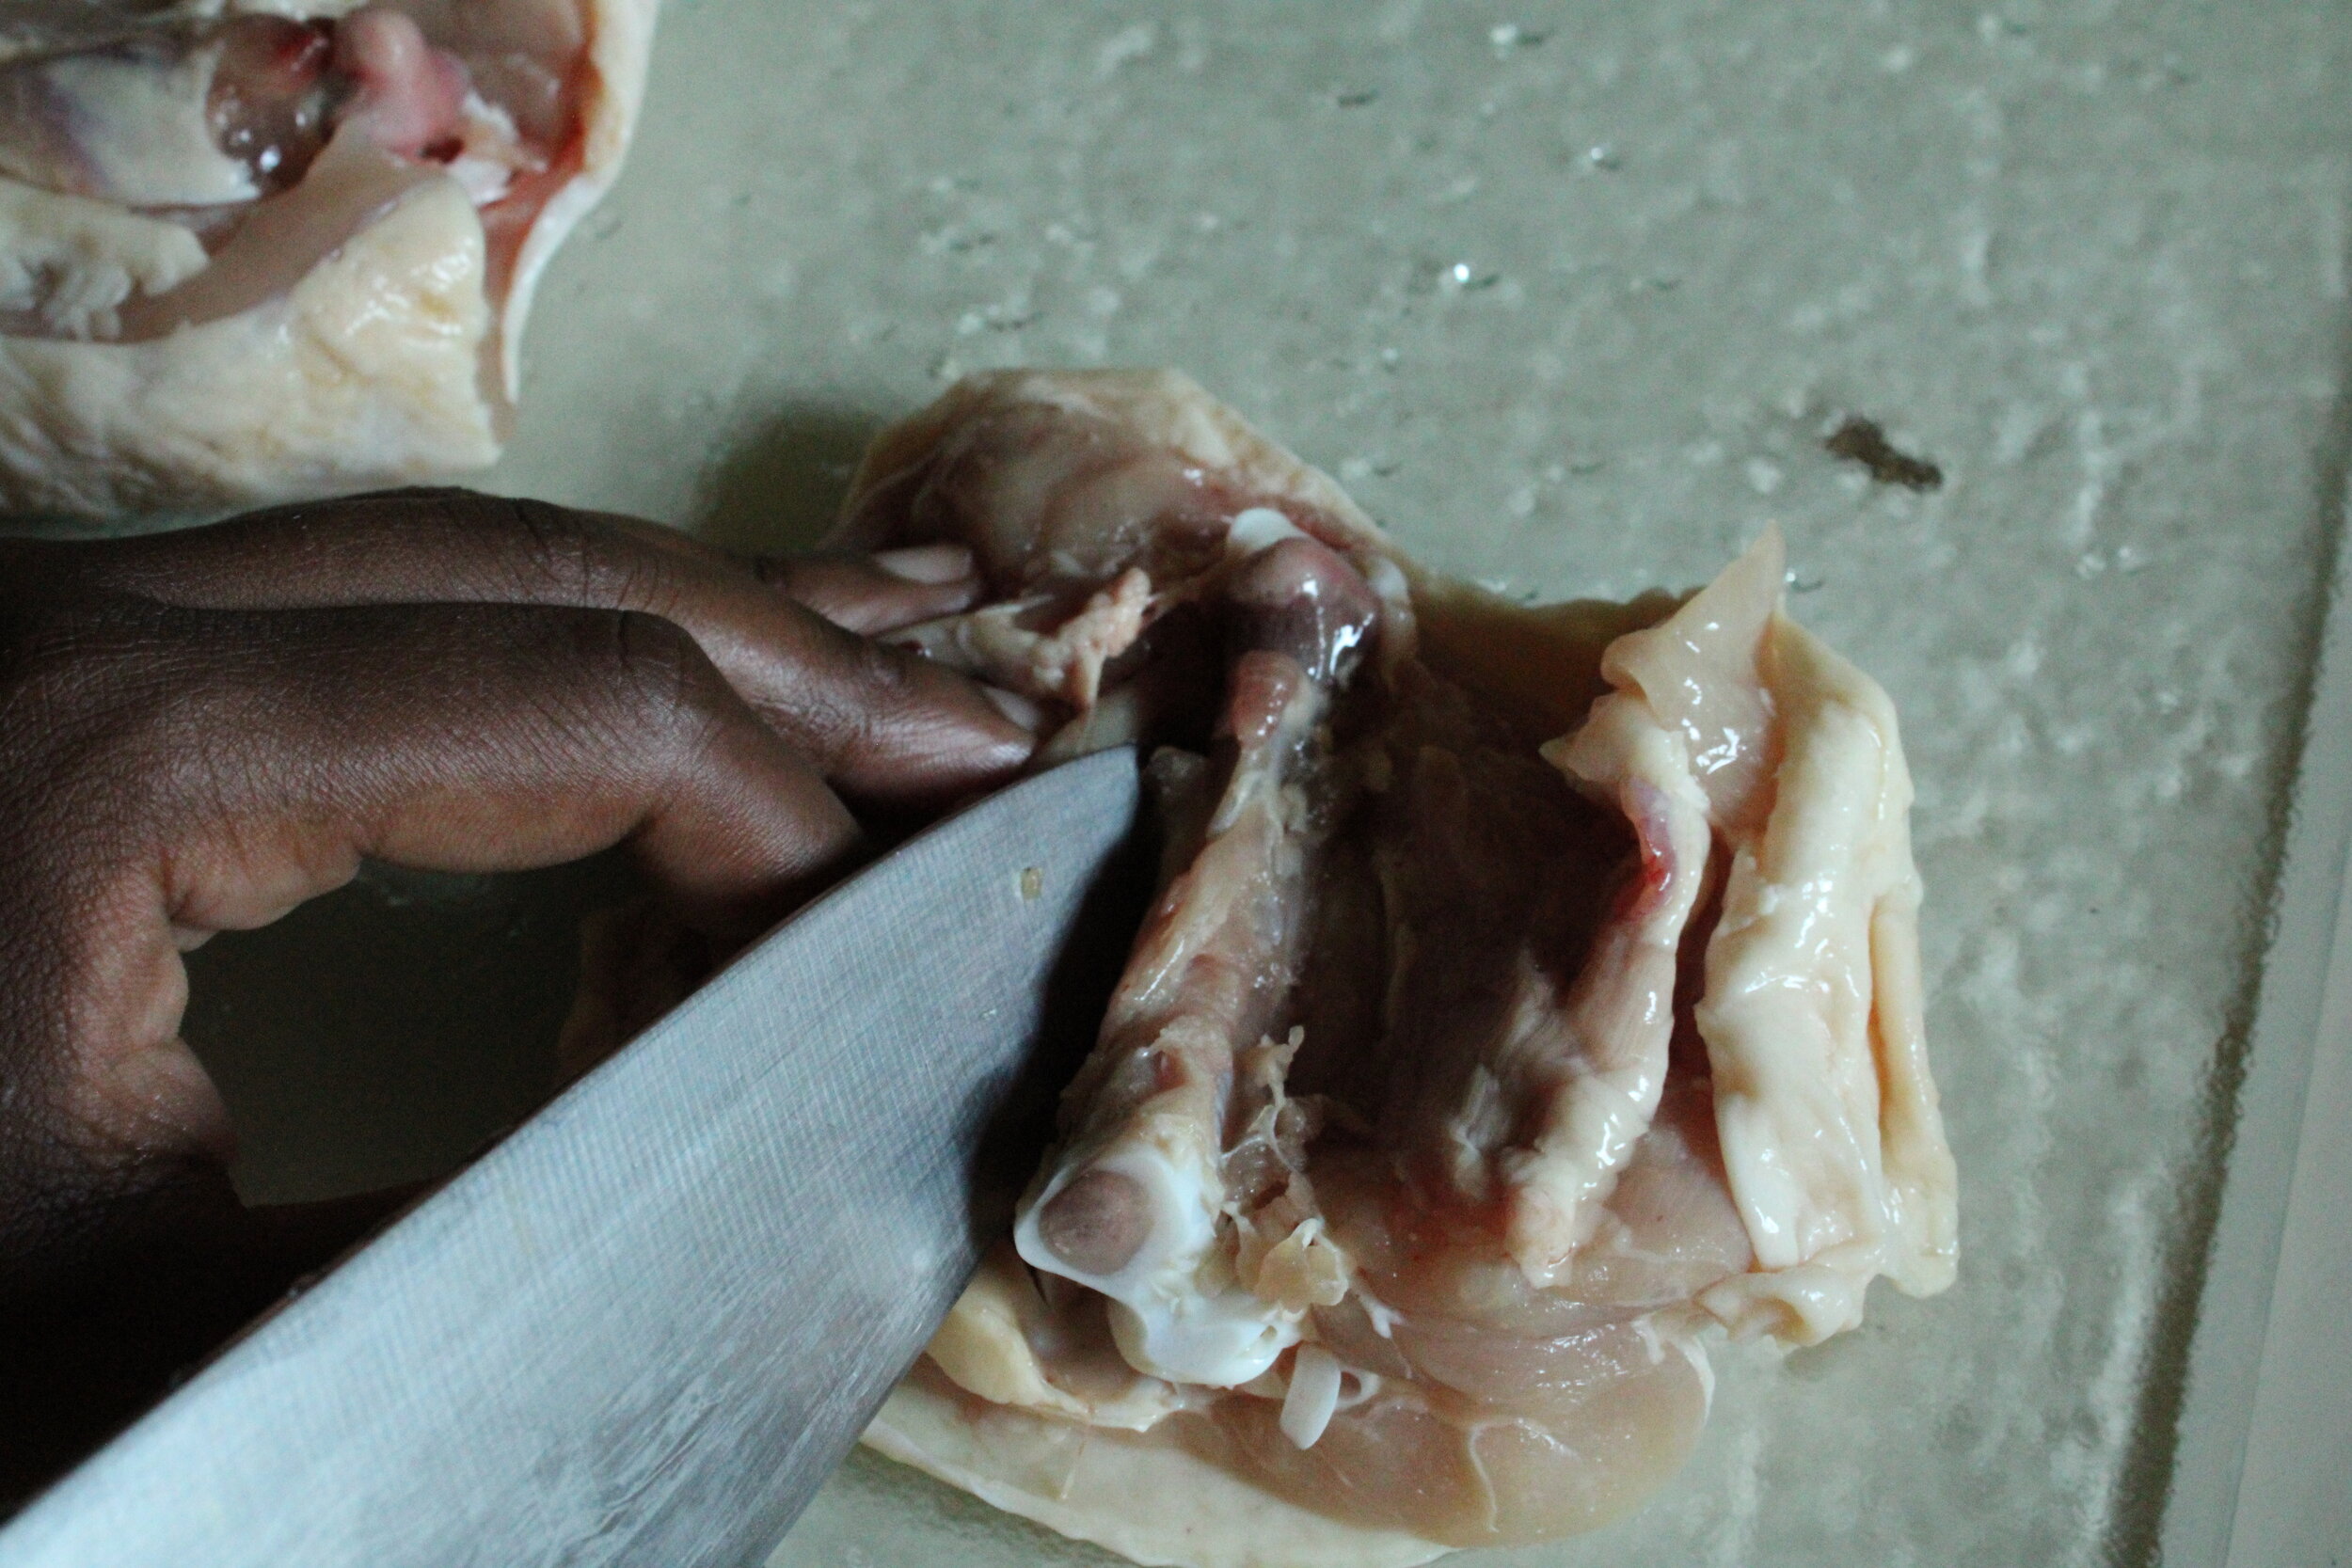
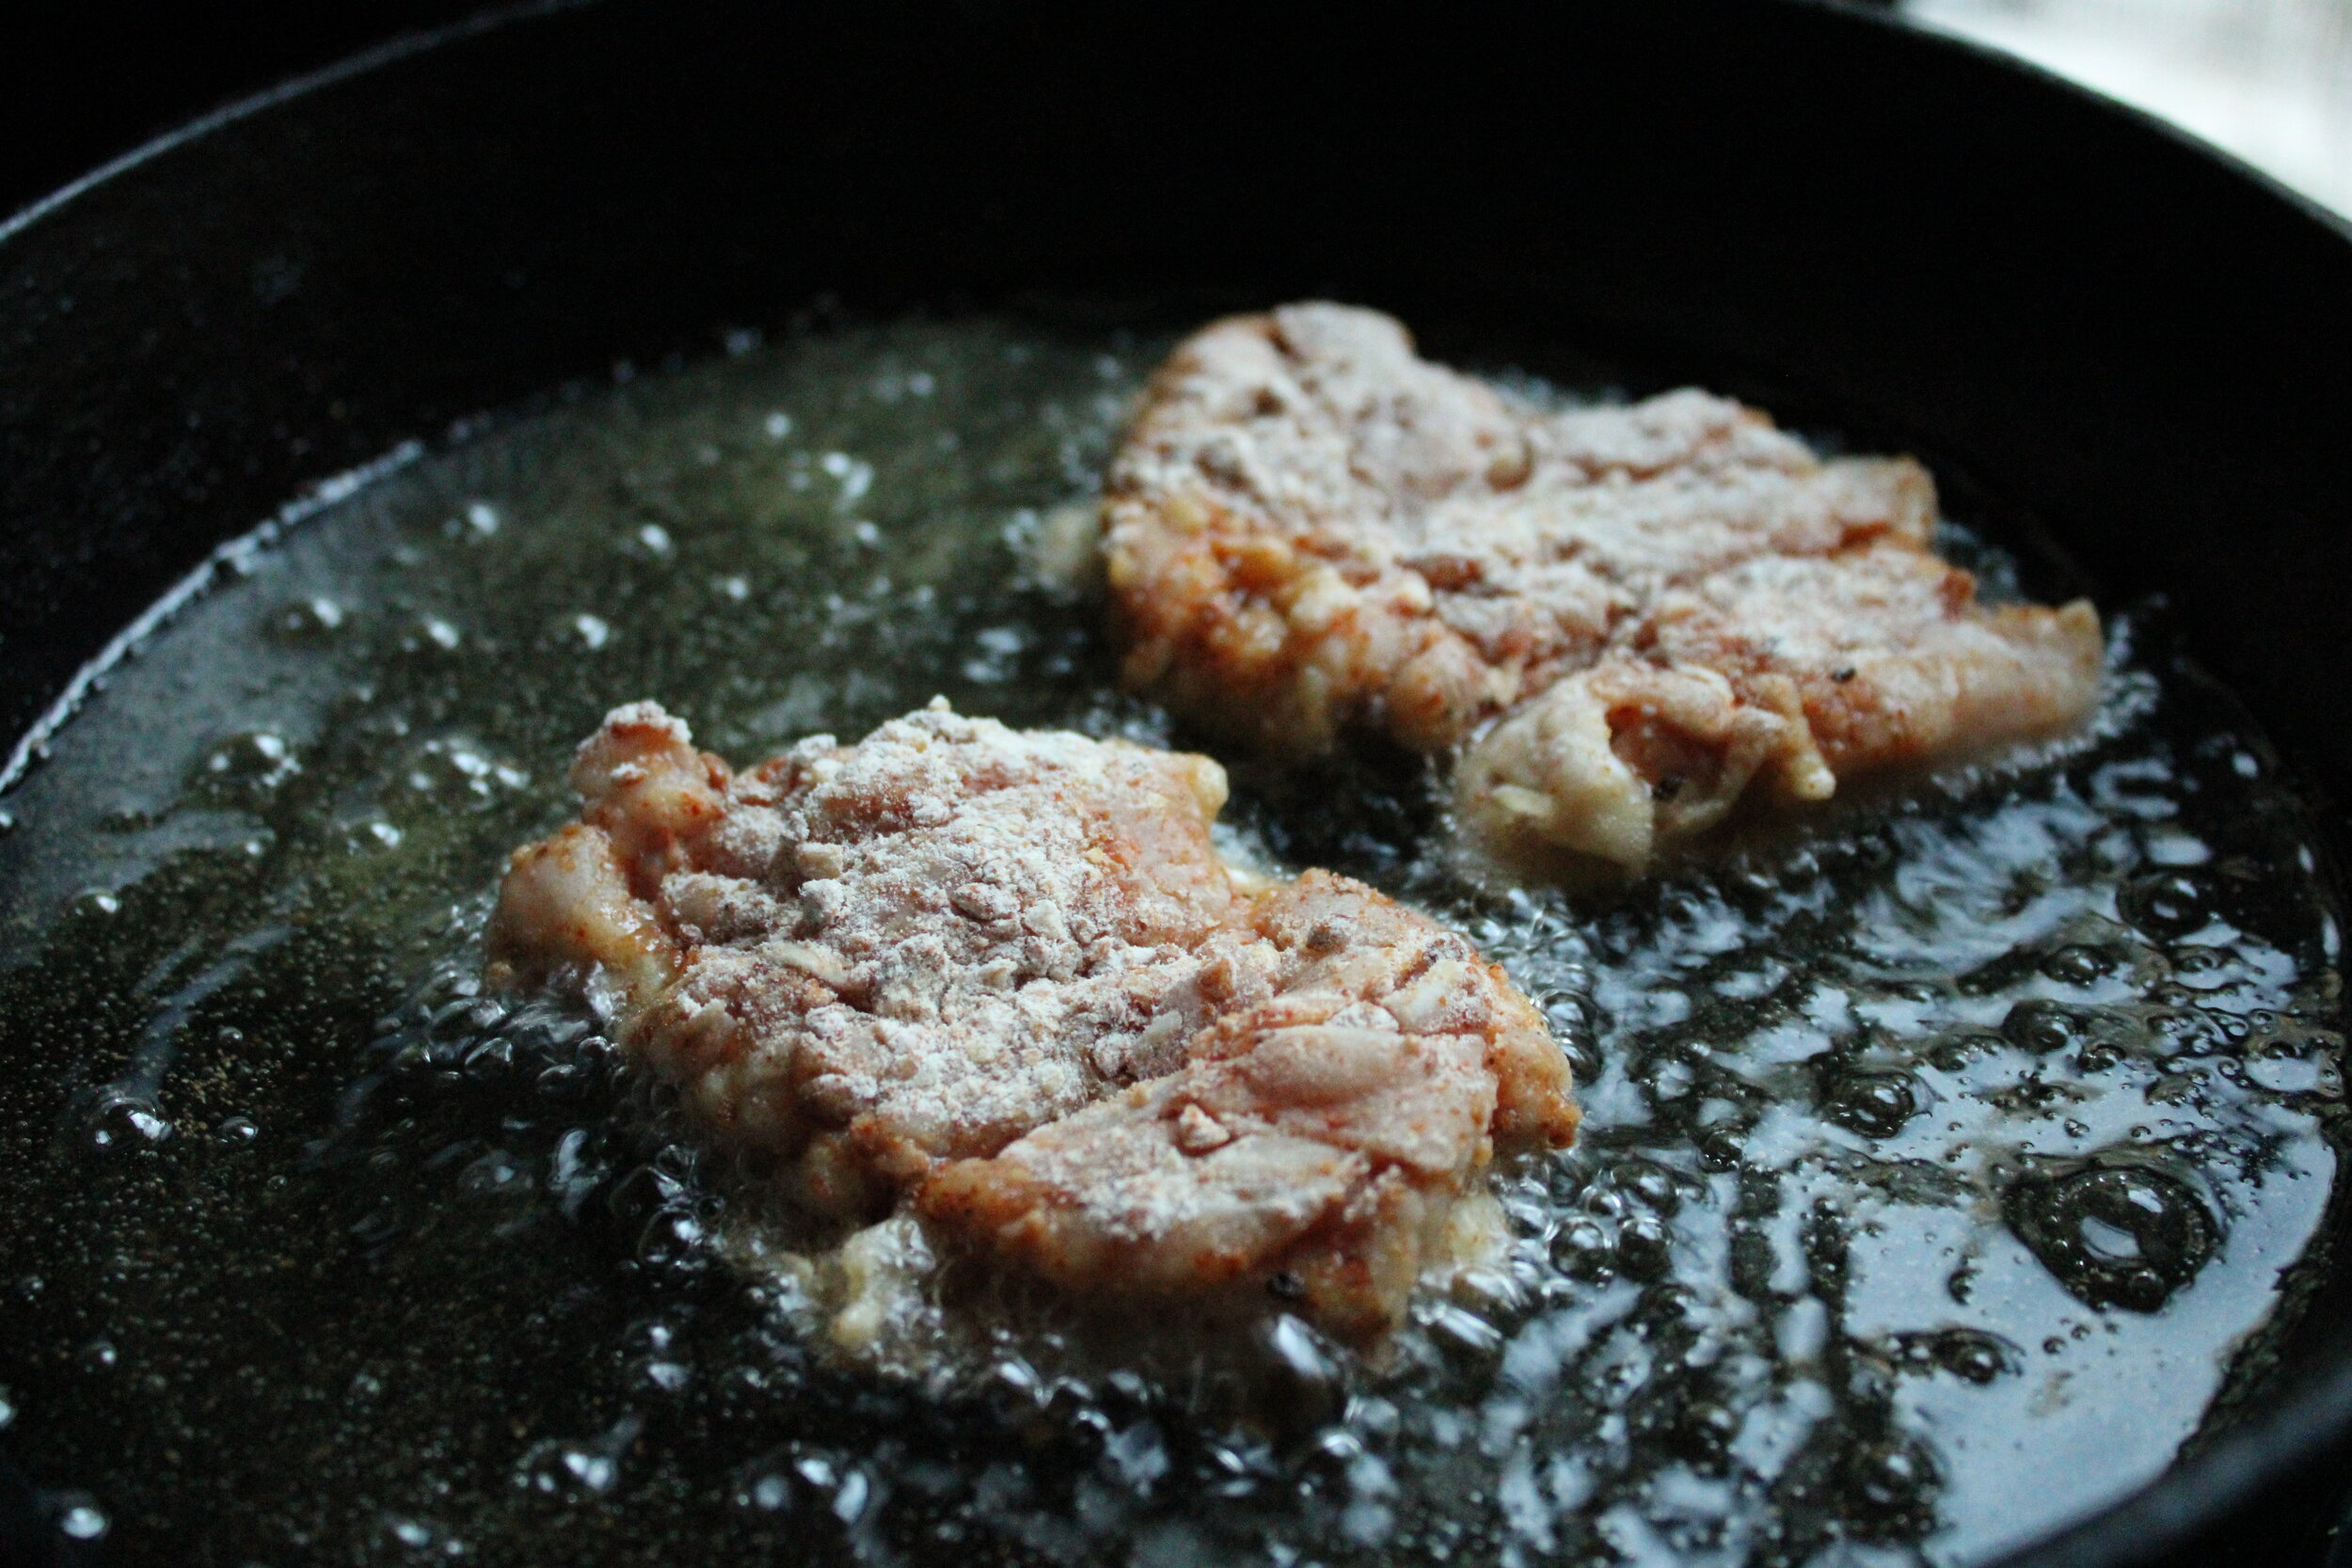
PREPARE YOUR CHICKEN: I wanted boneless chicken with my noodles so I de-boned the chicken first, but you can skip that if you like.
Next you’ll take your chicken and season them with the spices. If you’re feeling artisanal, you’ll let the chicken marinate for at least 30 minutes to really take up the flavors. Otherwise after they’re seasoned, season the flour with the spices and breadcrumbs. Then coat the chicken in that.
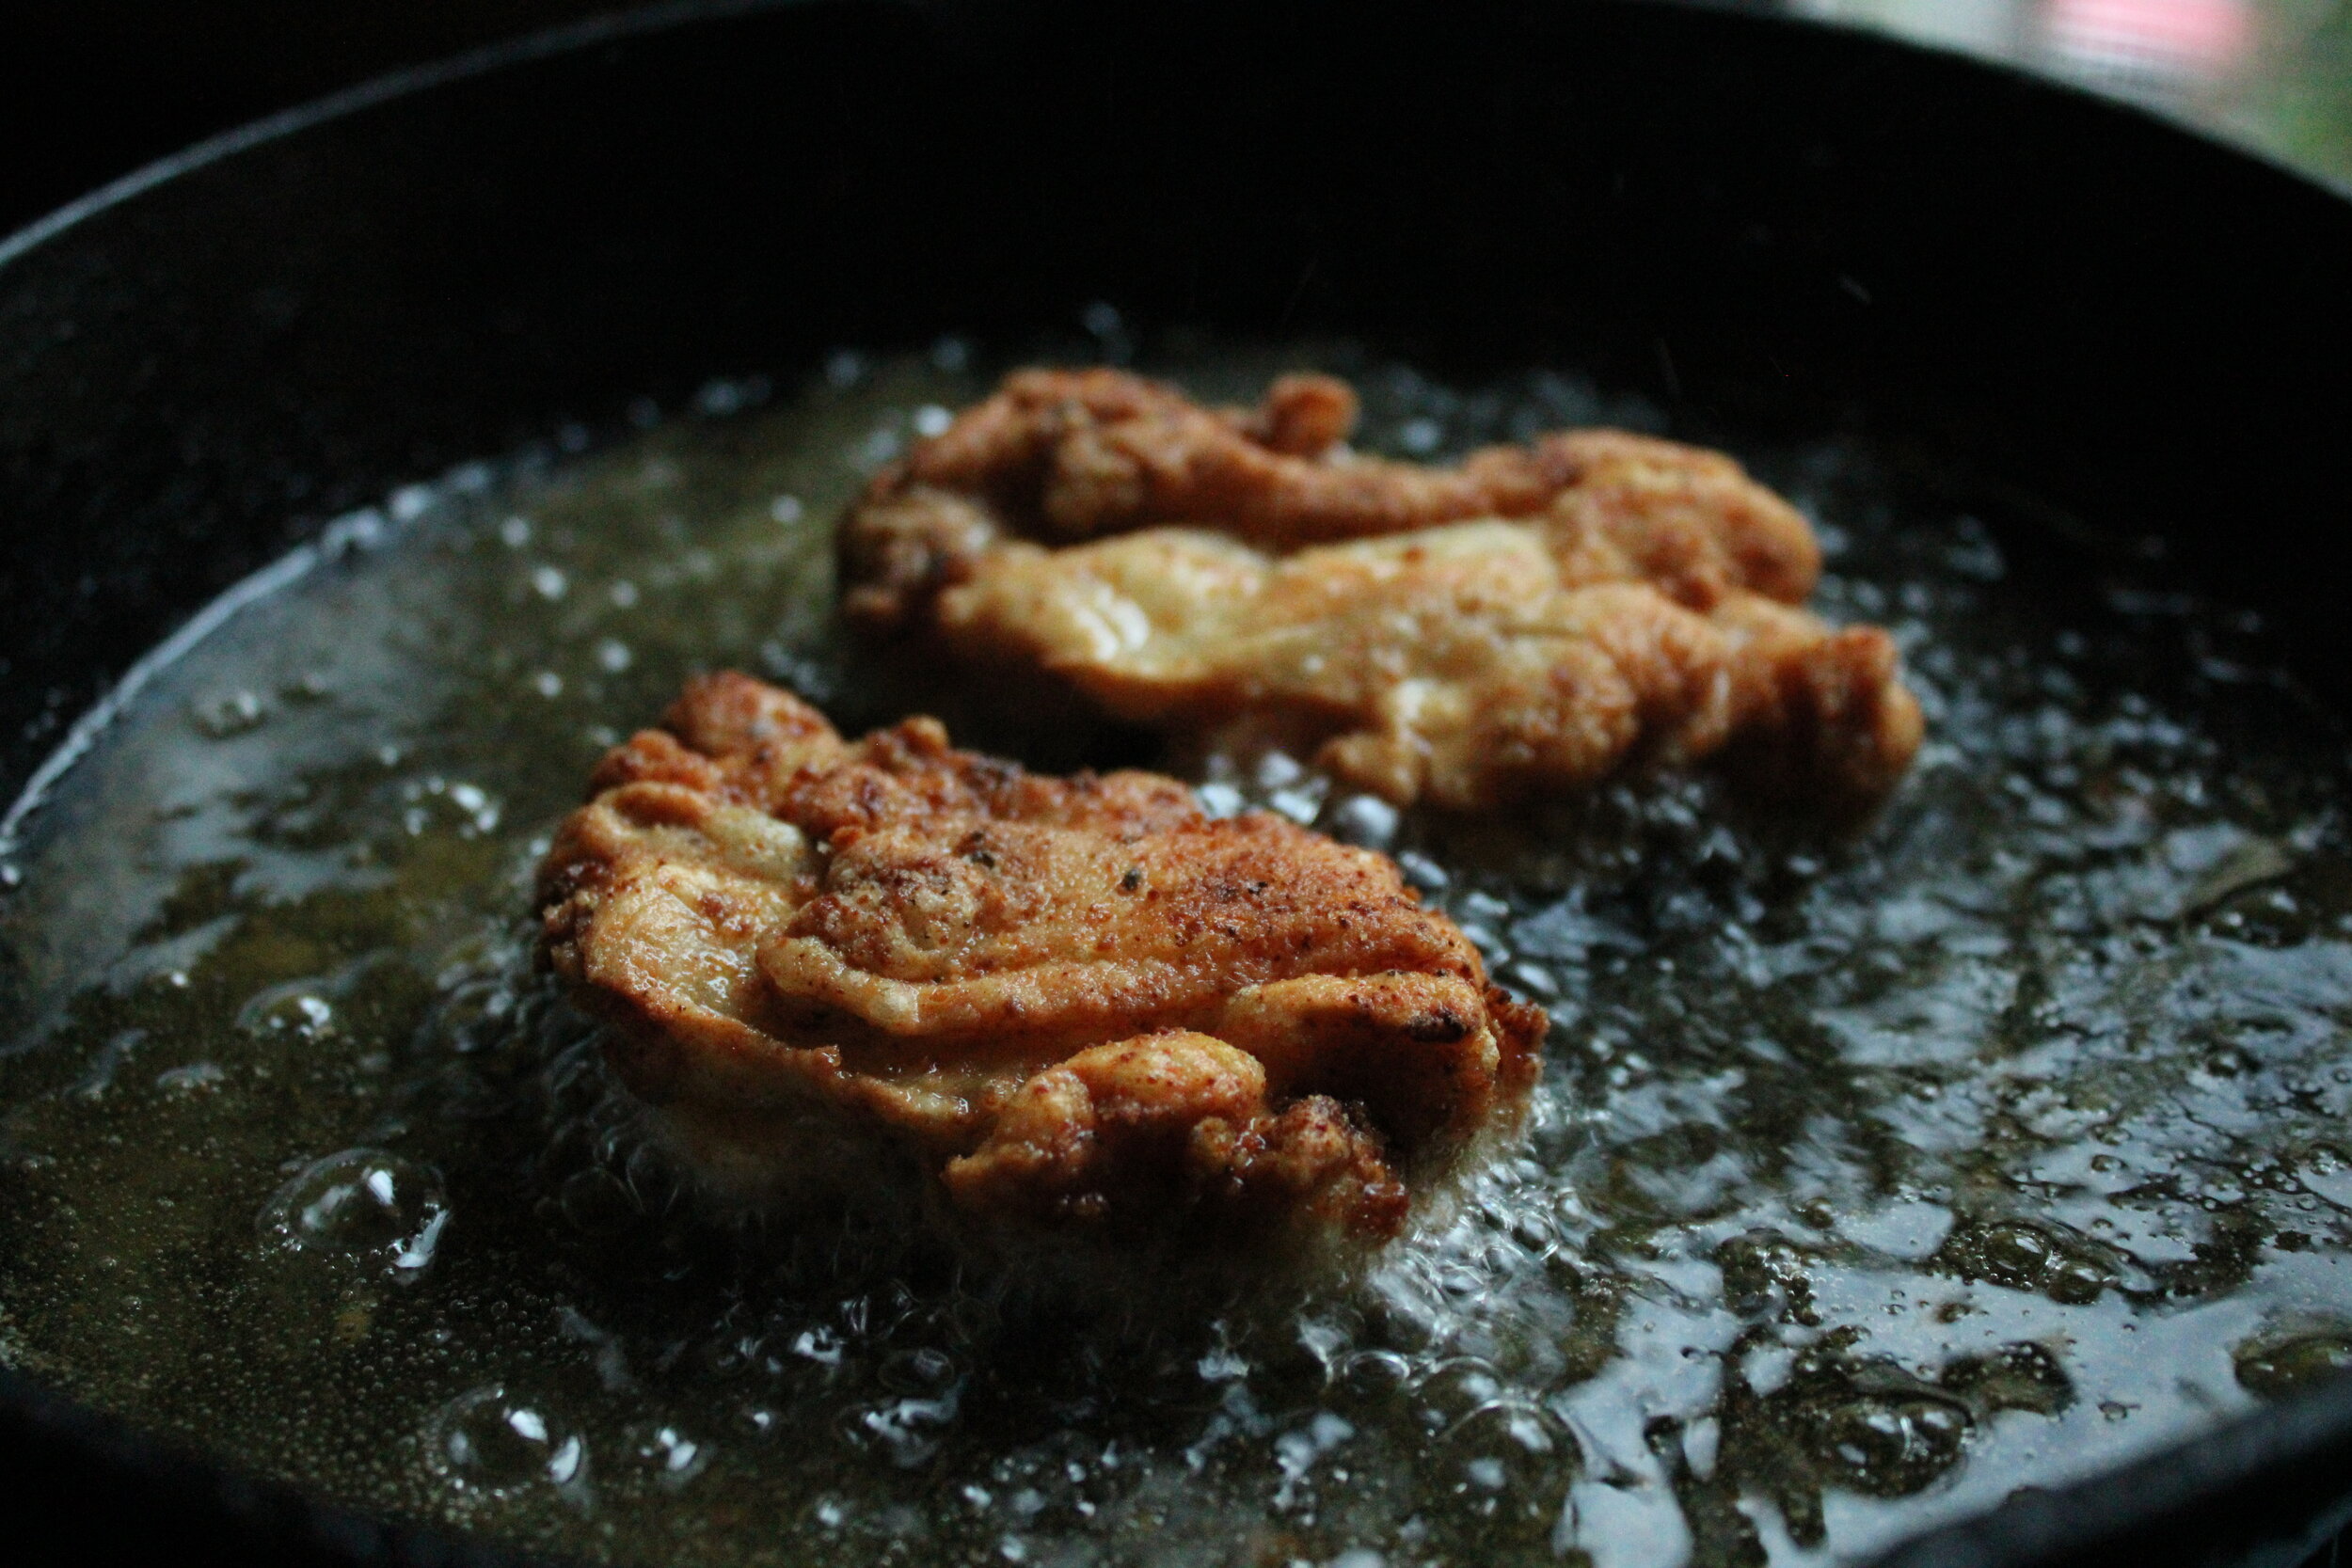
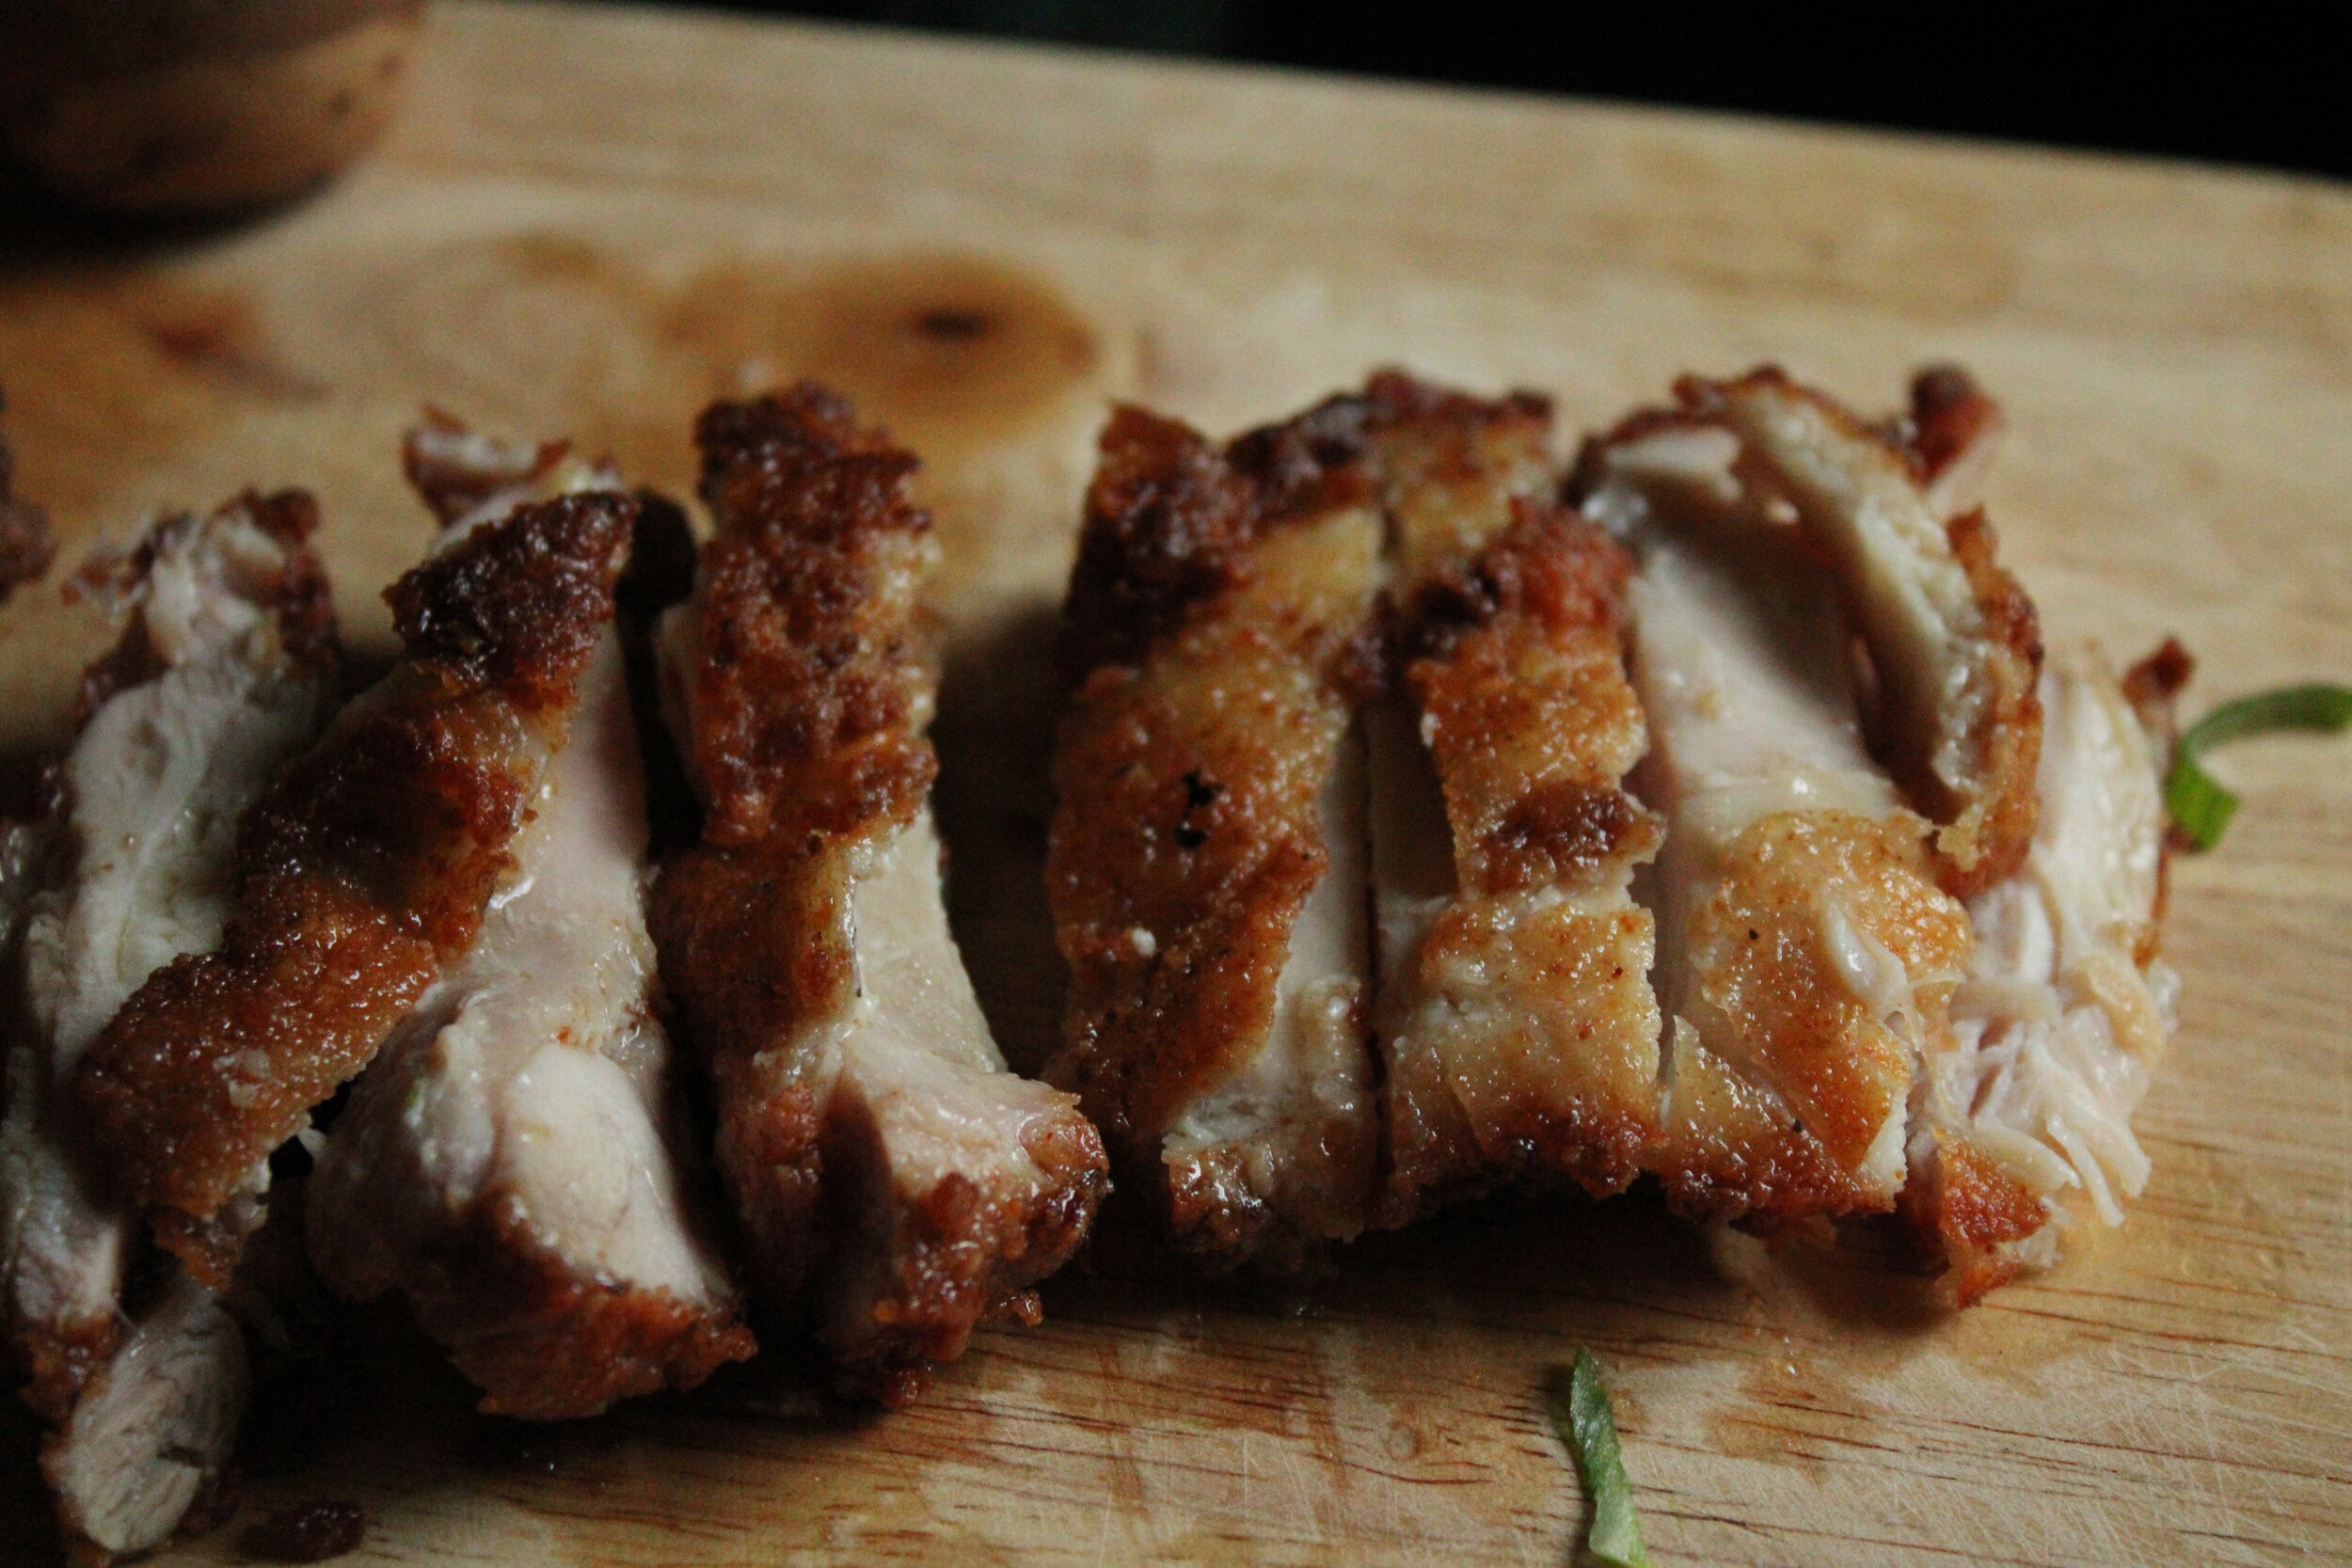
If you’re feeling gourmet, you’ll let the flour sit on the chicken for 2 hours, to really guarantee some crunch. Otherwise, heat some oil in a skillet over medium-high heat, and fry the chicken for about 8-10 minutes on both sides, or until skin is golden brown and juices run clear when the meat is sliced. Place your finished chickens on some paper towels and a rack to rest.
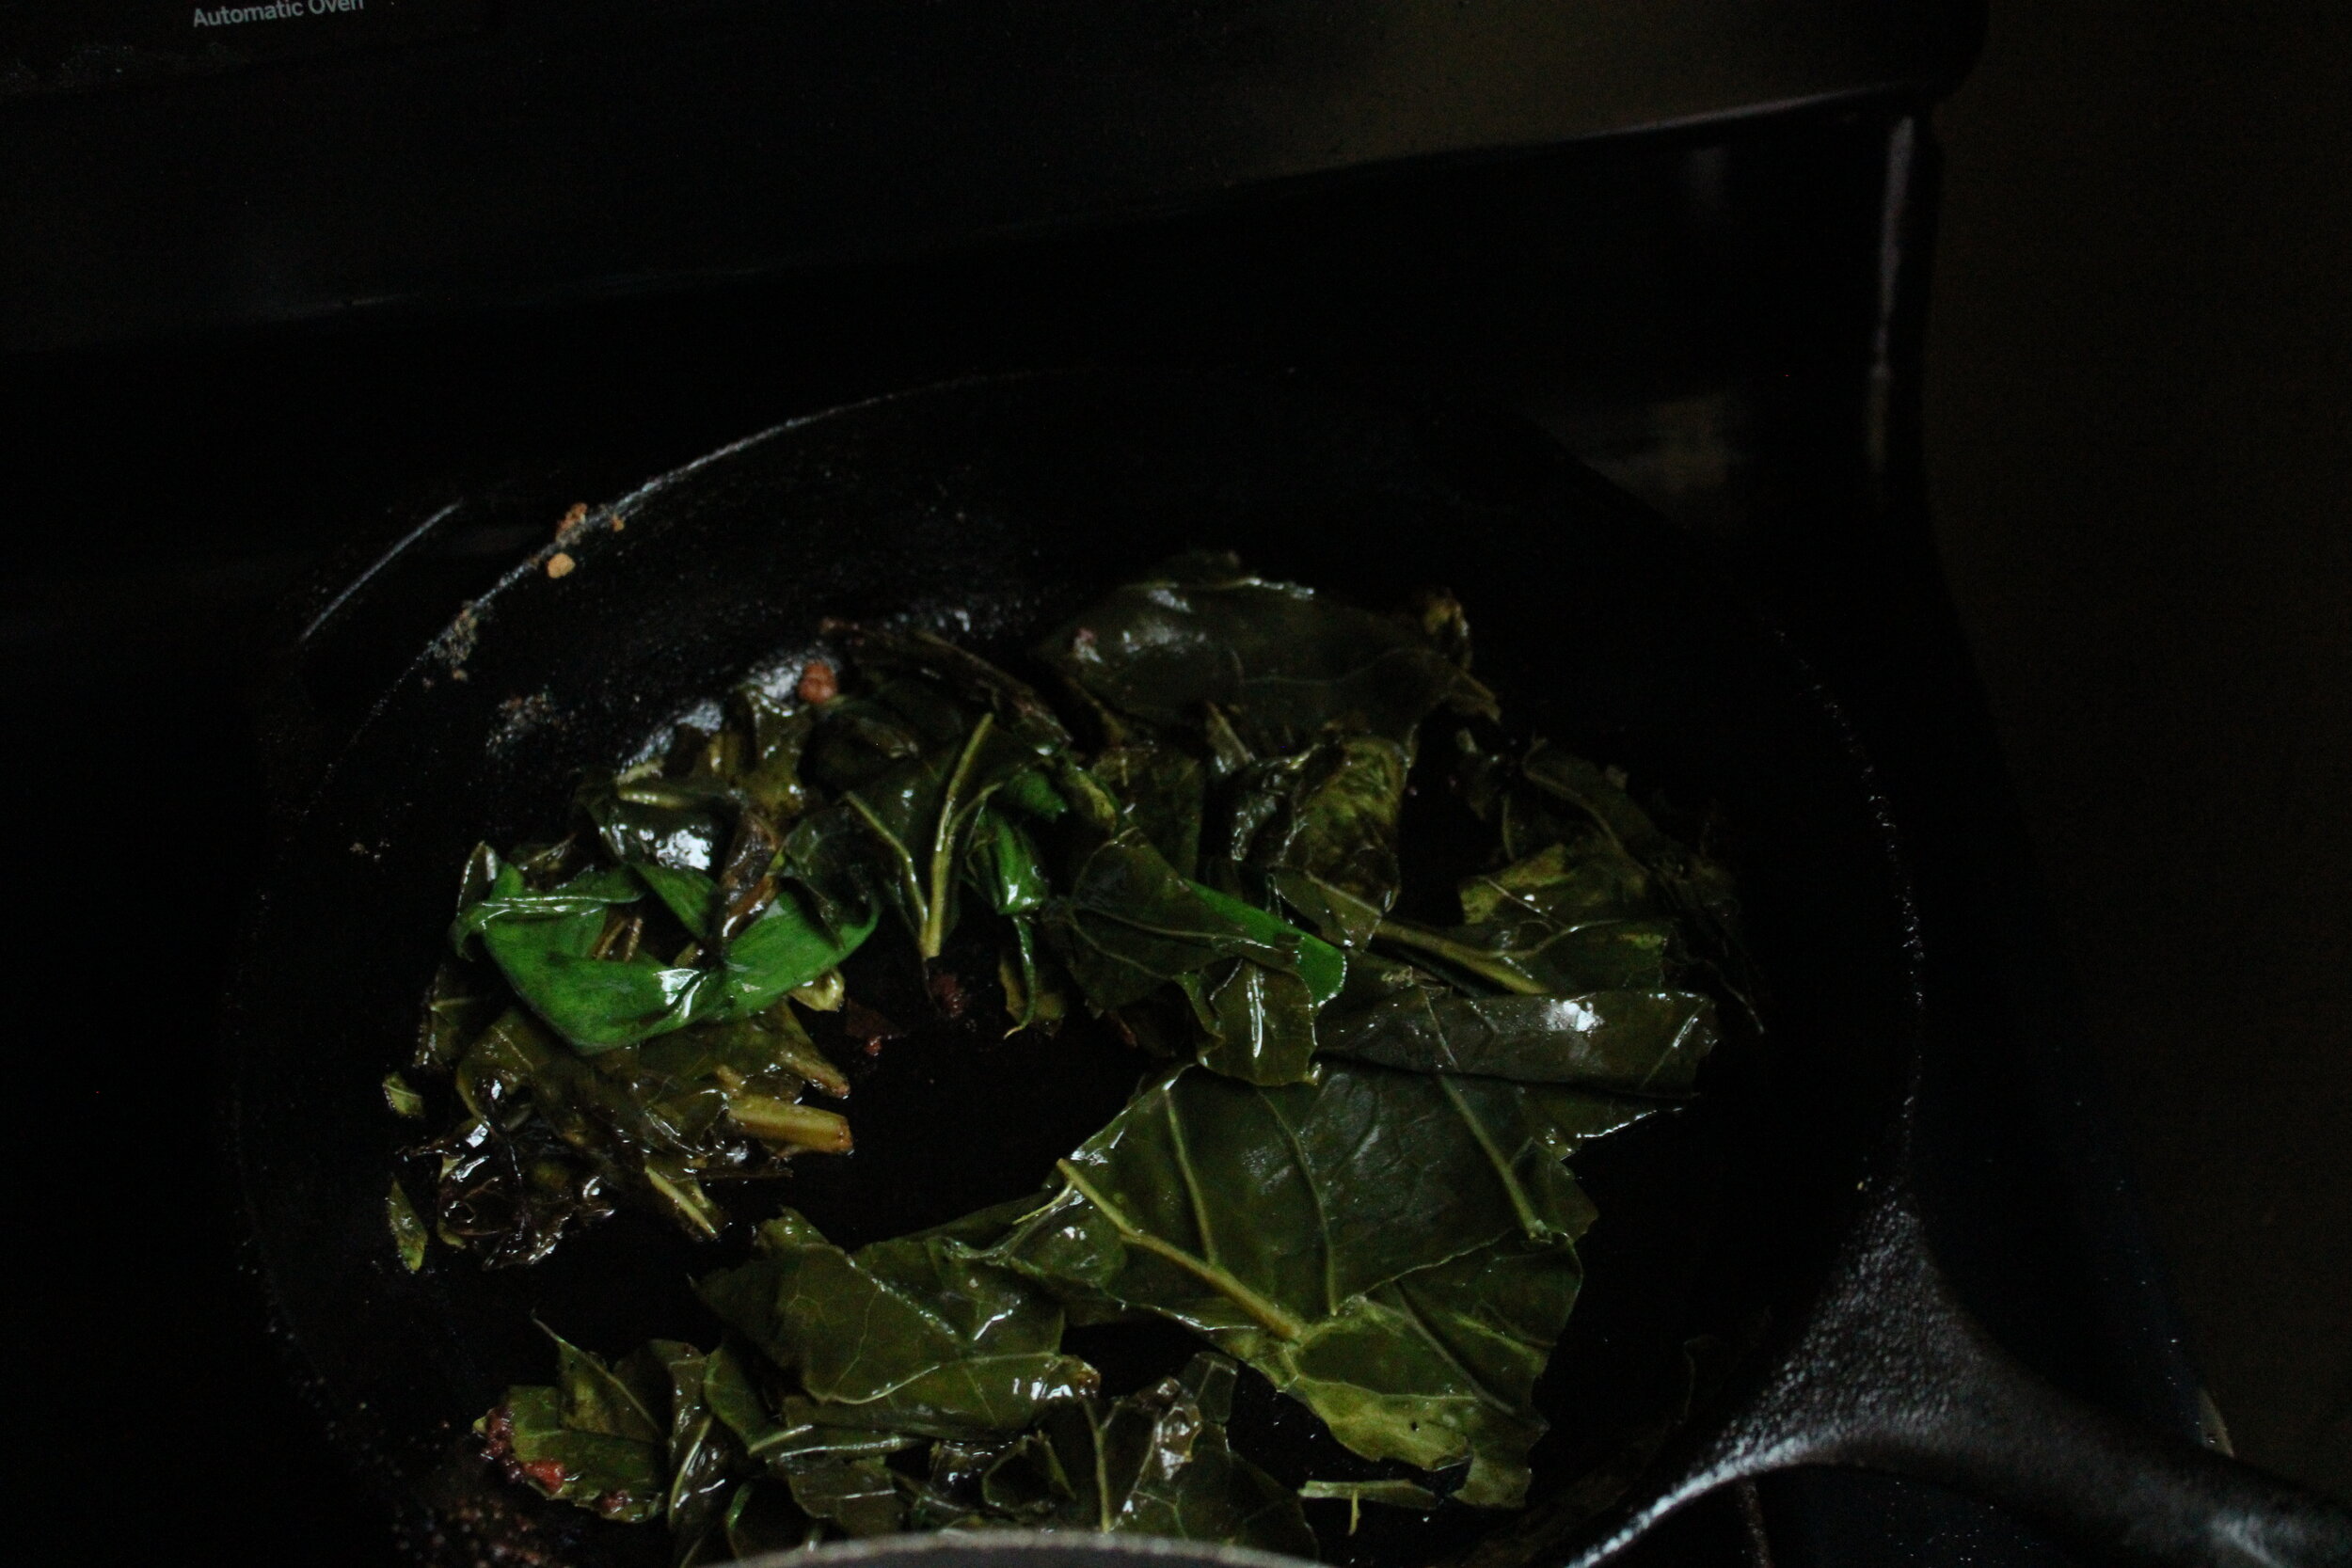
PREPARE YOUR COLLARDS: Heat a skillet over medium heat with a bit of oil, then add in your greens and season with garlic powder, salt, and pepper. Add in a little splash of water or broth to create some steam to shrink them more if you want. Cook until greens are tender, about 15-20 minutes. Set aside for bowl assembly!
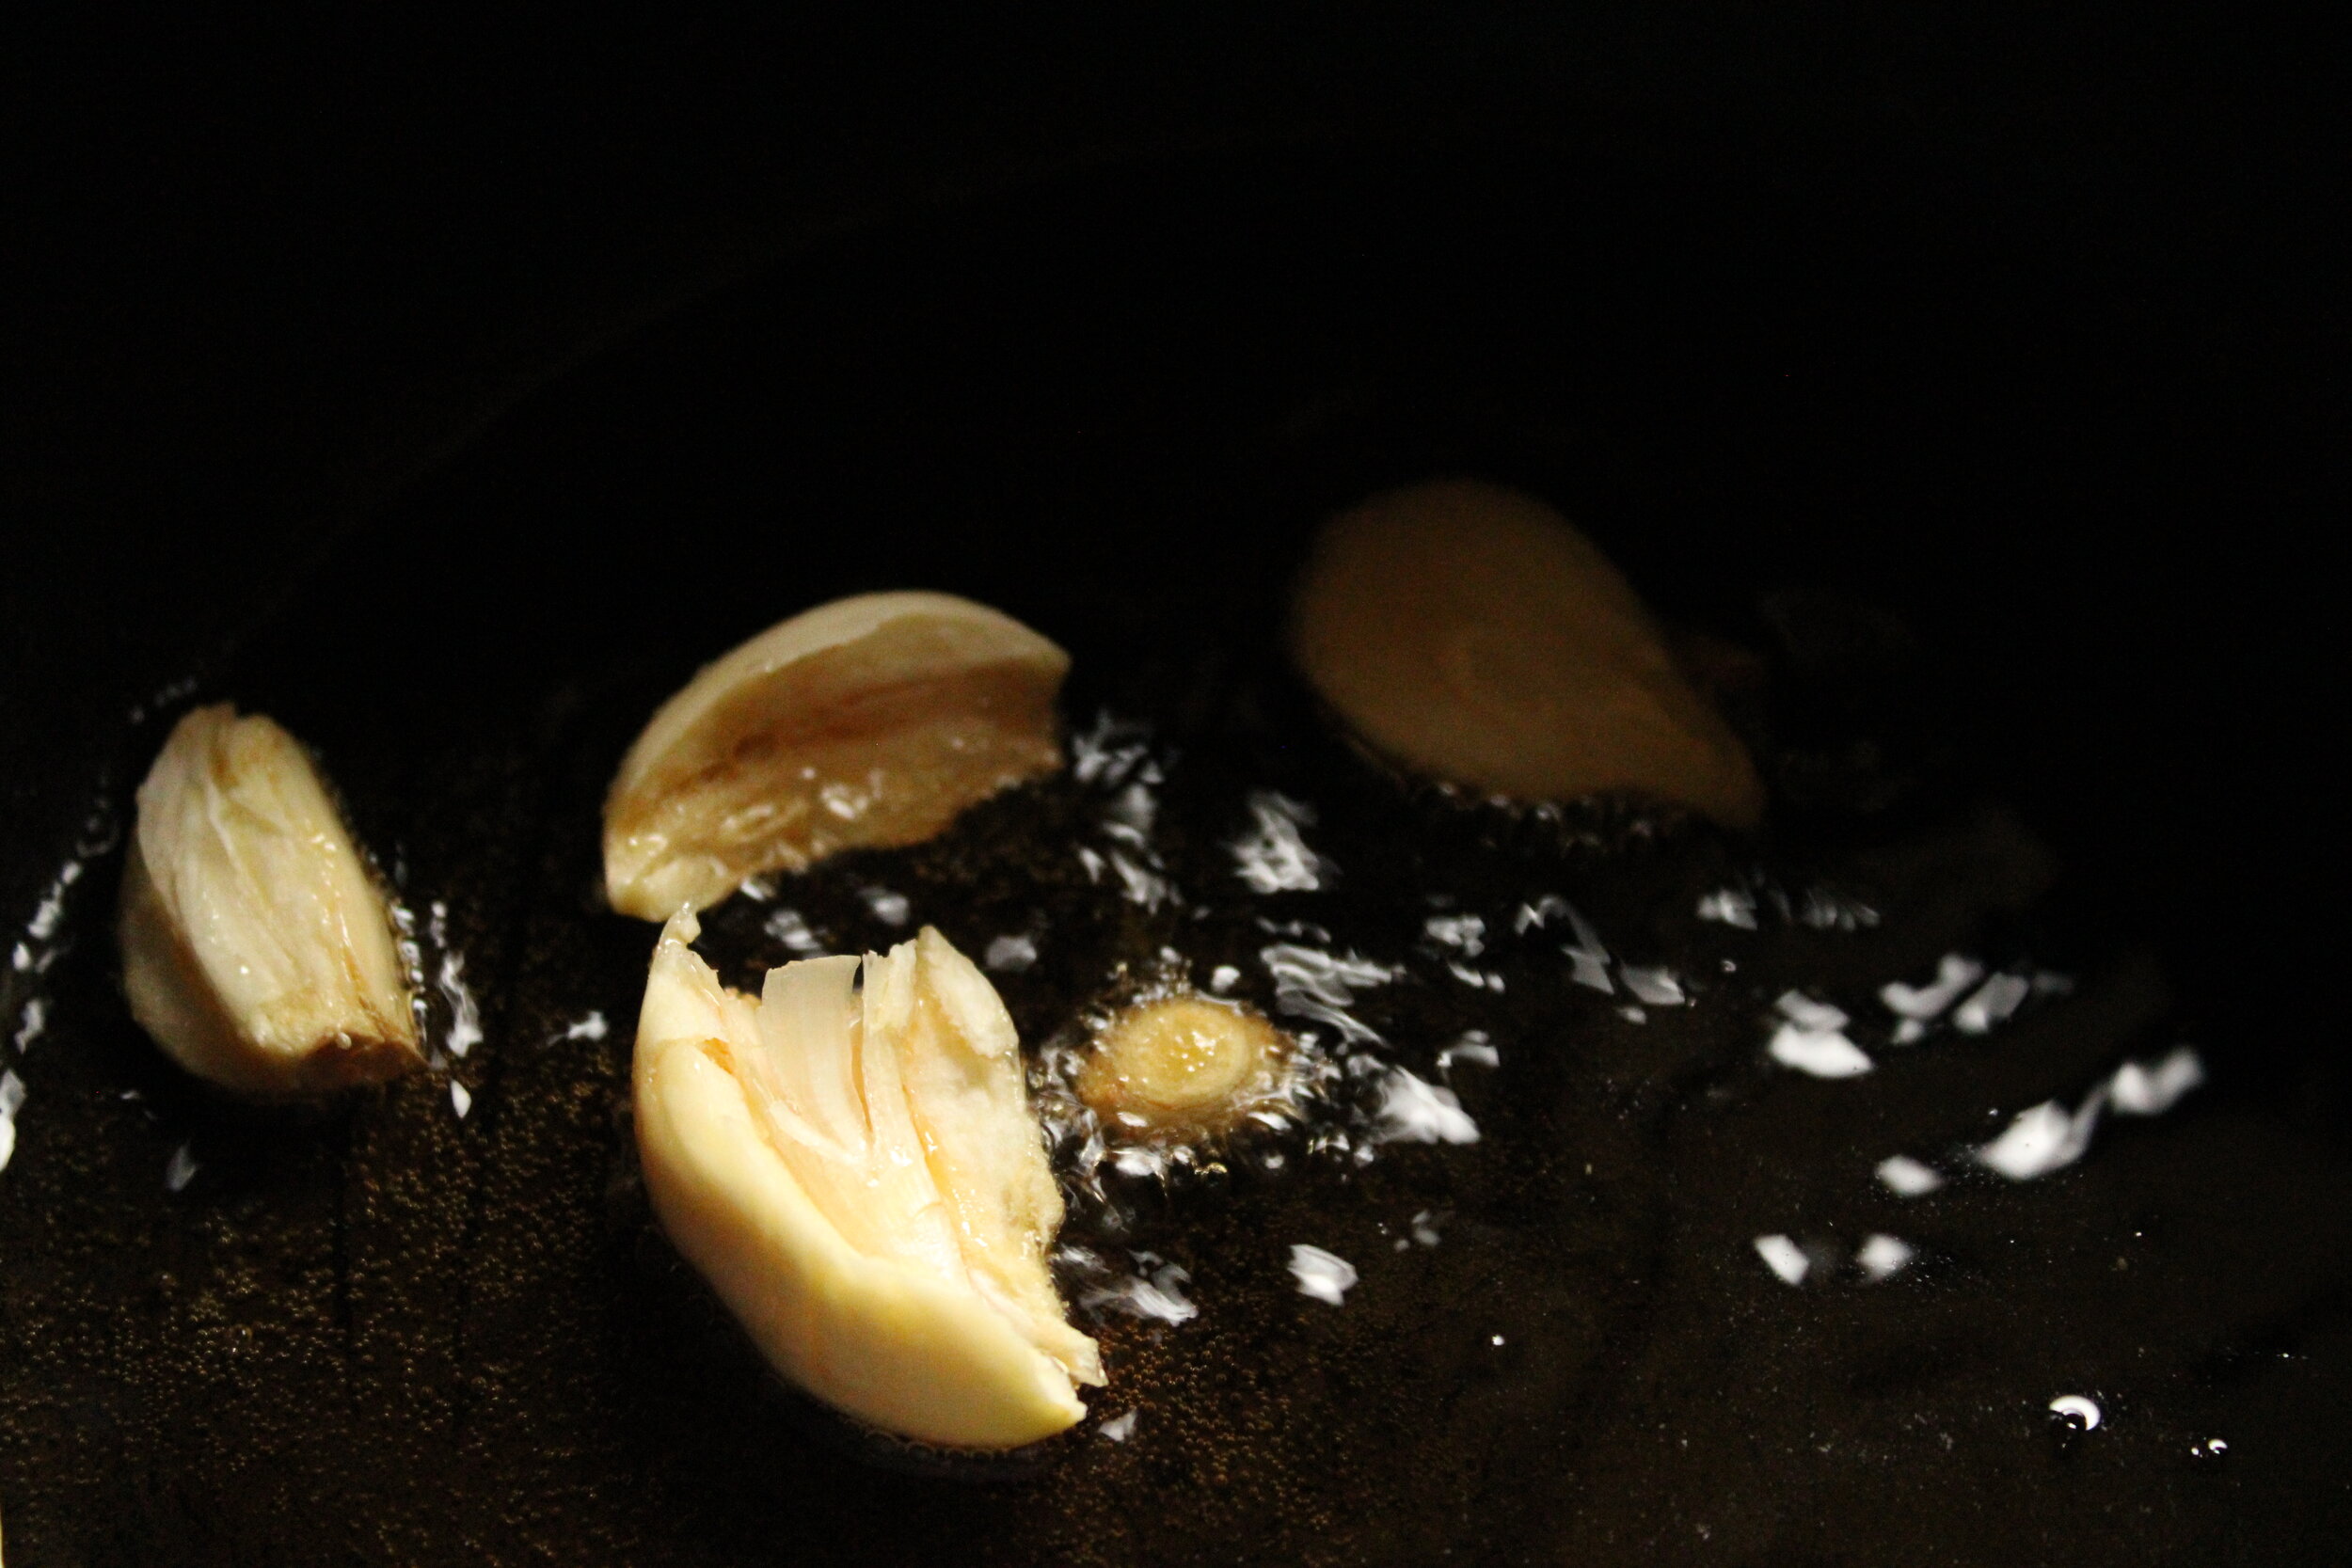
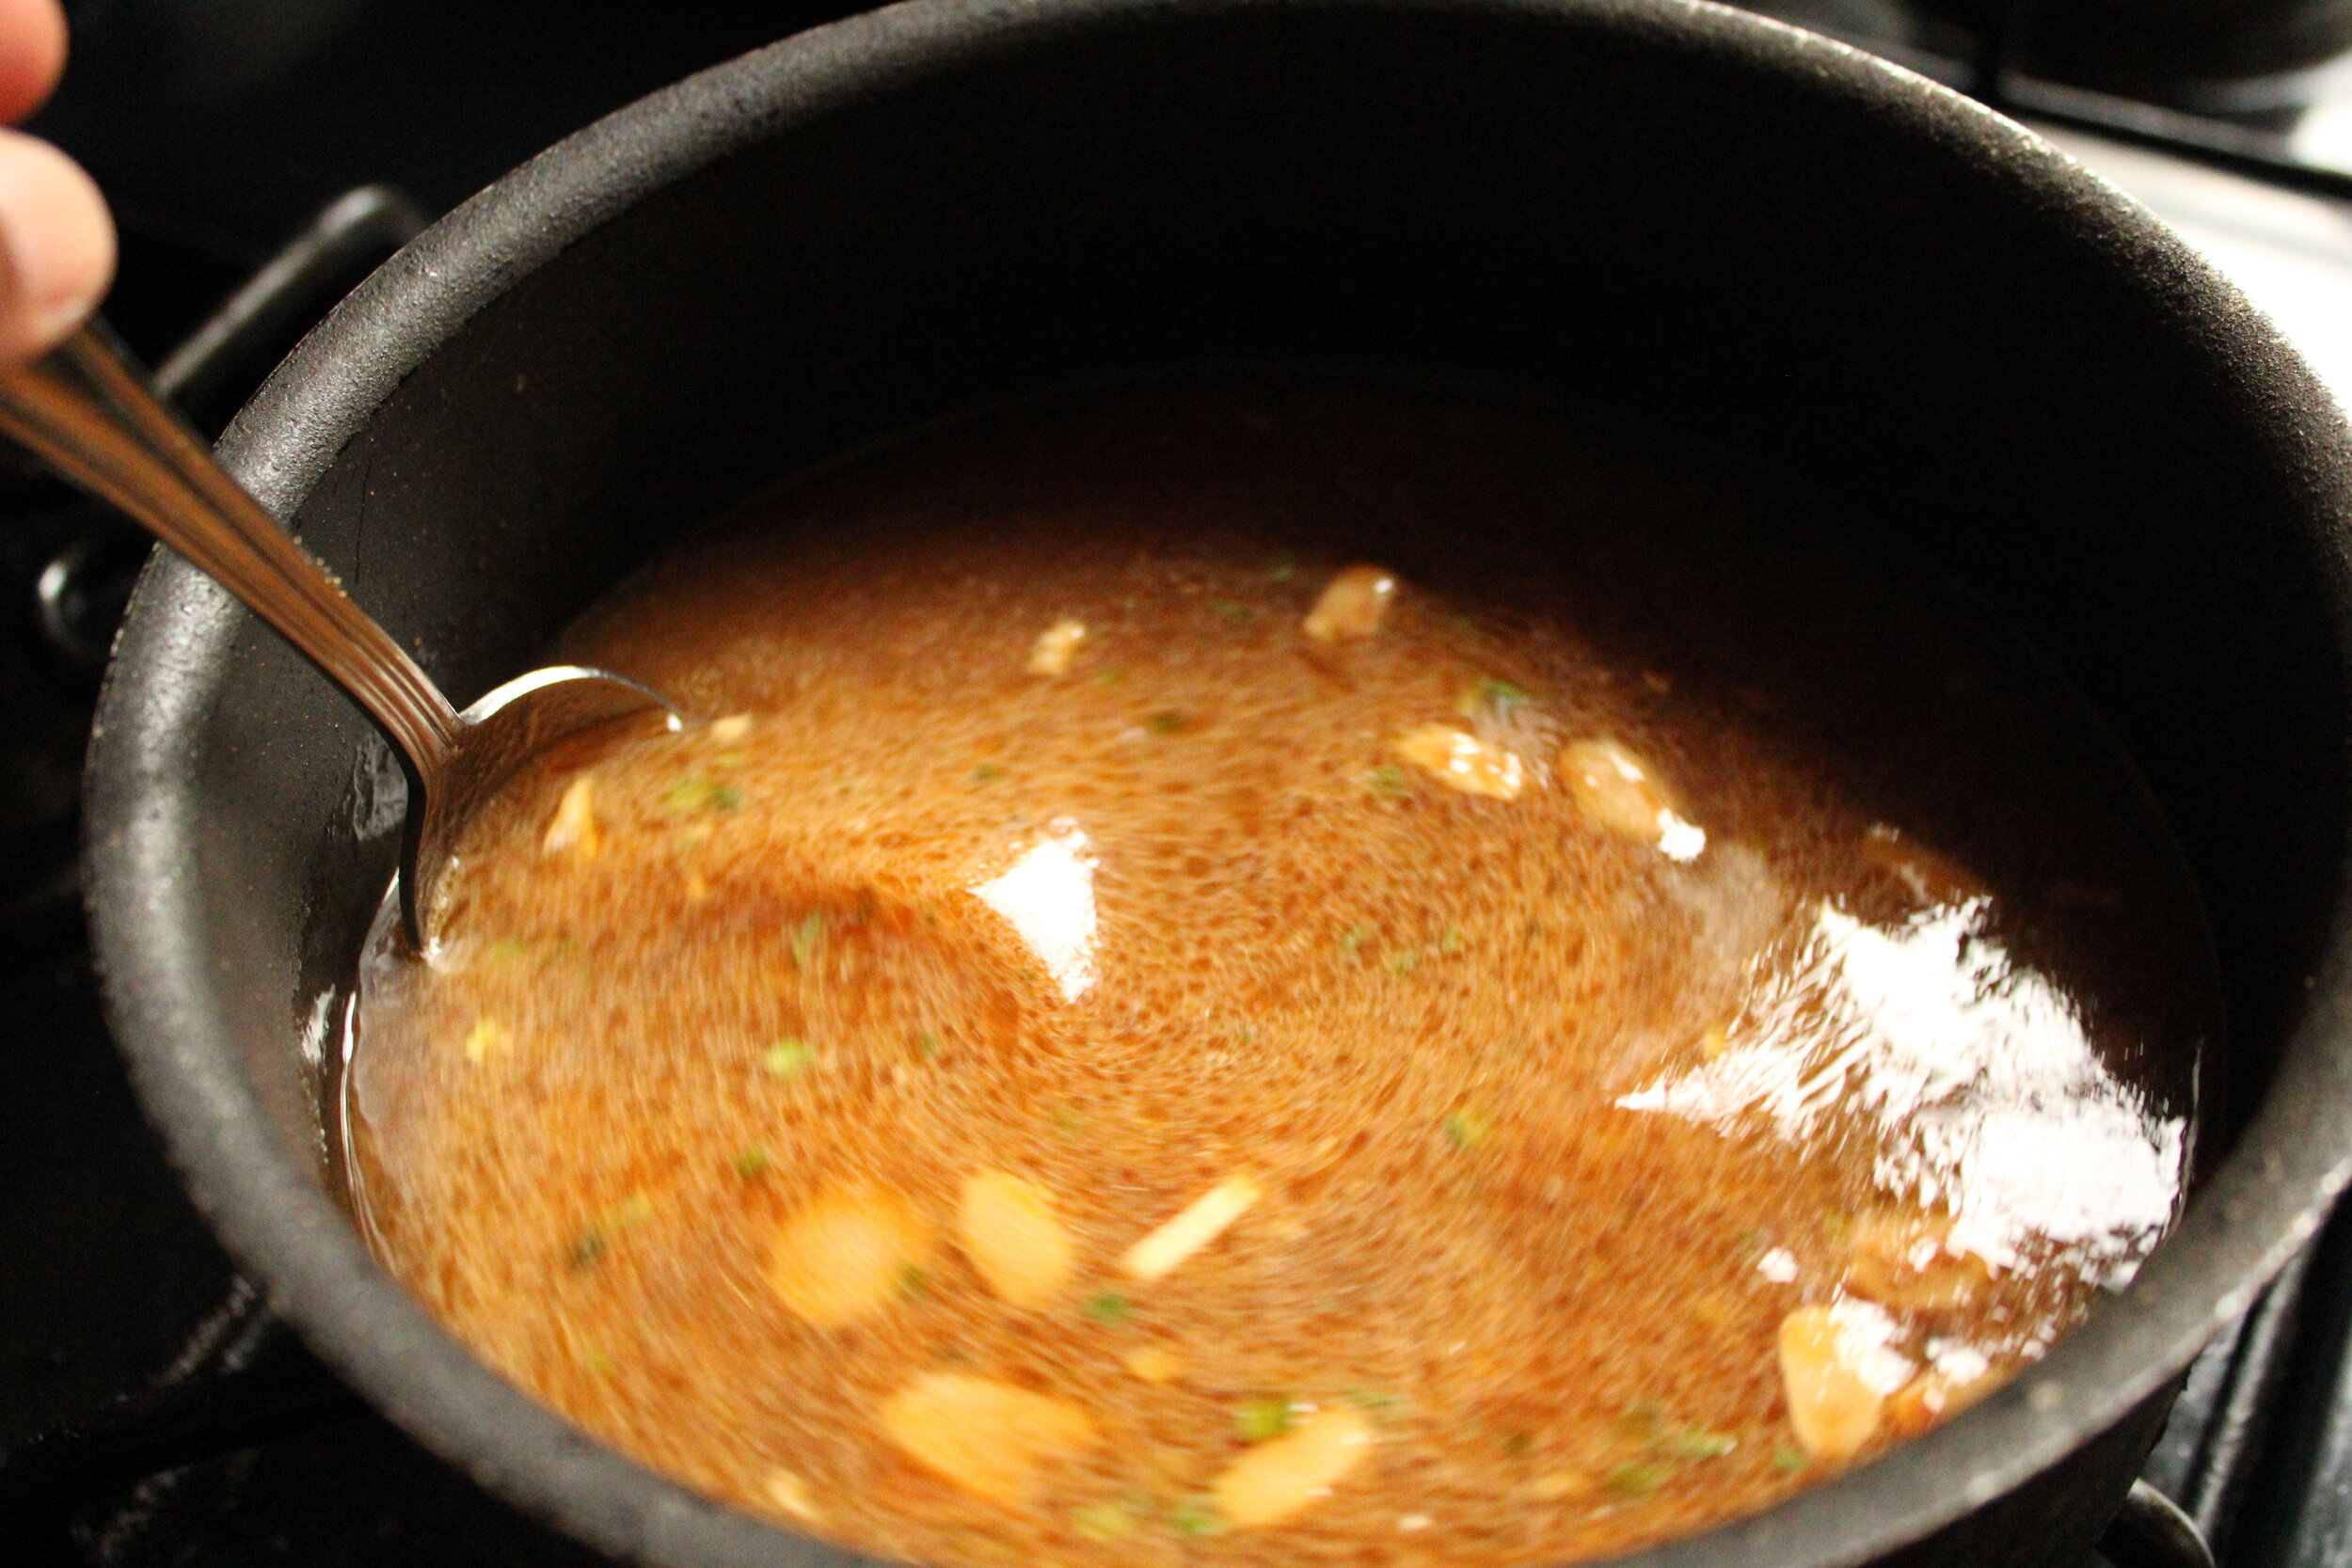
PREPARE YOUR BOWL: Heat a deep sauce pot over medium heat and add in about 1-2 tablespoons of oil. Add in a crushed clove of garlic and brown.
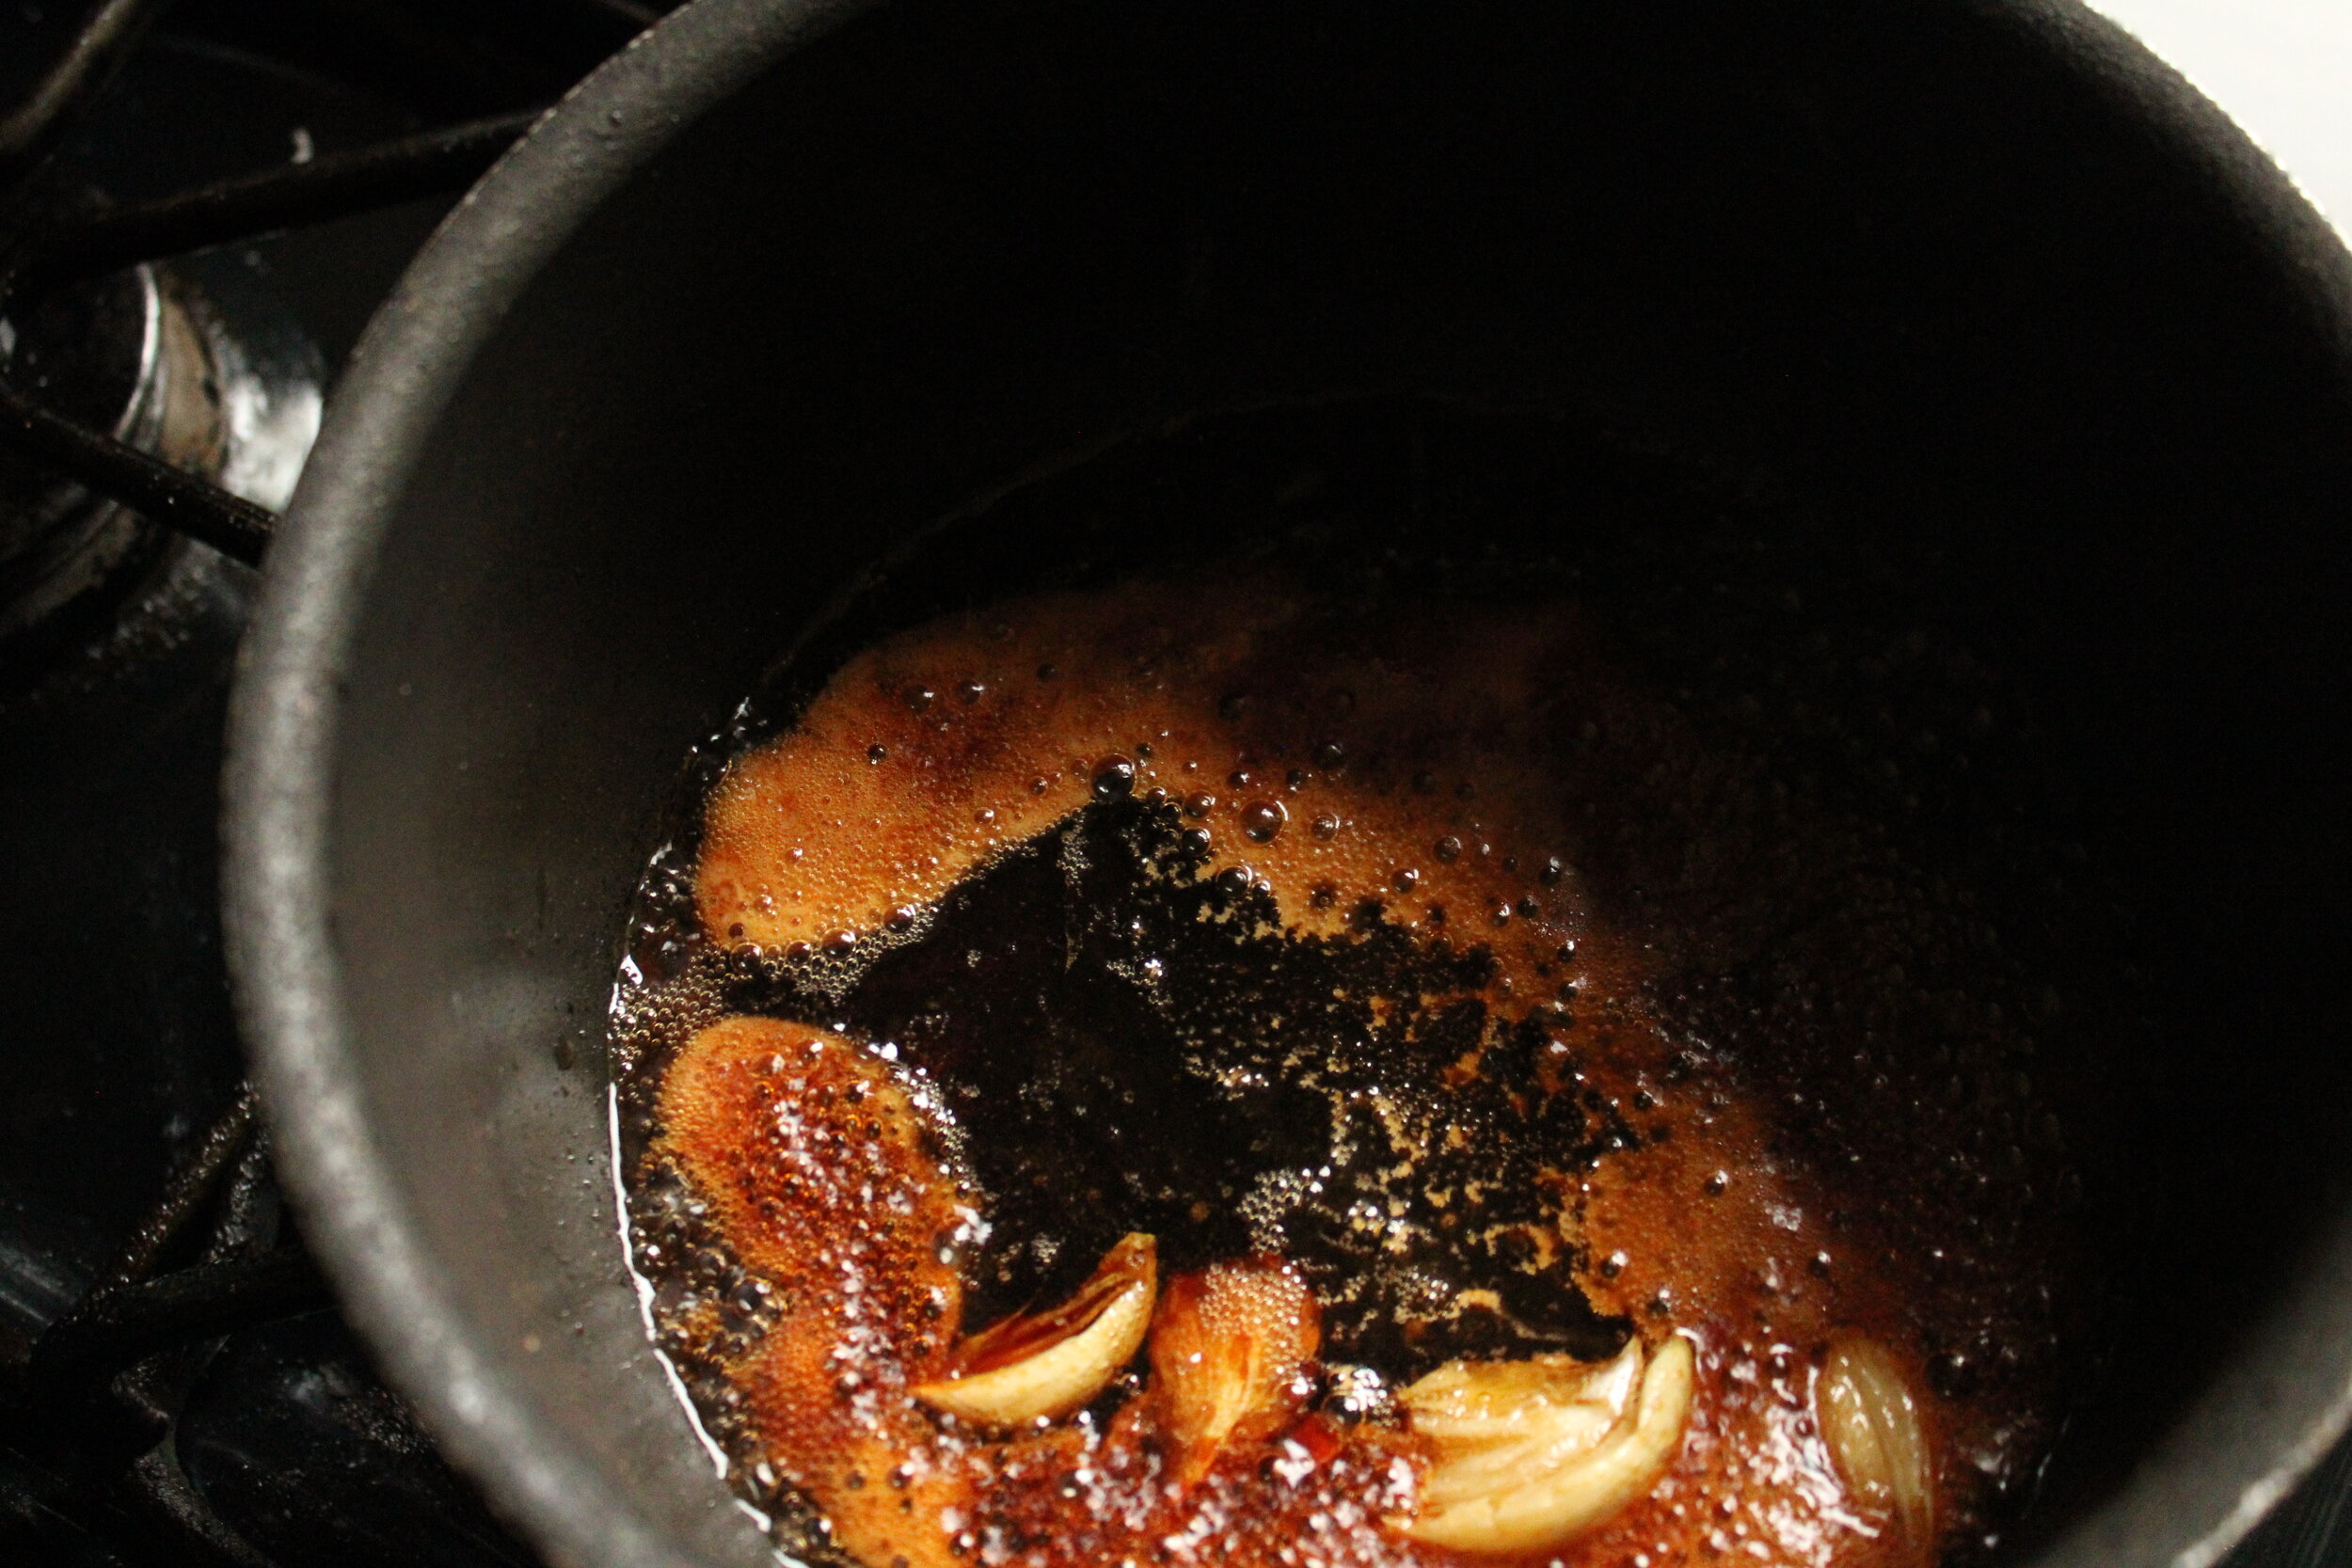
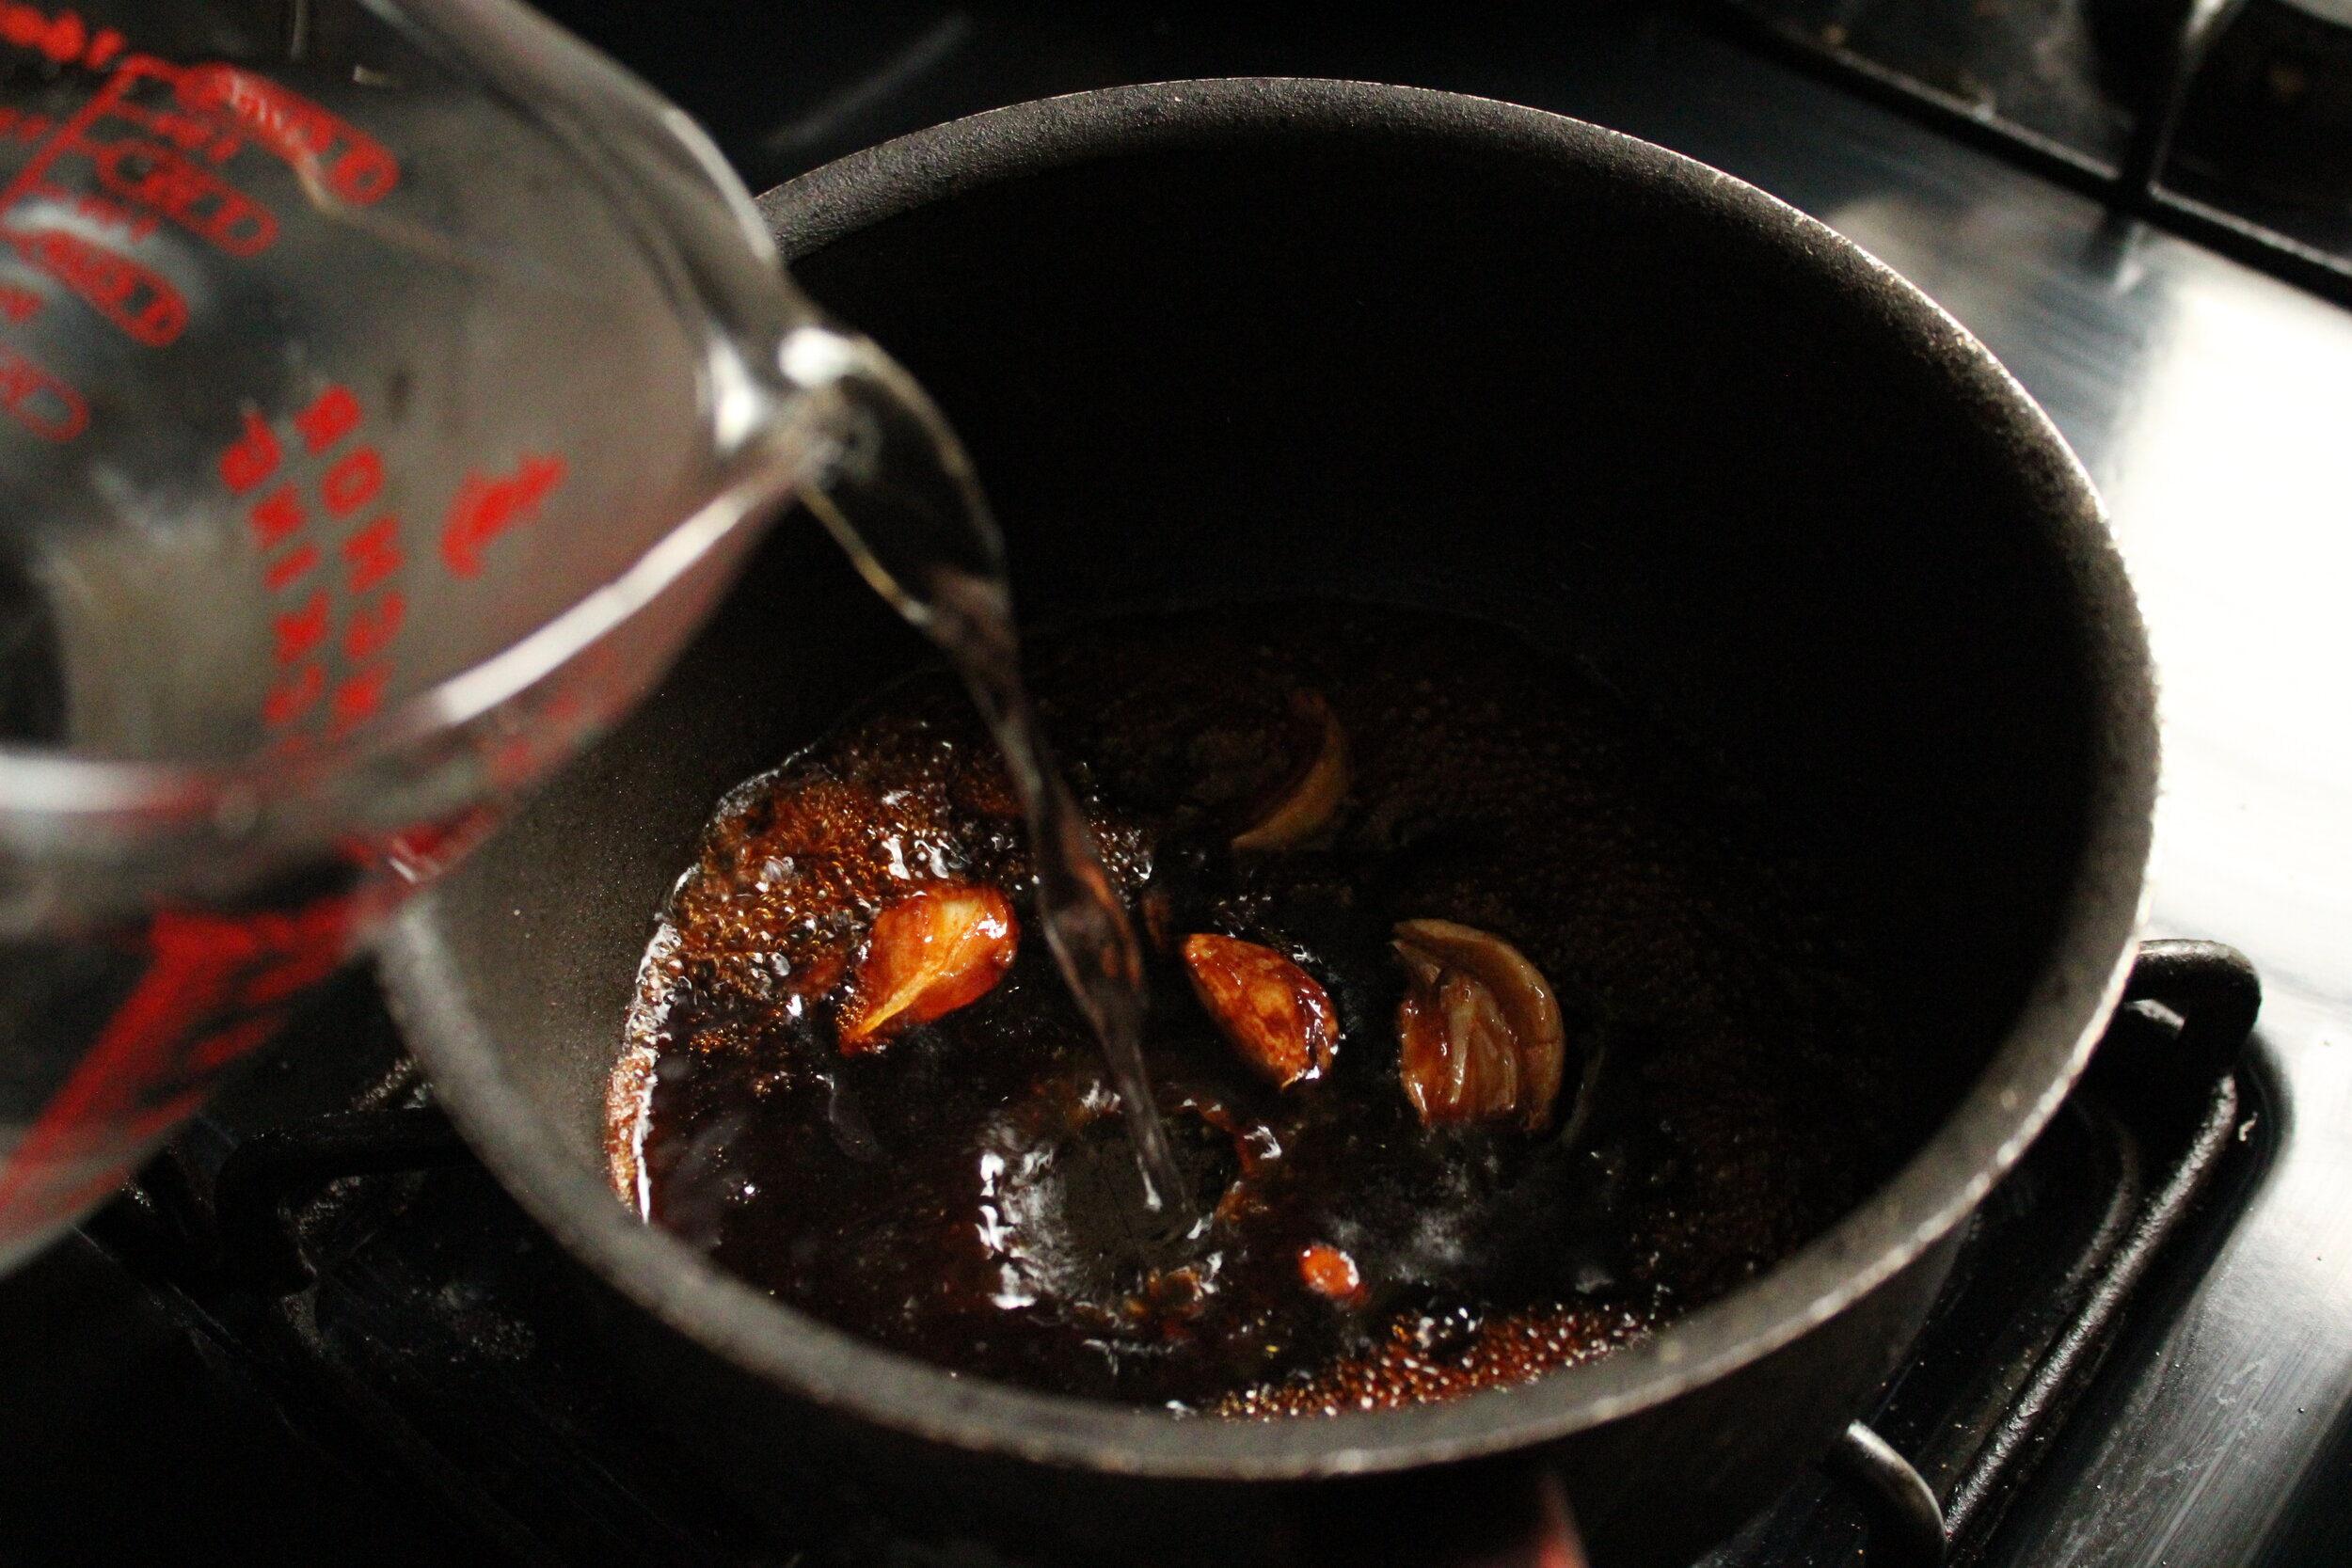
Add in soy sauce, water, and miso powder, then bring to a boil. Once mixture has boiled lower to a simmer.
Place your noodles in your serving bowls, pour in the broth, and then arrange your chicken, collards, egg, and scallions on top. Enjoy!
Dig Deeper . . .
Although the preparation of ramen goes back centuries in China and Japan, Momofuku Ando was the inventor (during the 1950s) of the instant ramen I grew up eating, which was introduced to the united states in 1970s. You can learn more about him at the links below, or dig even deeper with George Solt’s book The Untold History of Ramen.:
Inventor of the Week: Momofuku Ando (article)
How Ramen Took Over the World (Article)
The Untold History of Ramen (book)


The Untold History of Ramen by George Solt